Tom's tips
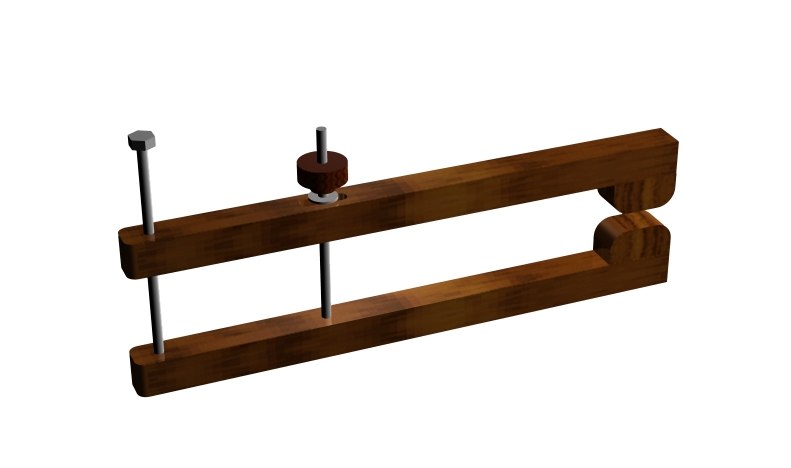
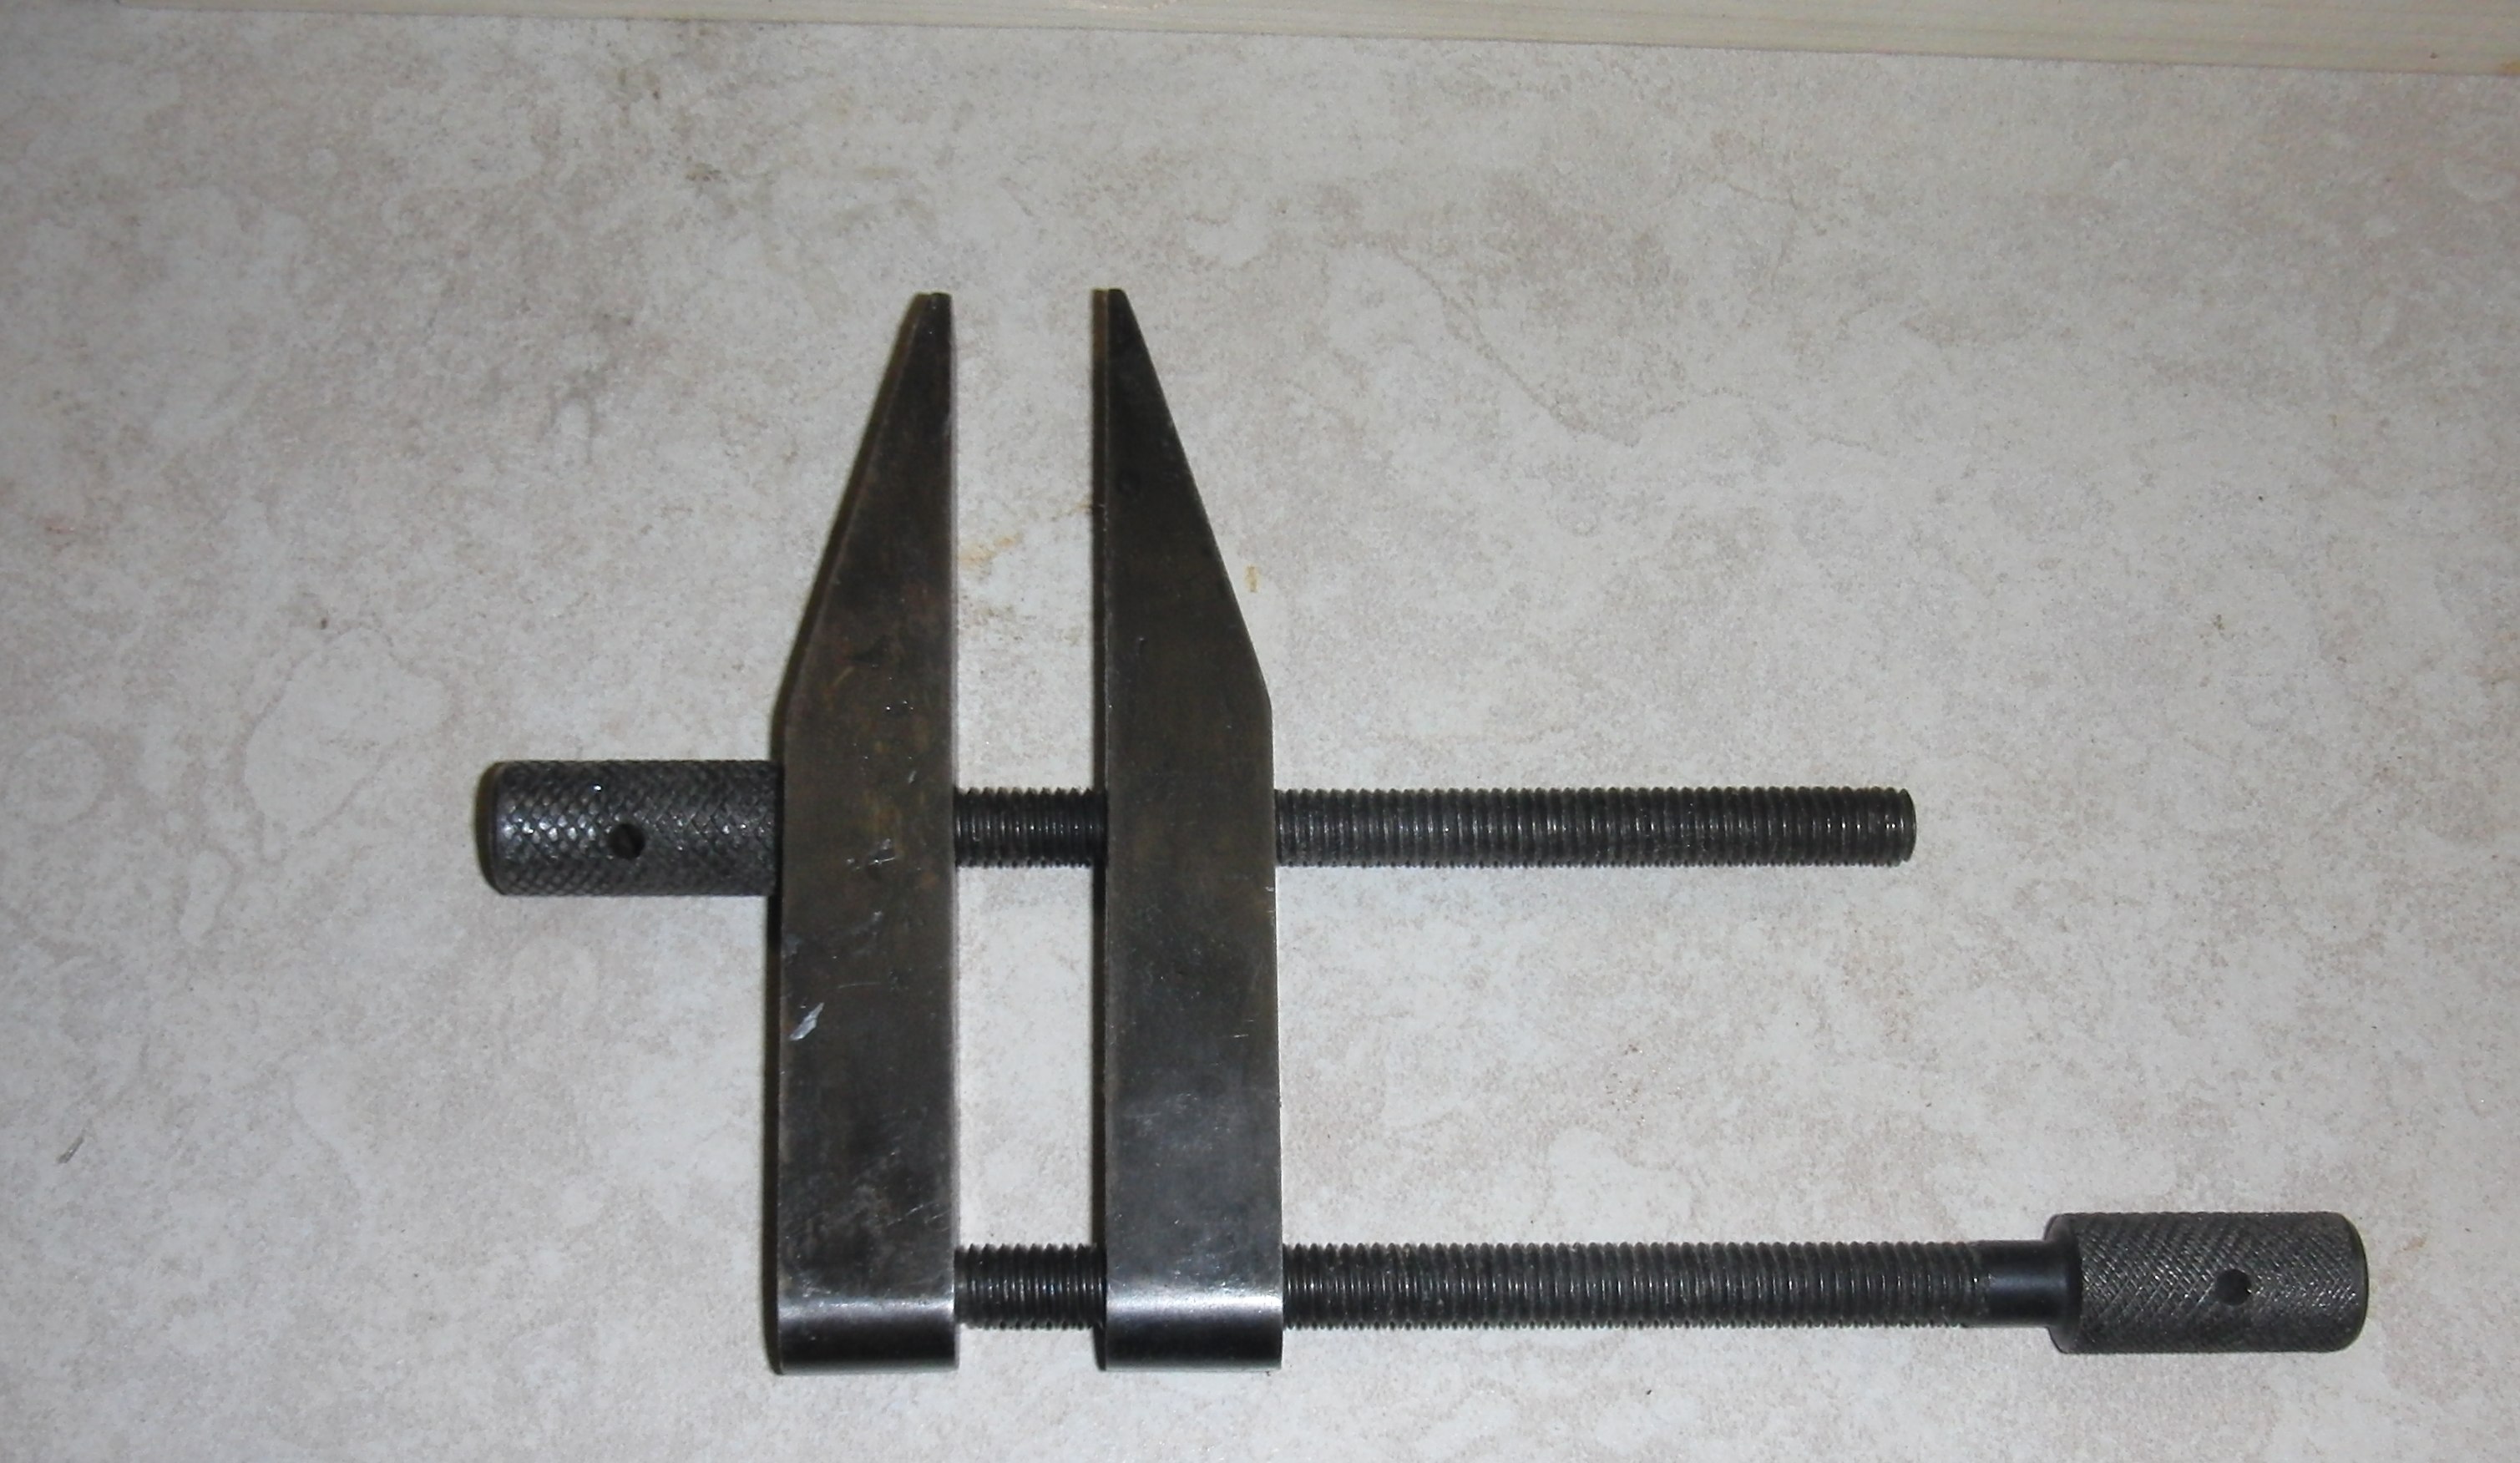
Long Reach (Deep Throat) clamps.
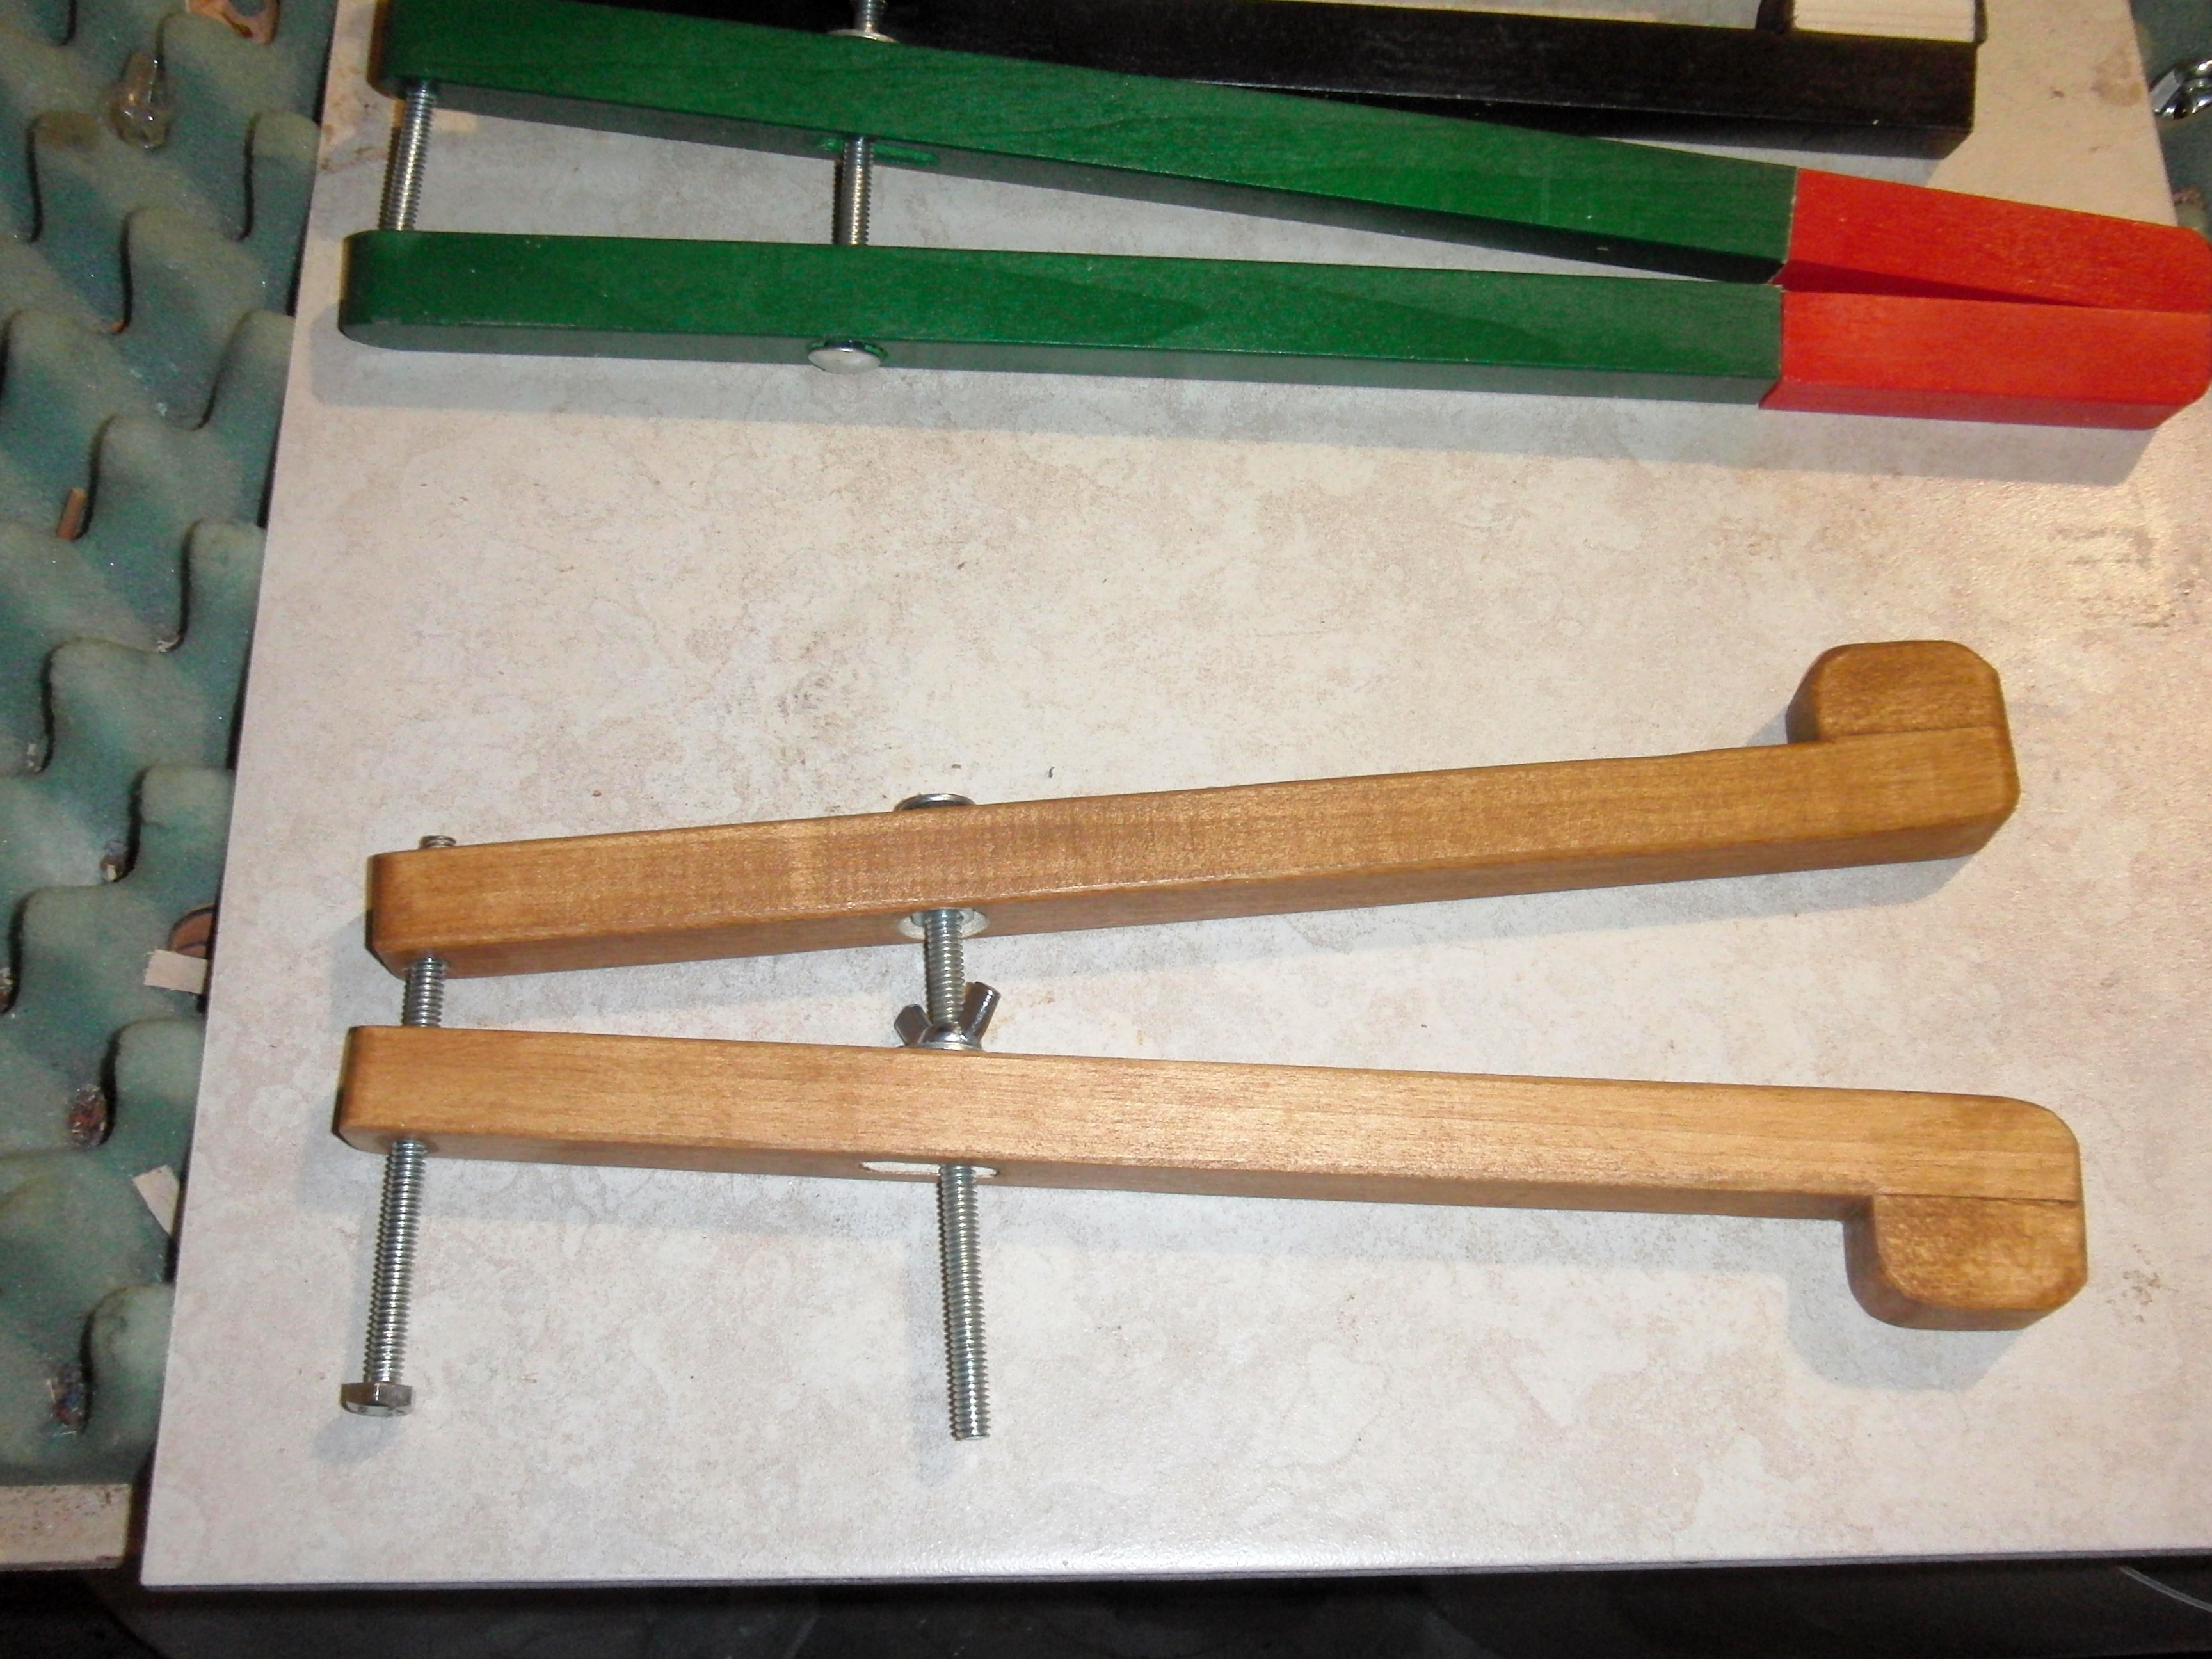
It started when I needed to glue a trailing edge spar and wanted full access to the inside of the flap space. There have been many times I have had need of a deeper clamp then I had access to. So I came up with this very simple, easy to make clamp. A bit more versatile than the standard wood or fiddle clamp.
The size can vary depending on how you want to use the clamp. I made 12" clamps because that was the material length I already had left over from making a bunch of wooden puzzles and it would suit my purpose.
Material list:
(2) each 3/4" x 3/4" wood what ever length you prefer.
(2) blocks 3/4" x 3/4" x 1 1/2" (optional)
(1) 1/4 - 20 hex head machine screw fully threaded (4" to 6" or longer)
(1) 1/4 - 20 carriage bolt fully threaded ( 4" to 6" or longer)
(1) 1/4 - 20 wing nut or knob
(1) washer
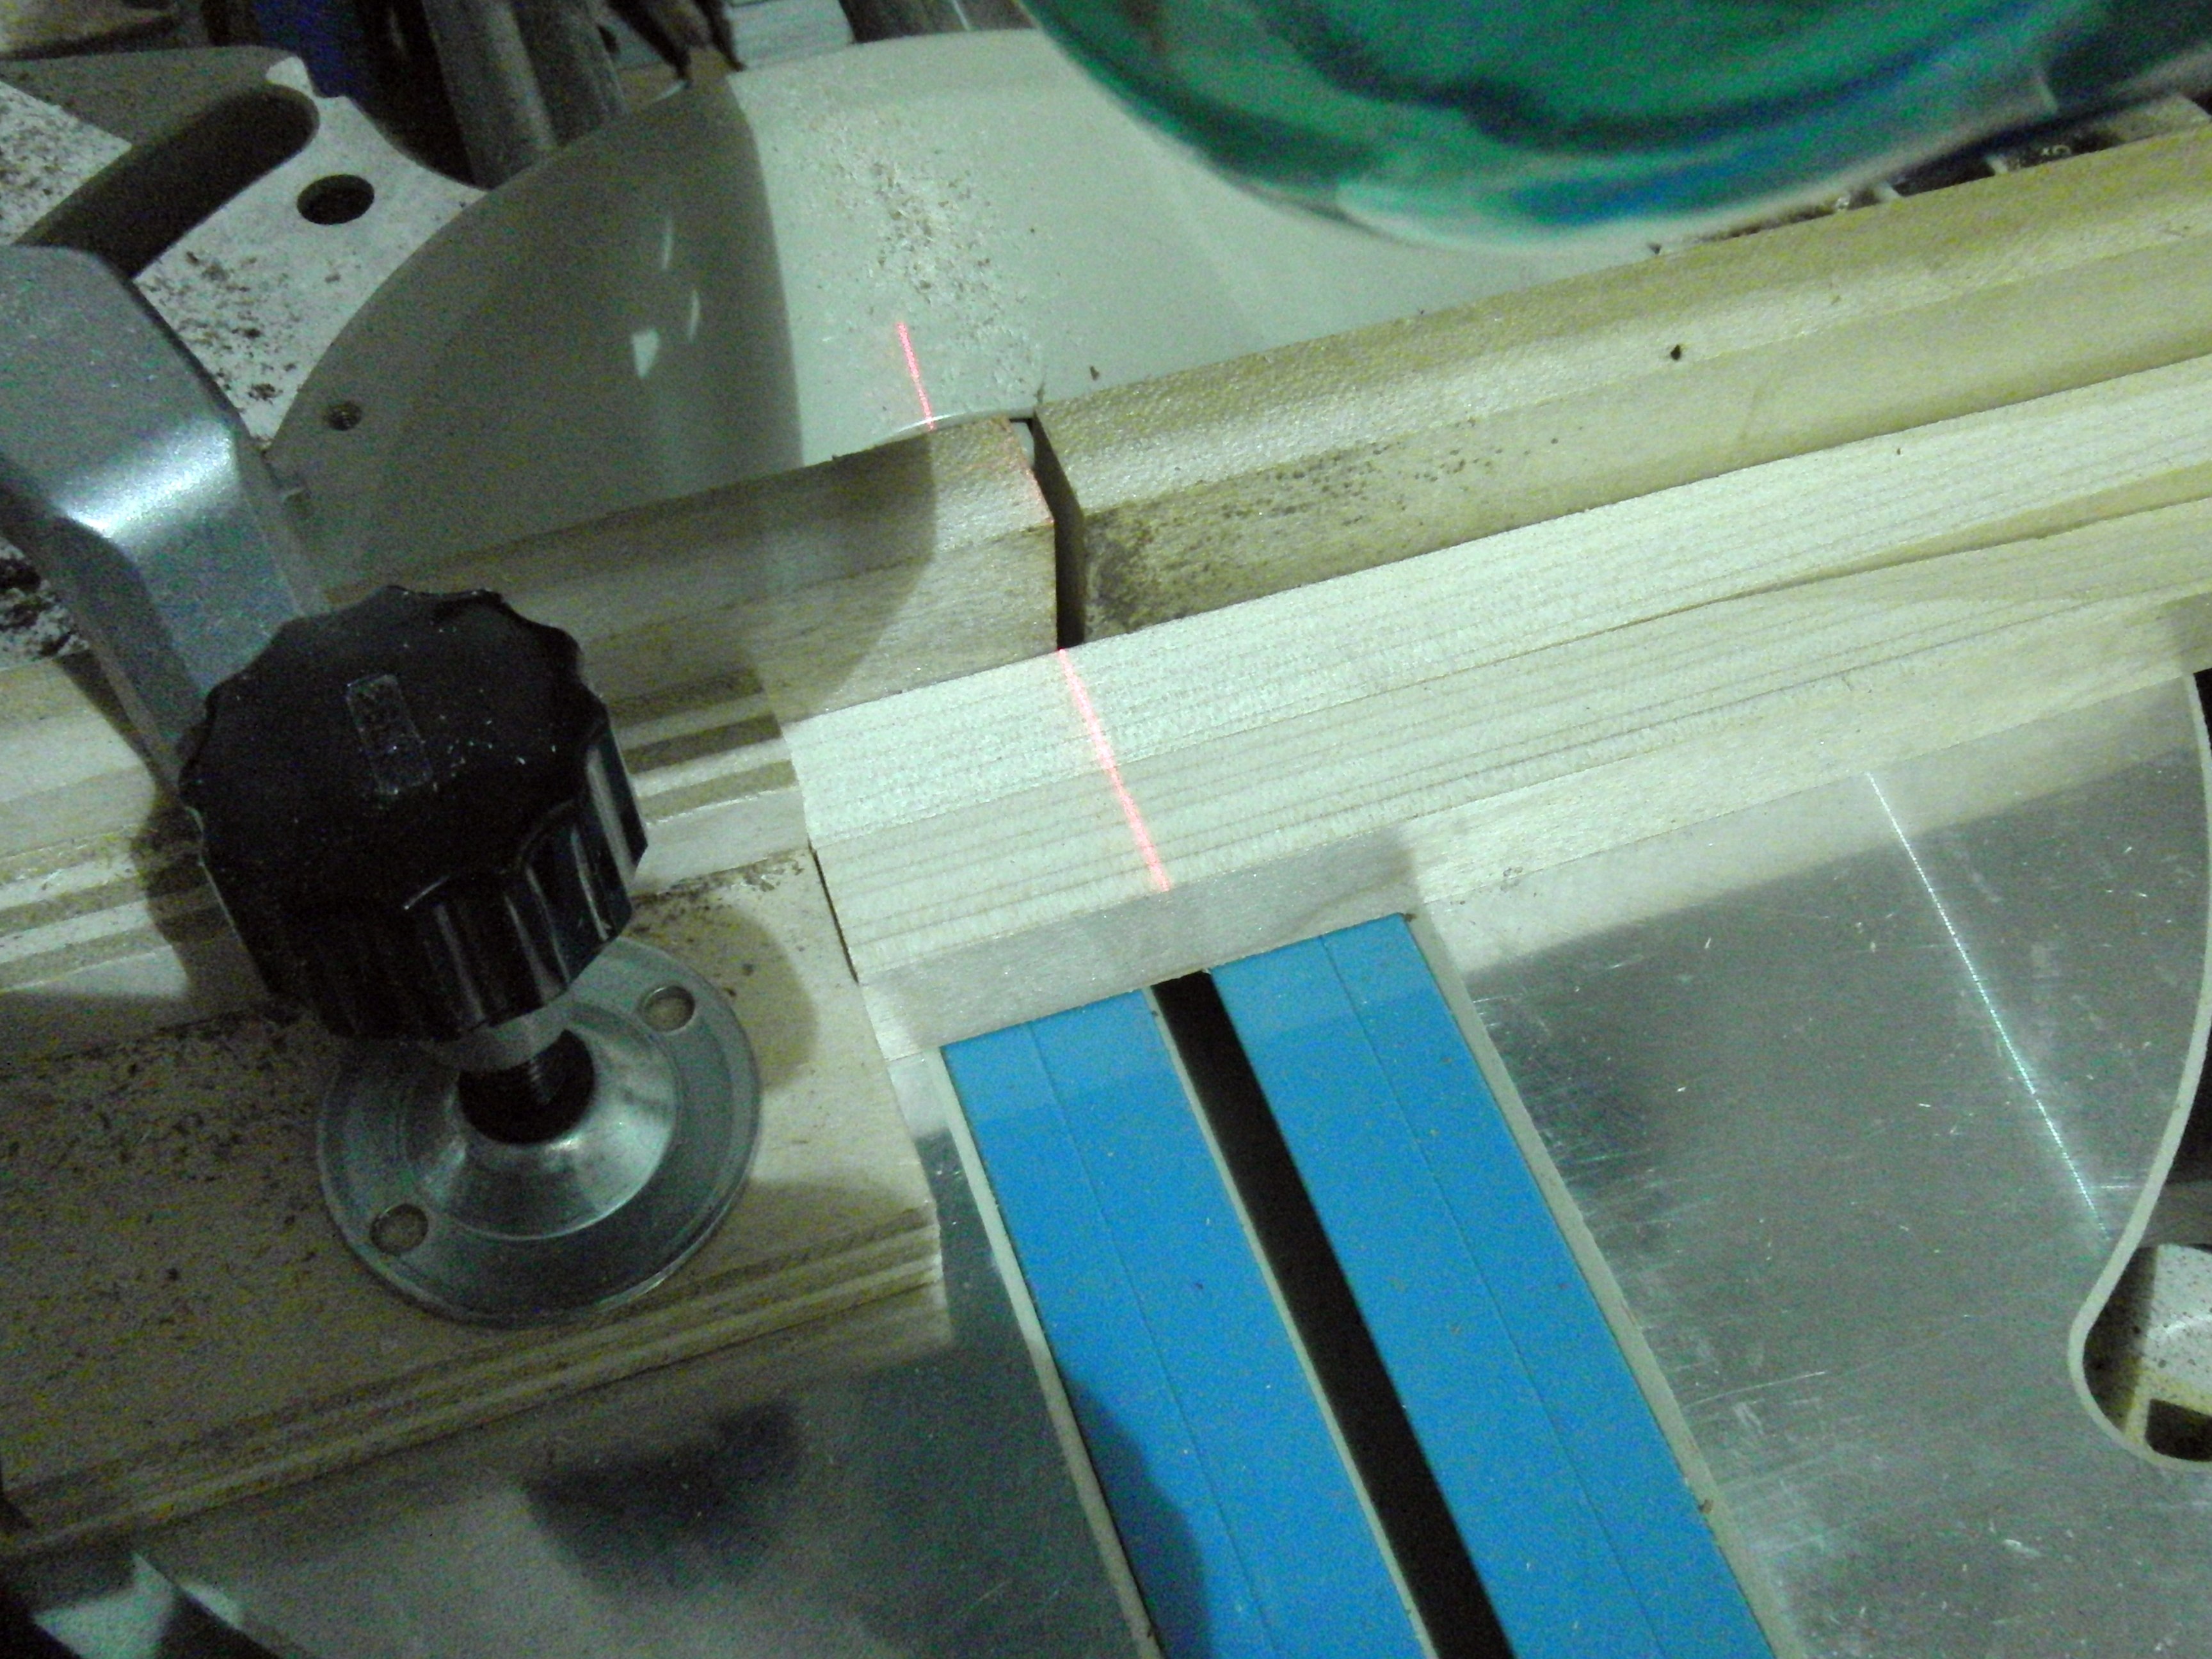
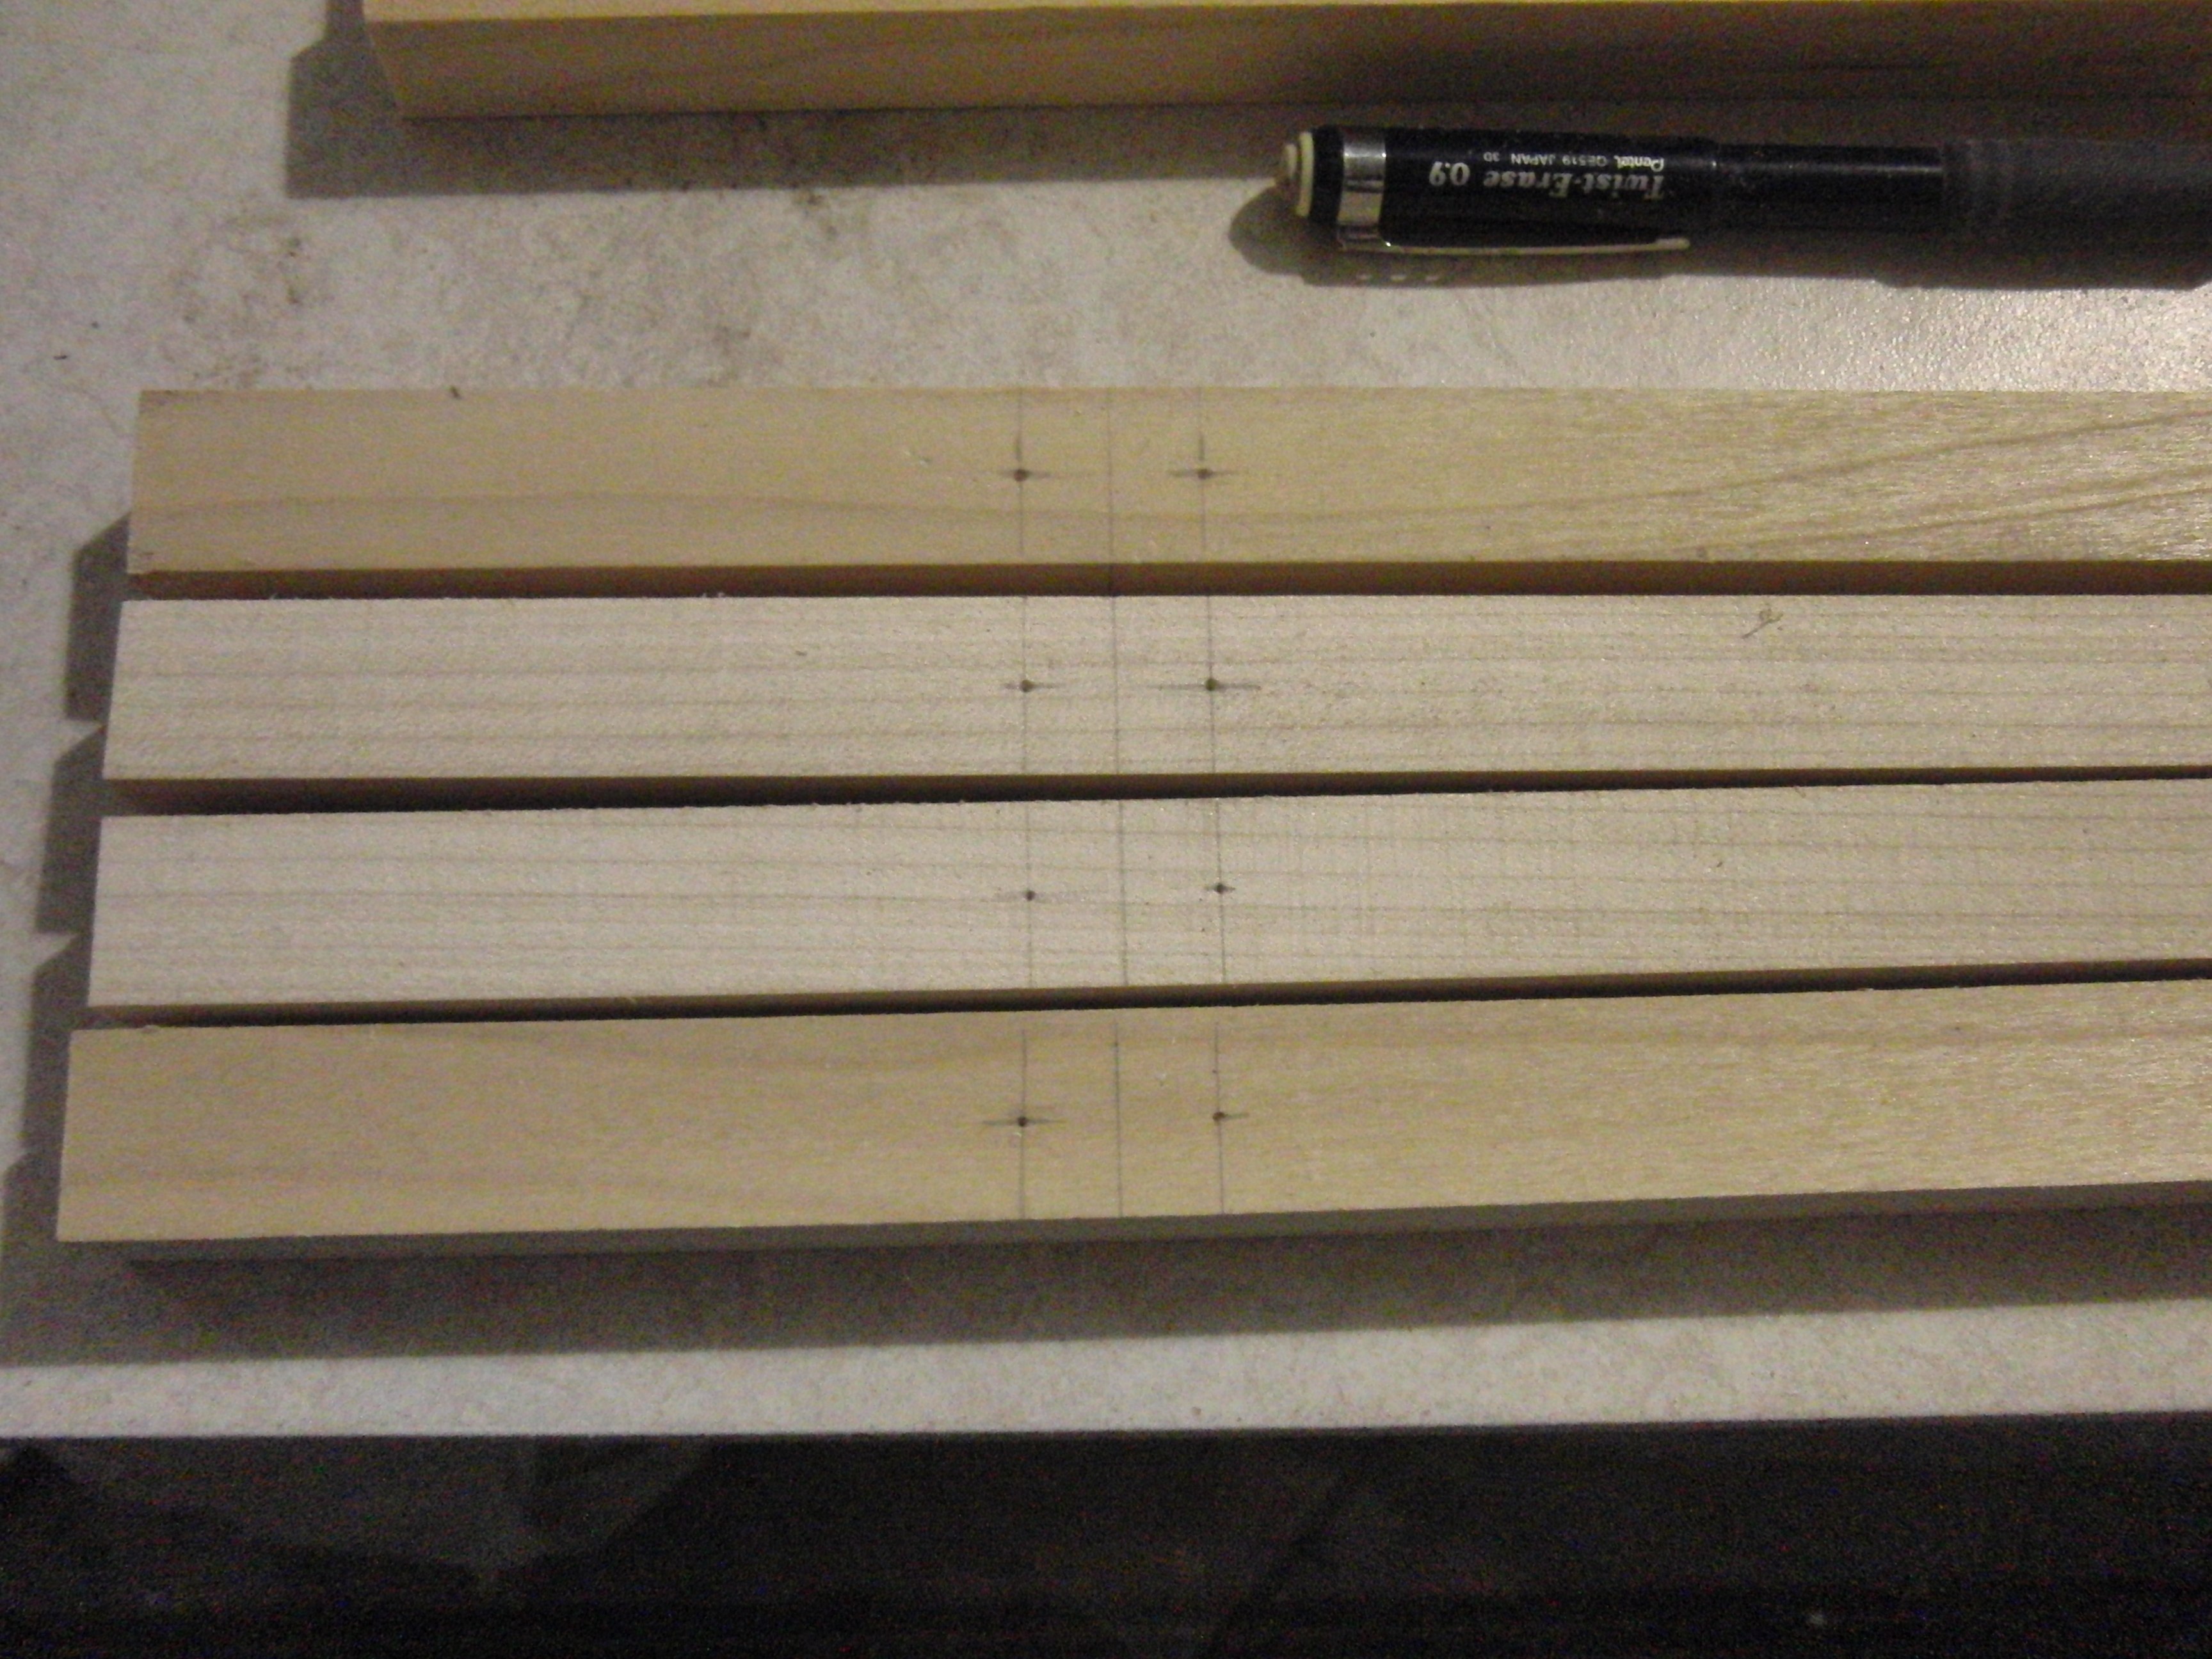
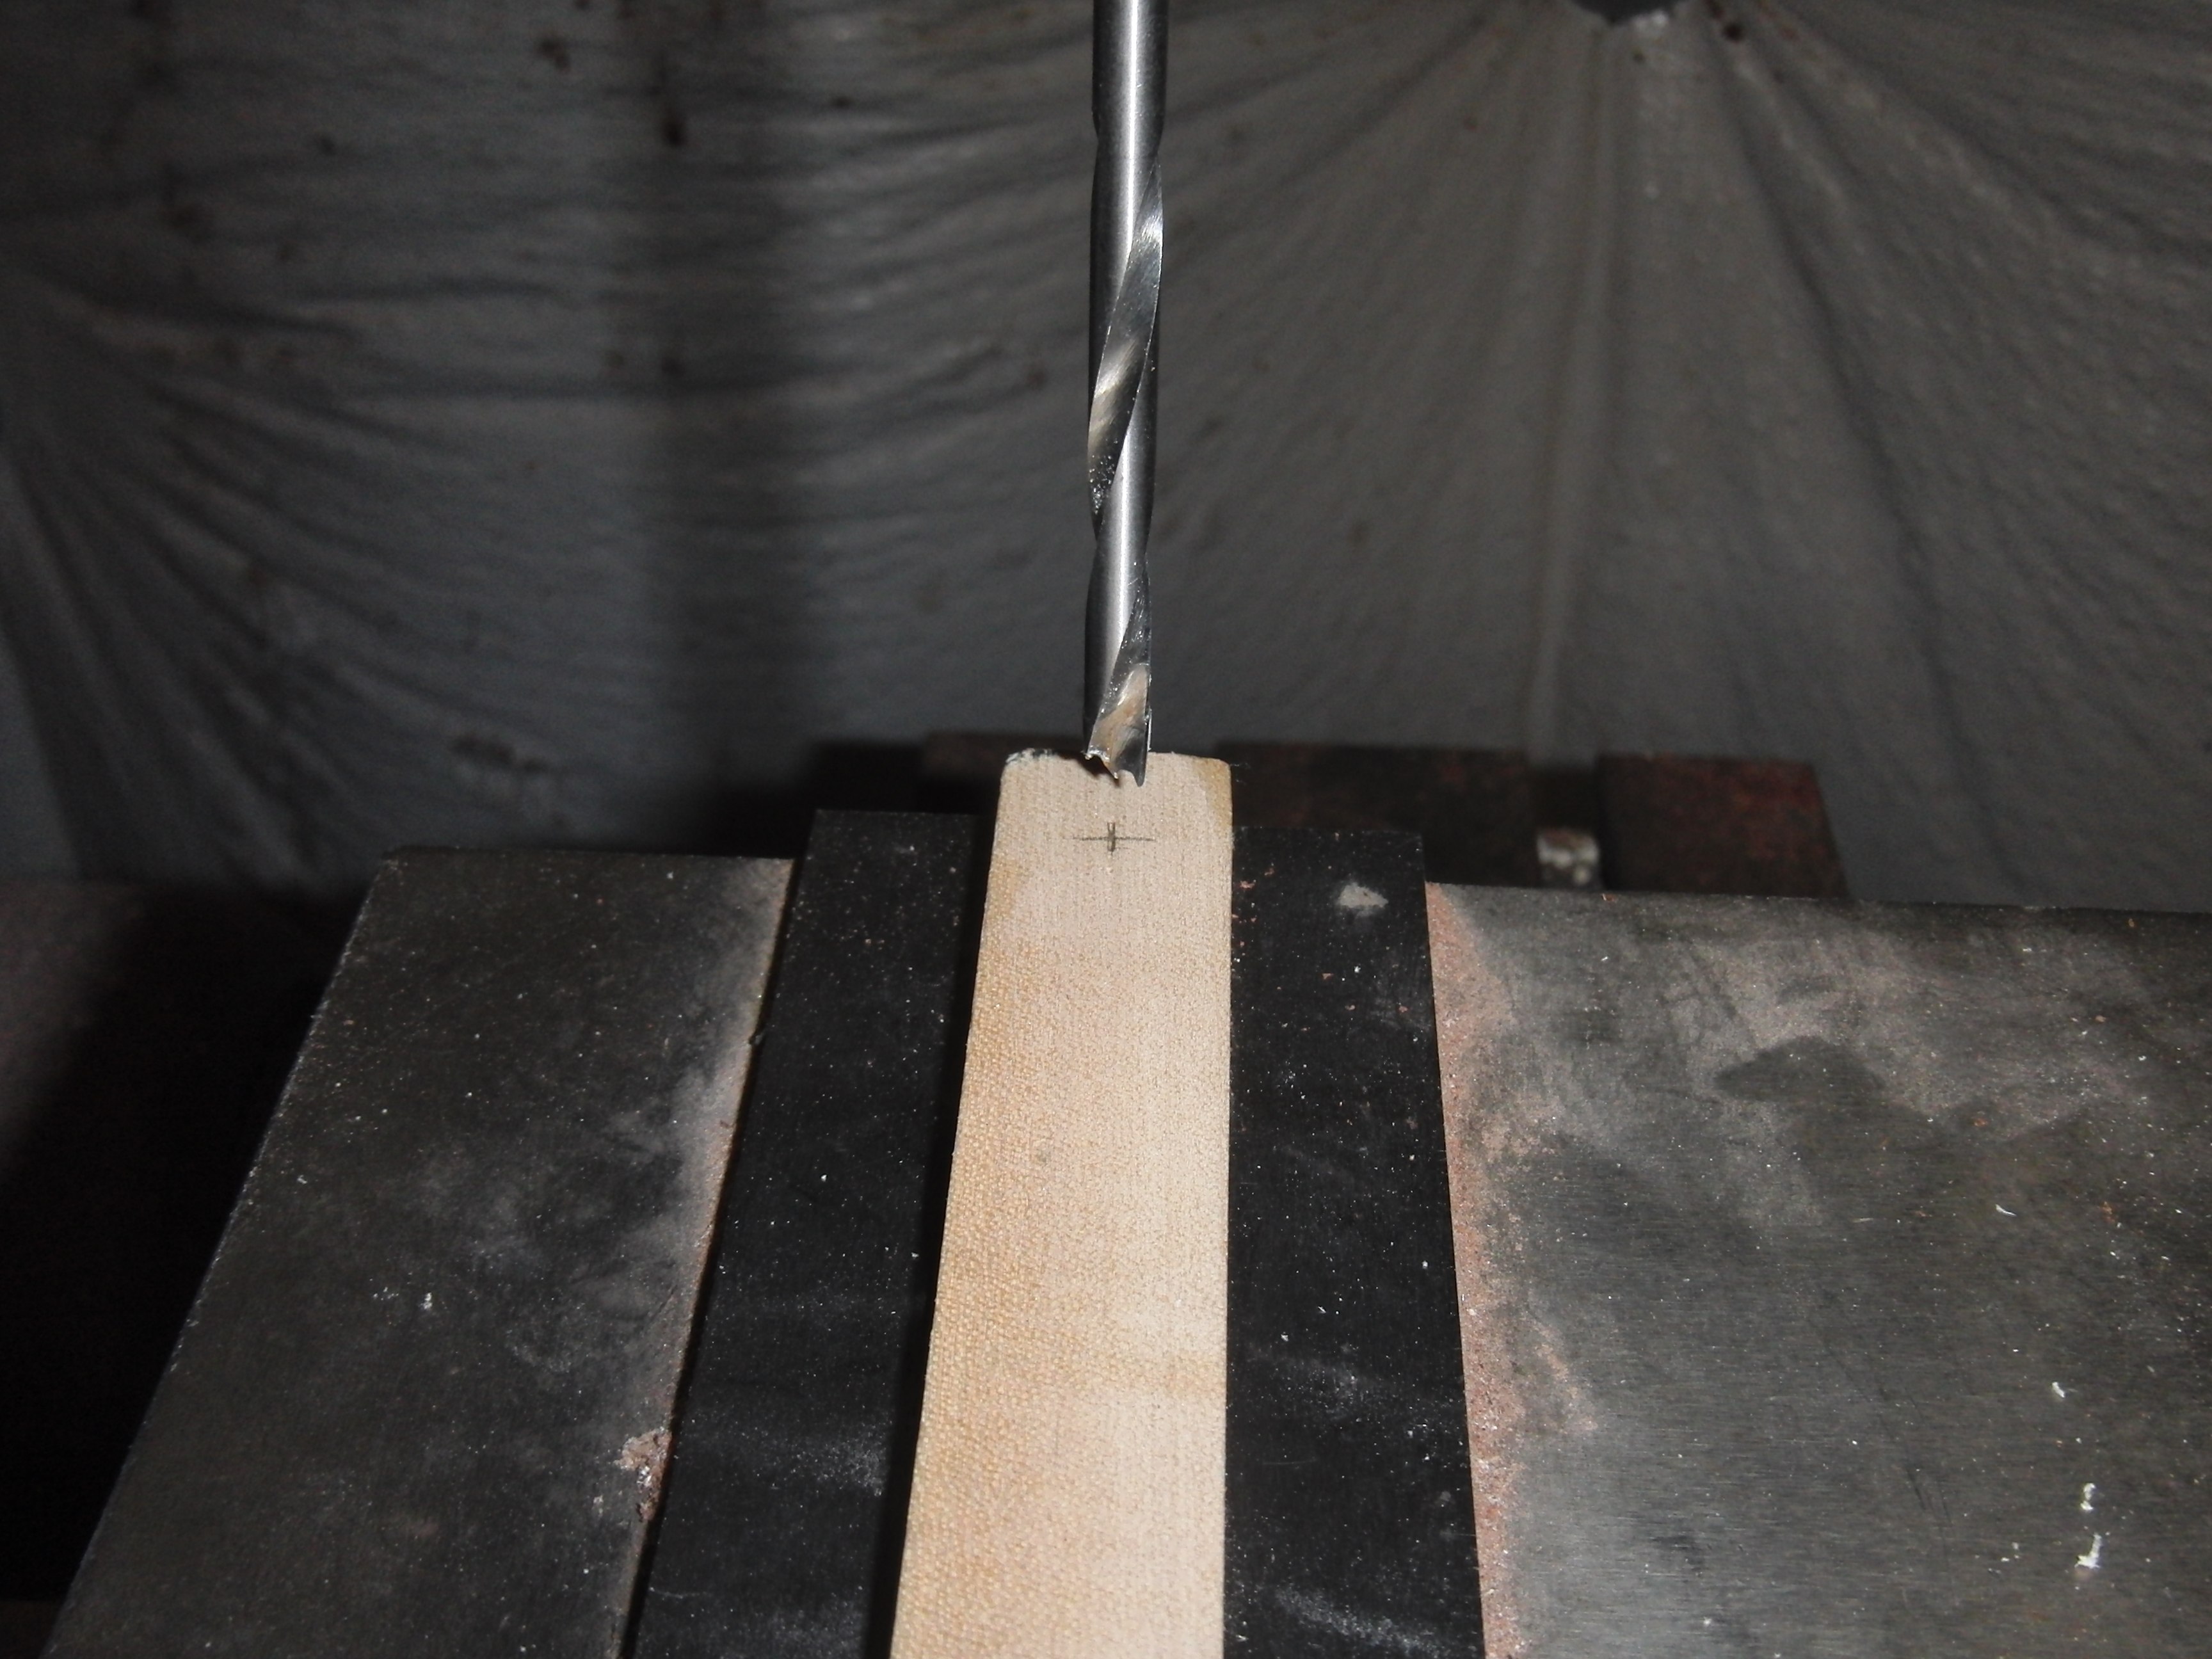
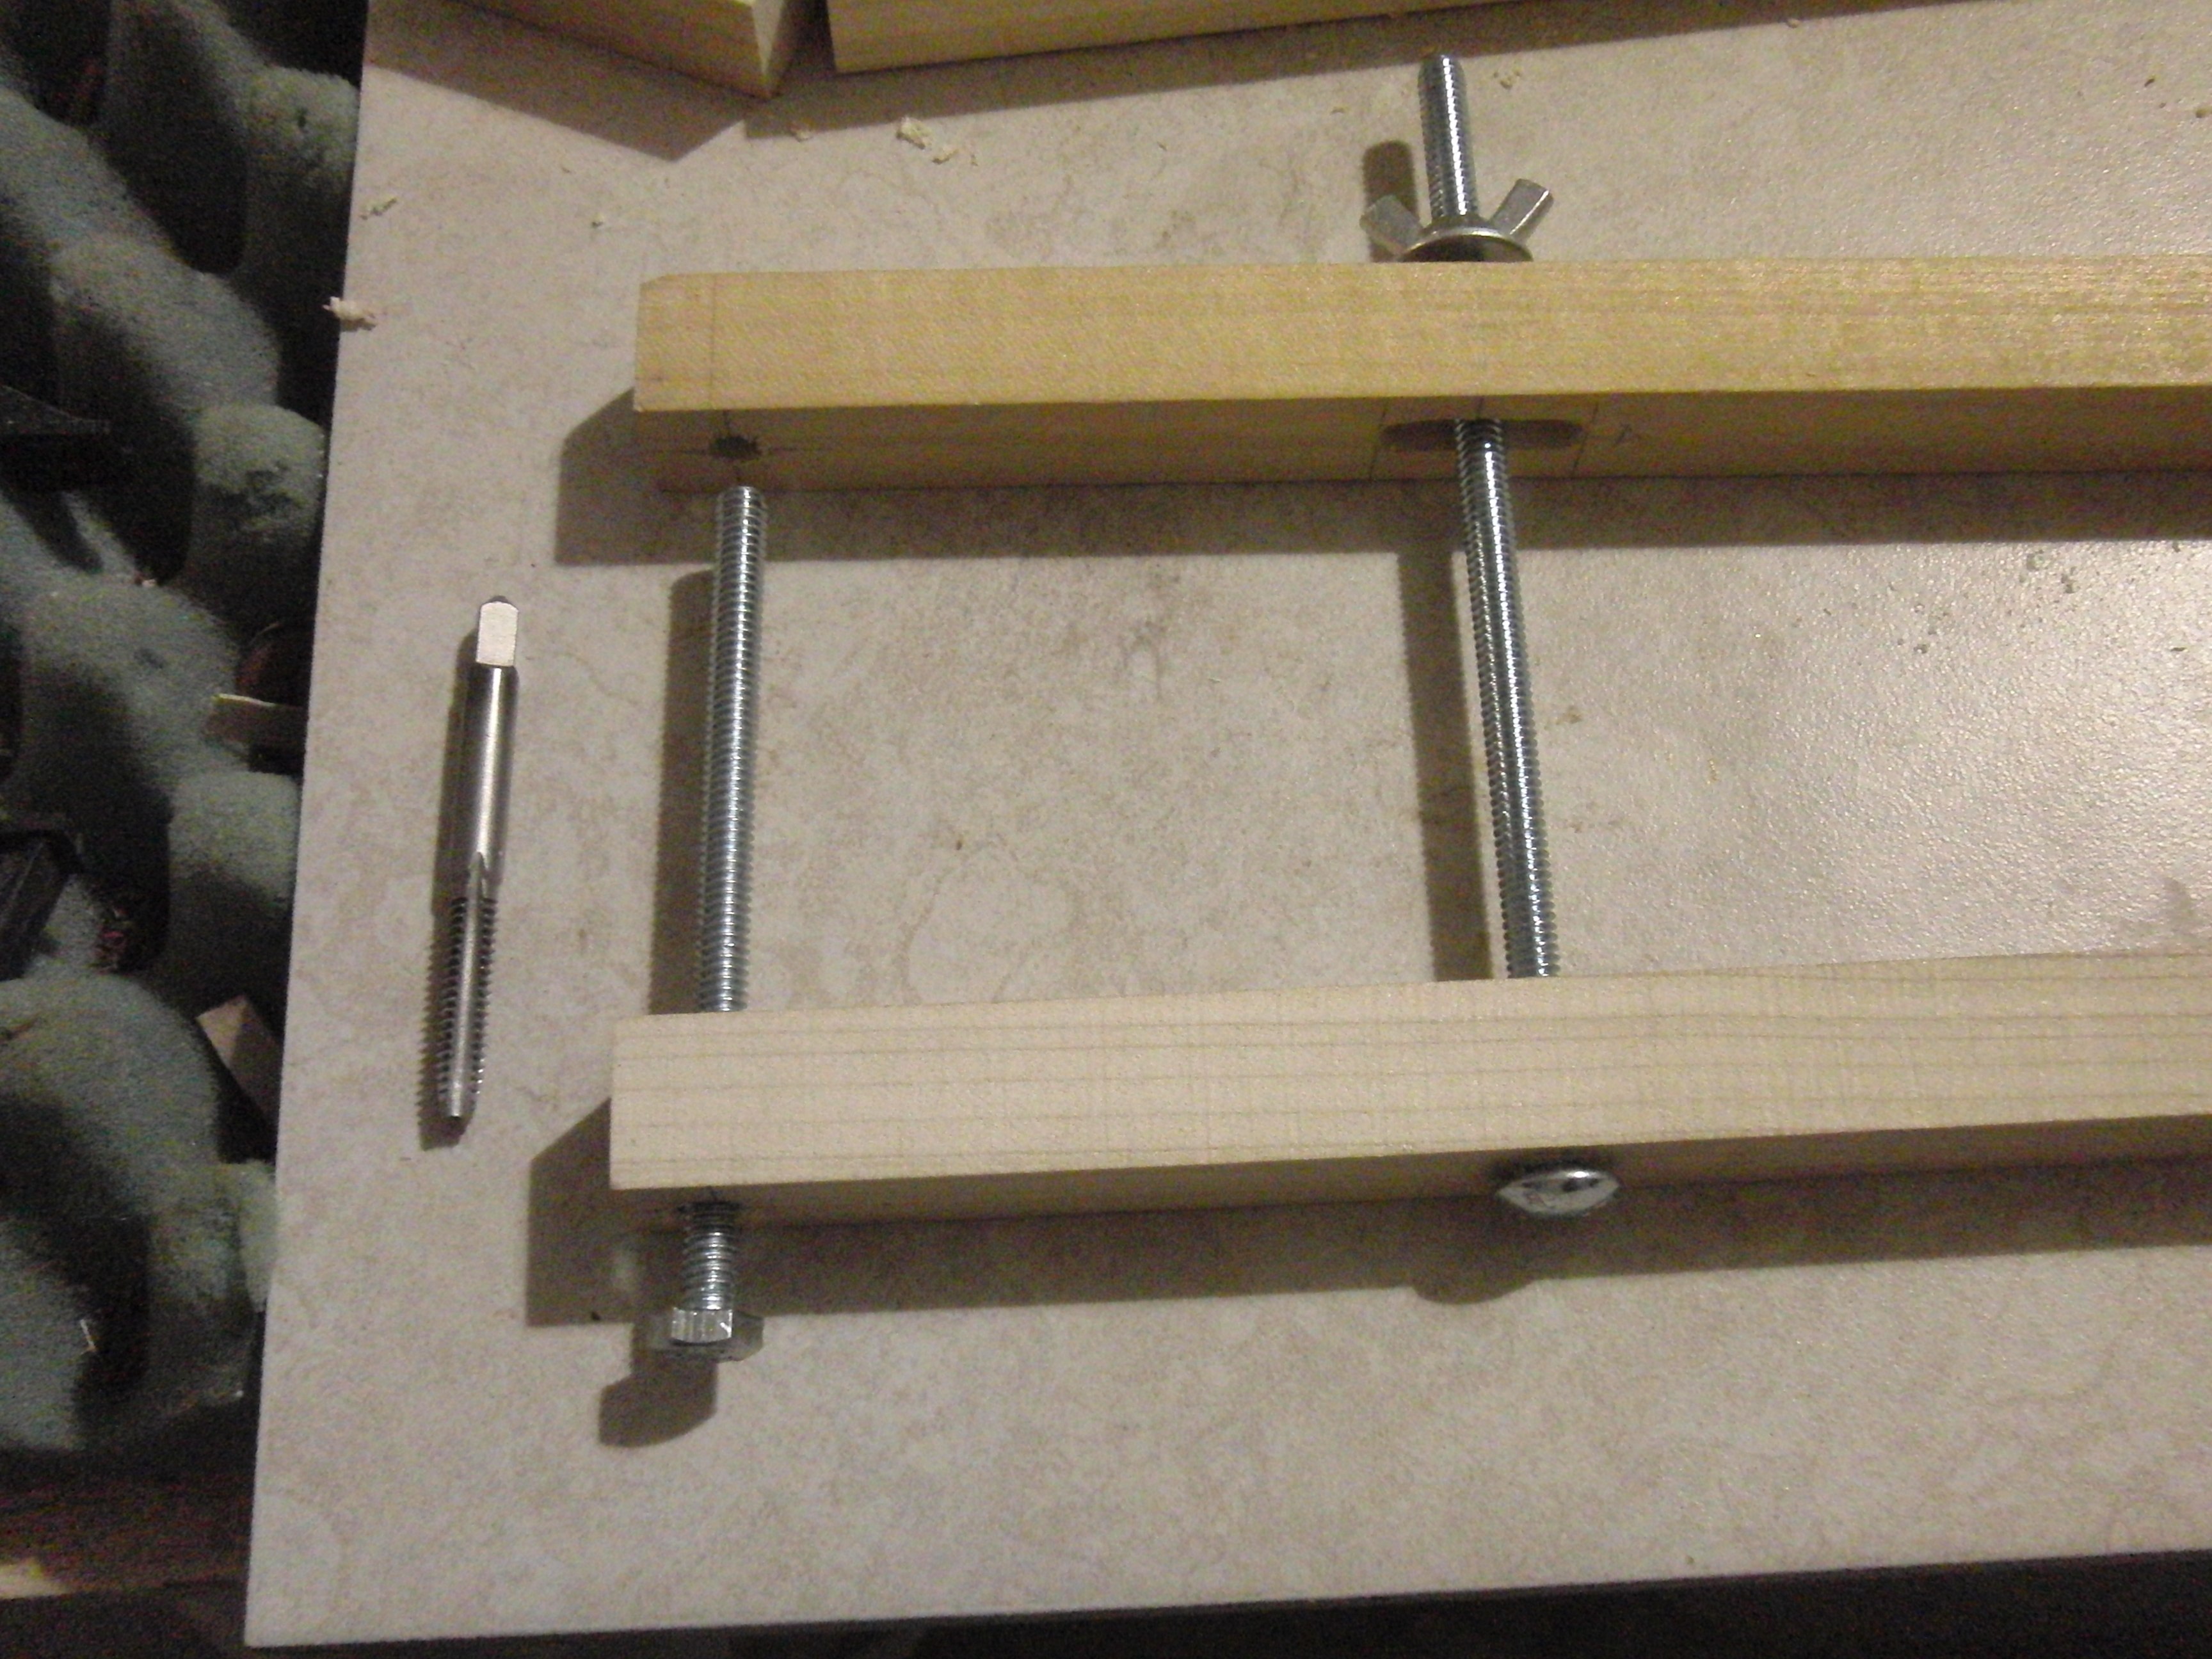
First cut the stock to length and cut jaw blocks.
Mark center bolt holes. The rule of thumb would be 1/3 of the stock length for leverage. I made one 1/4 of the length and it worked fine also. I easily got over 20 lbs of pressure from both. Drill 9/32" hole through the base piece as shown. I made multiple clamps to experiment with, so you can ignore them if you only want one.
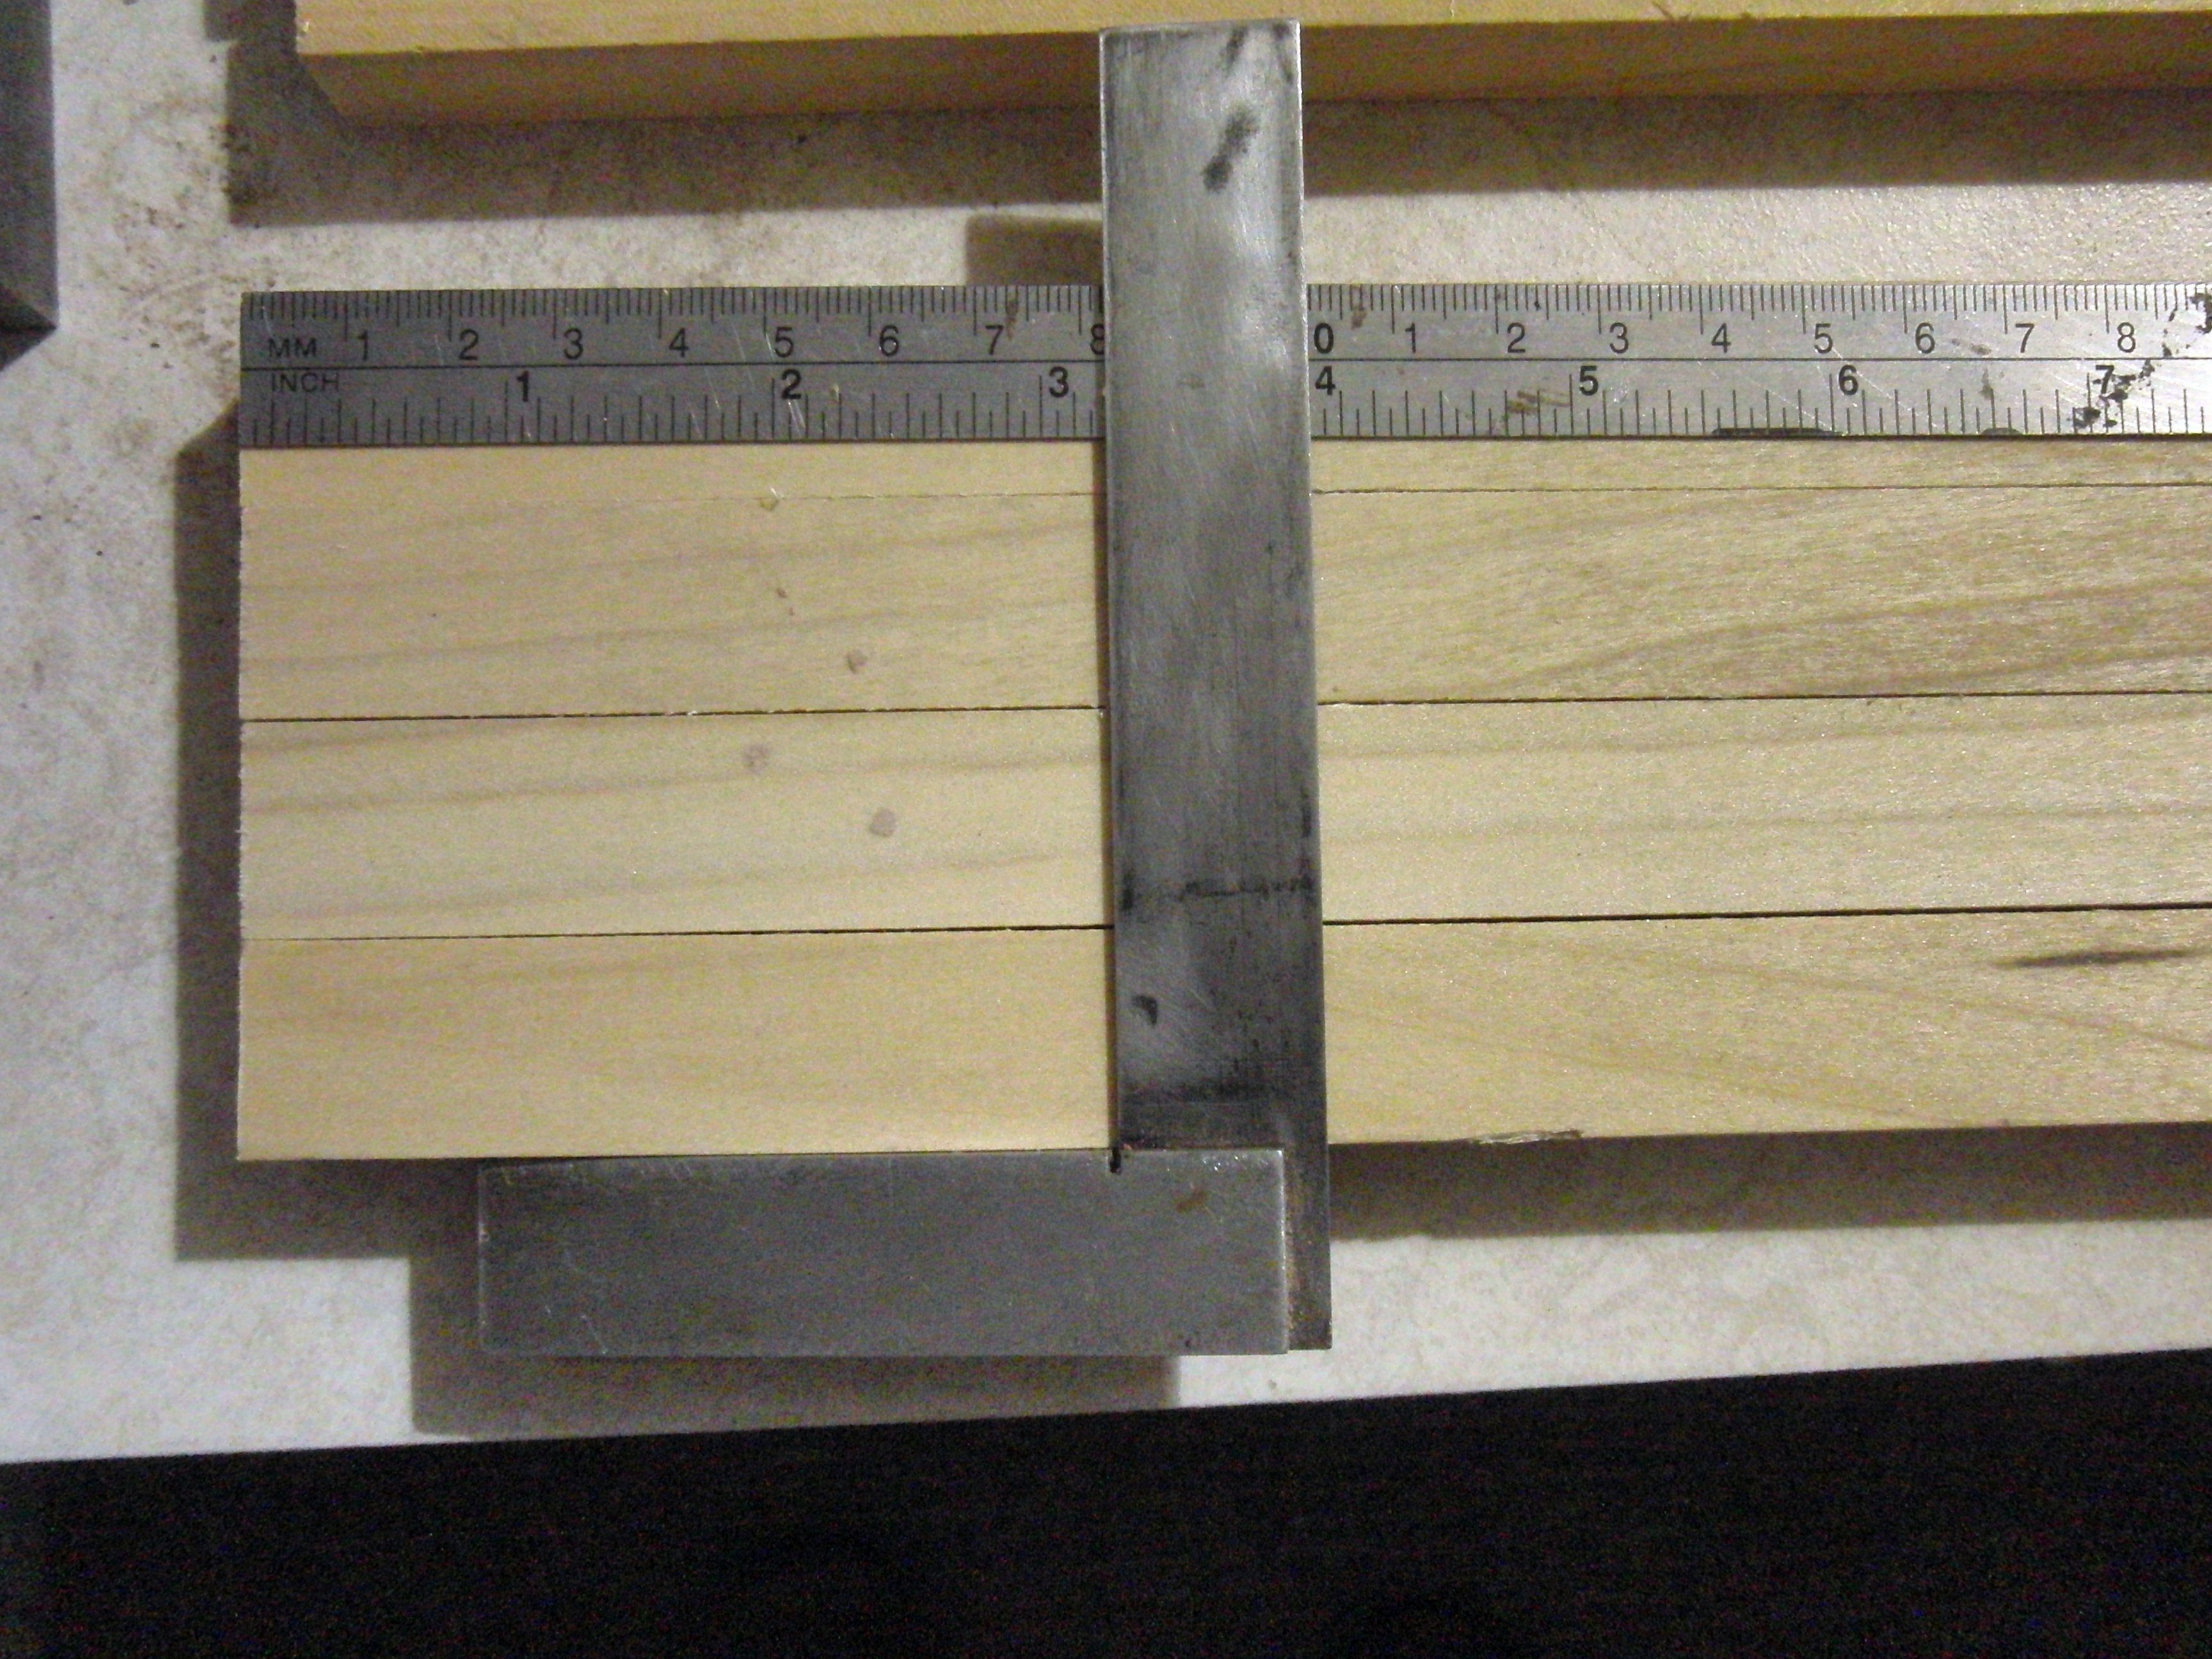
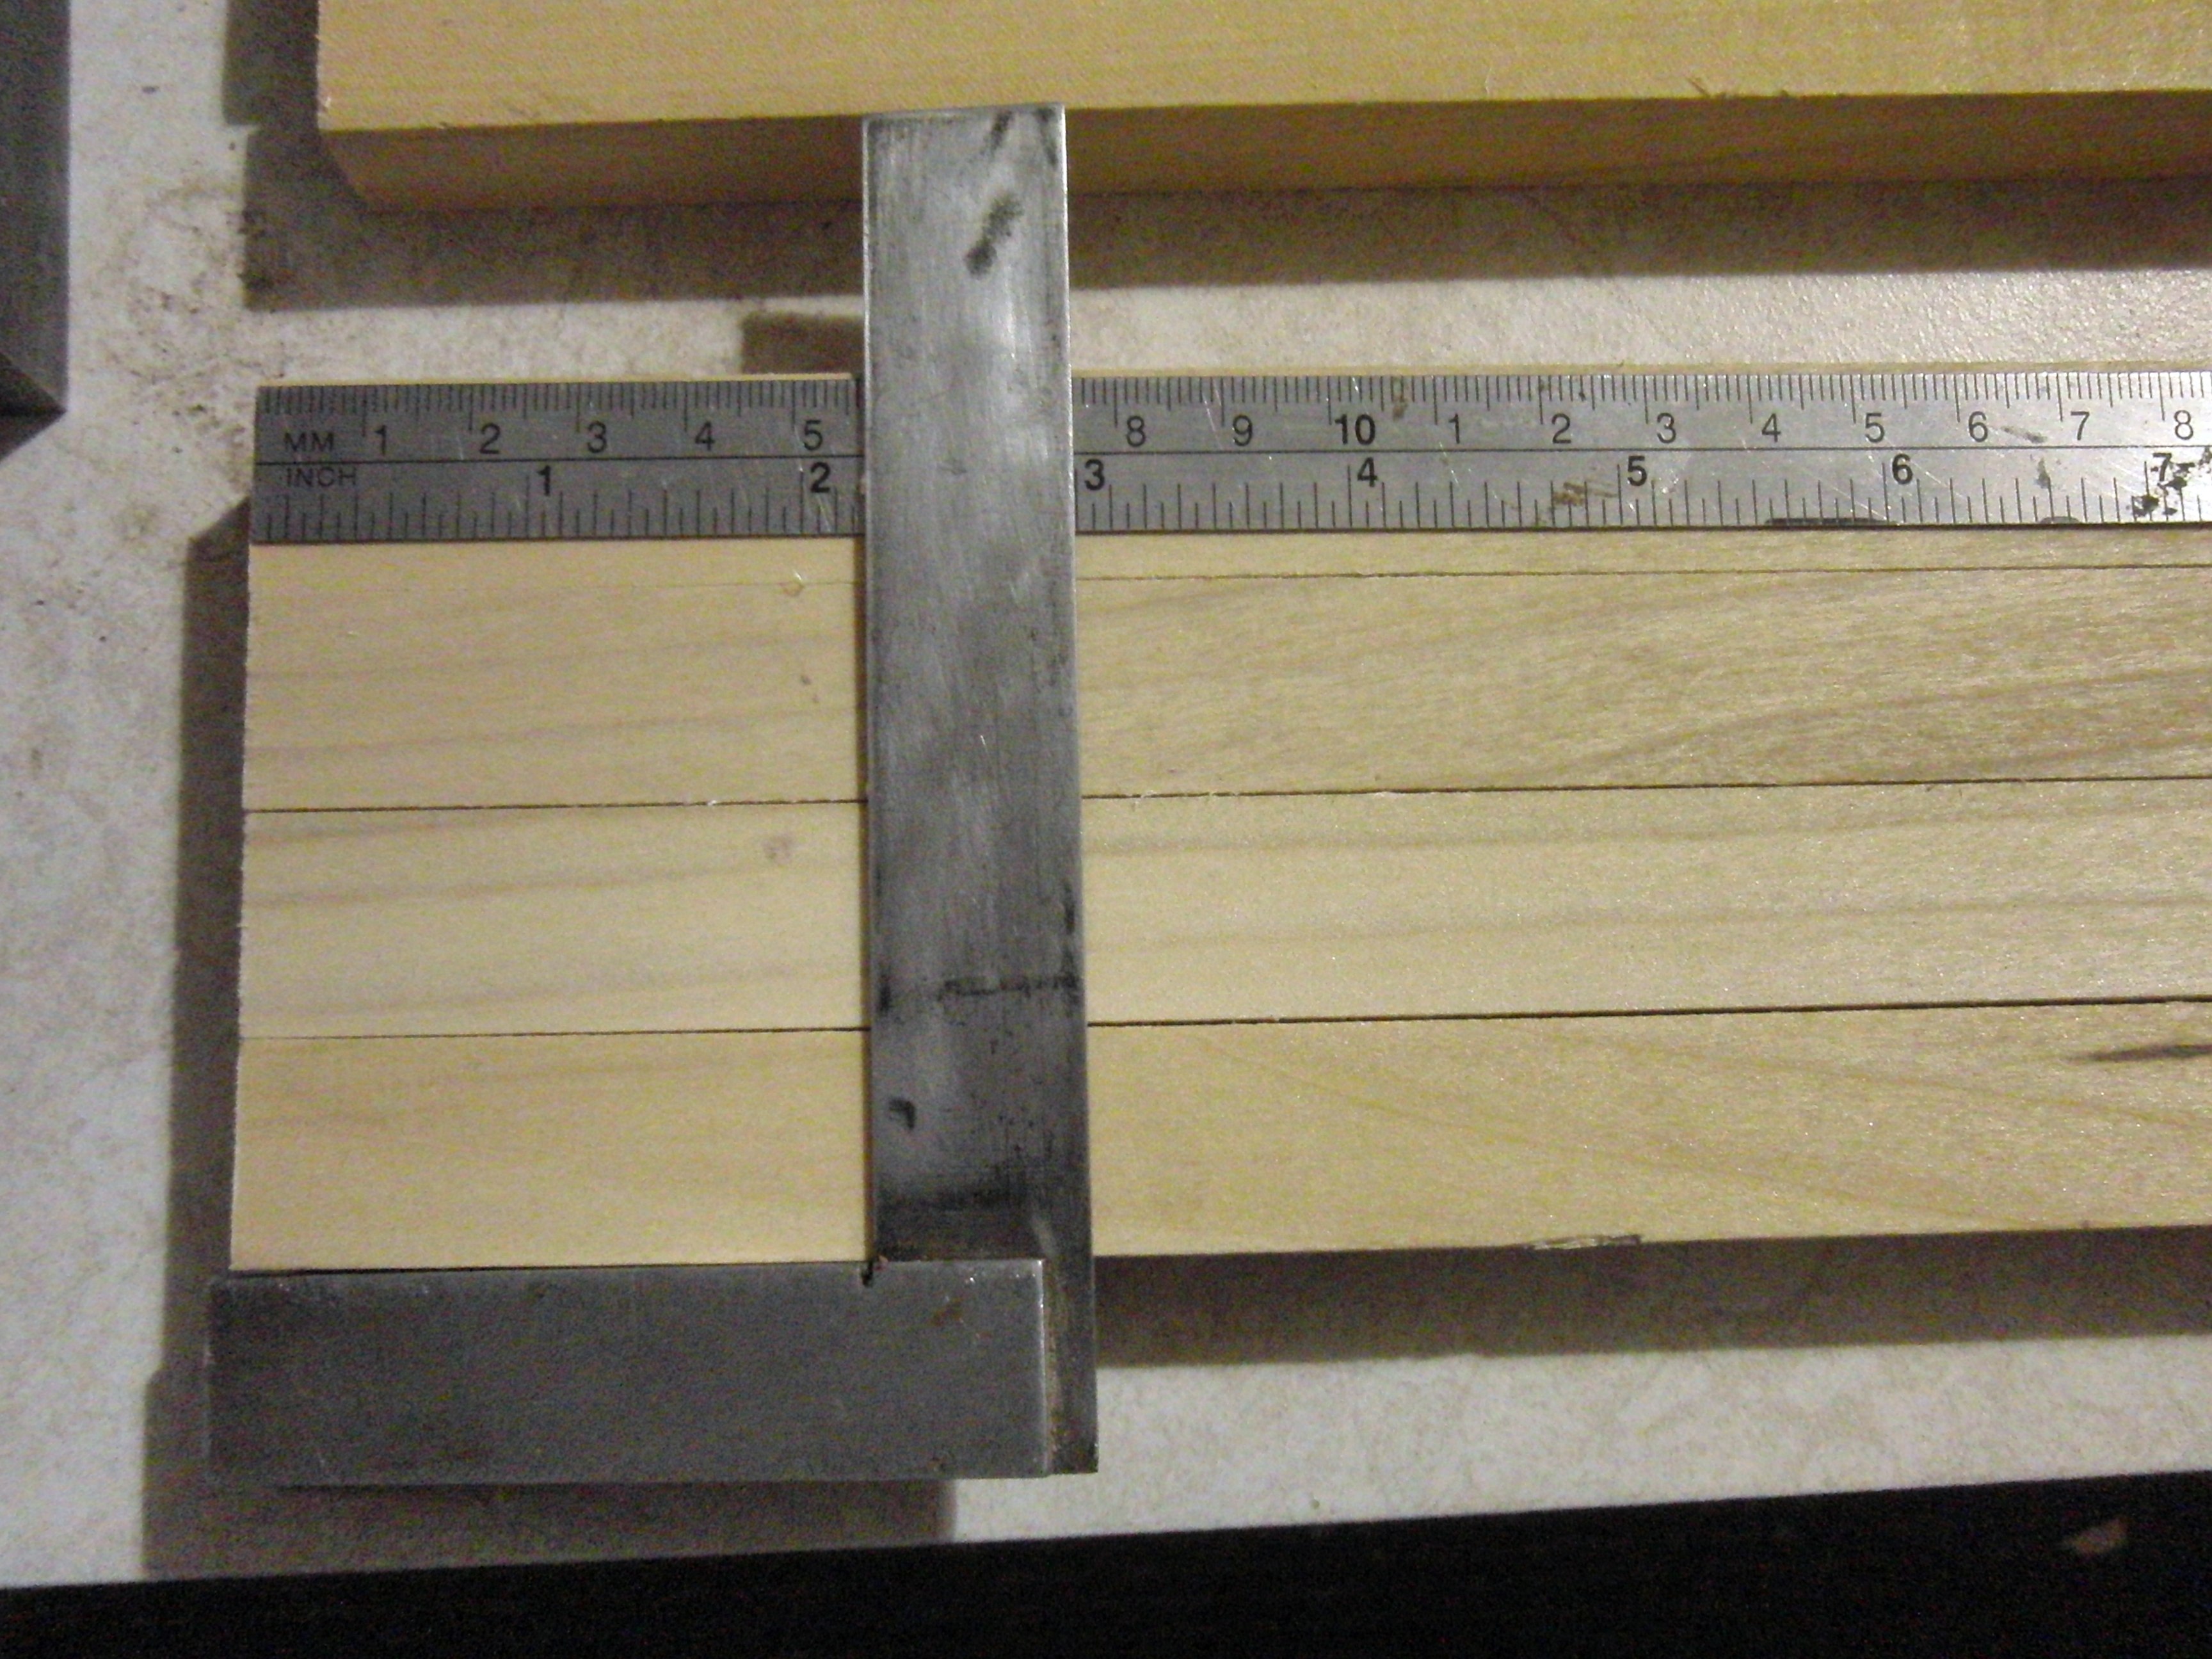
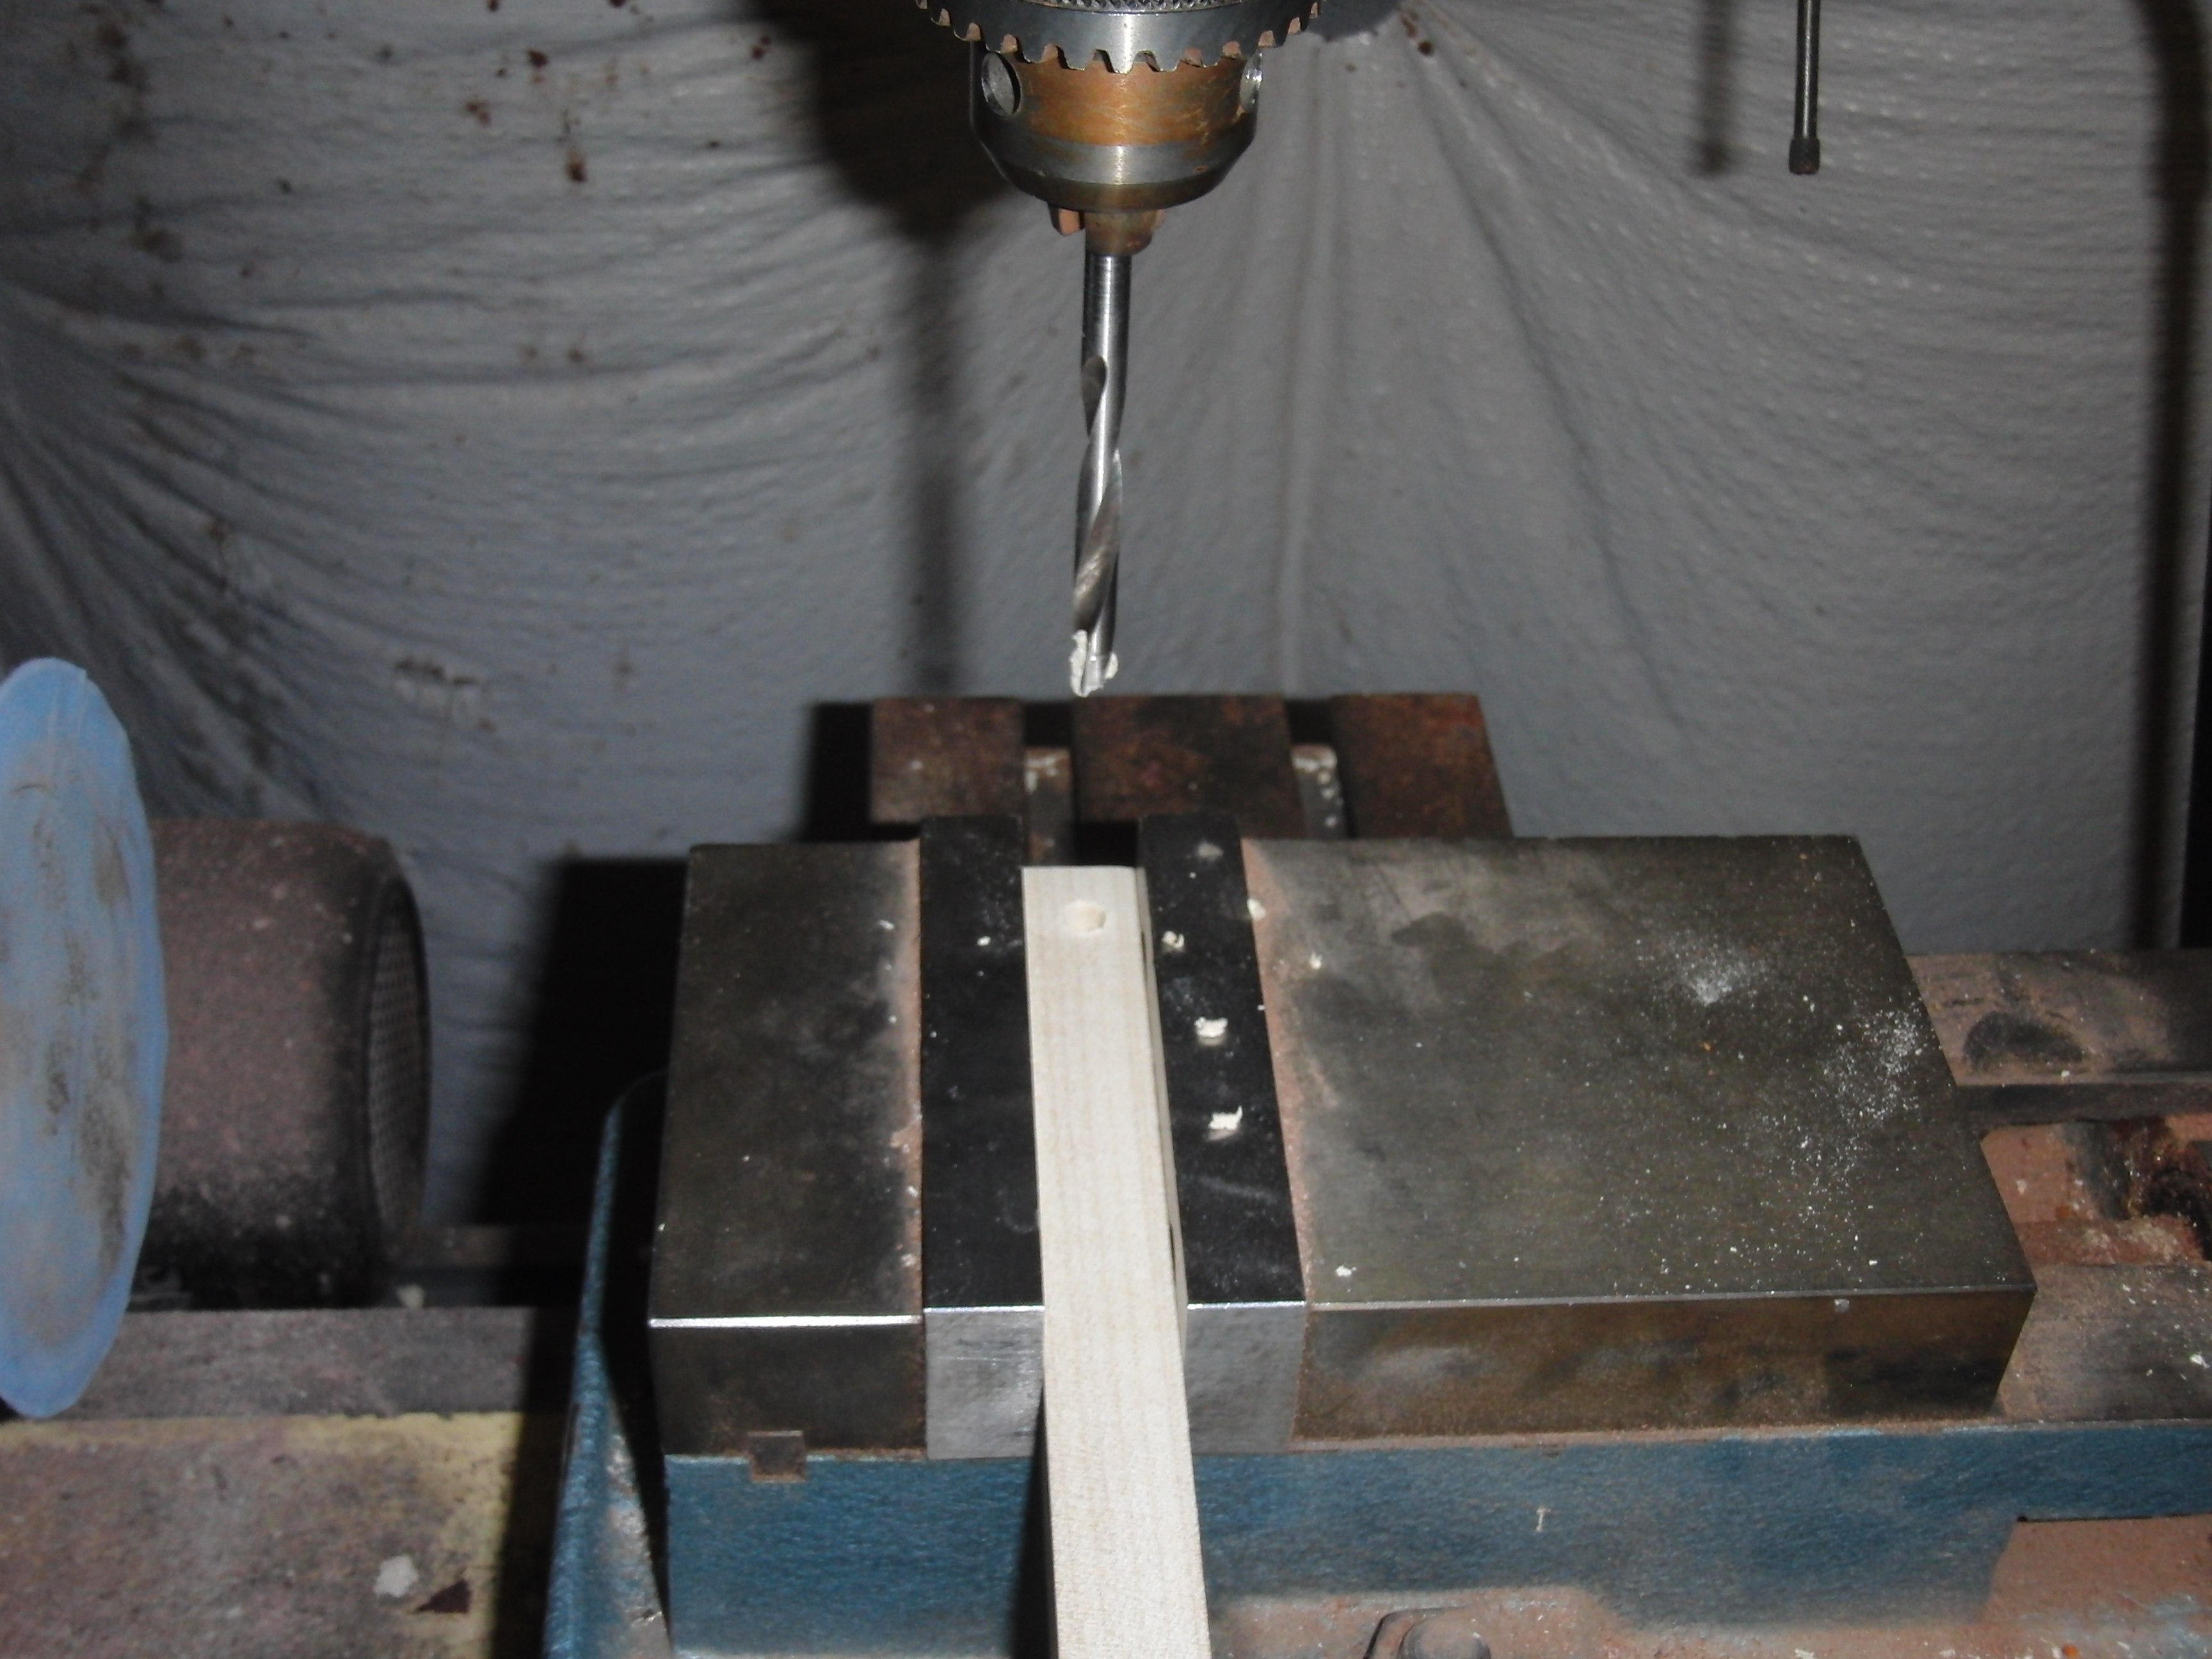
Mark for slot. 3/4" to 1" wide. This helps keep the screw from jamming when at different angles during clamping. Drill 5/16" hole at each end of slot. Drill out the stuff in between. It is cleaner if you use a knife and score down the sides between the holes
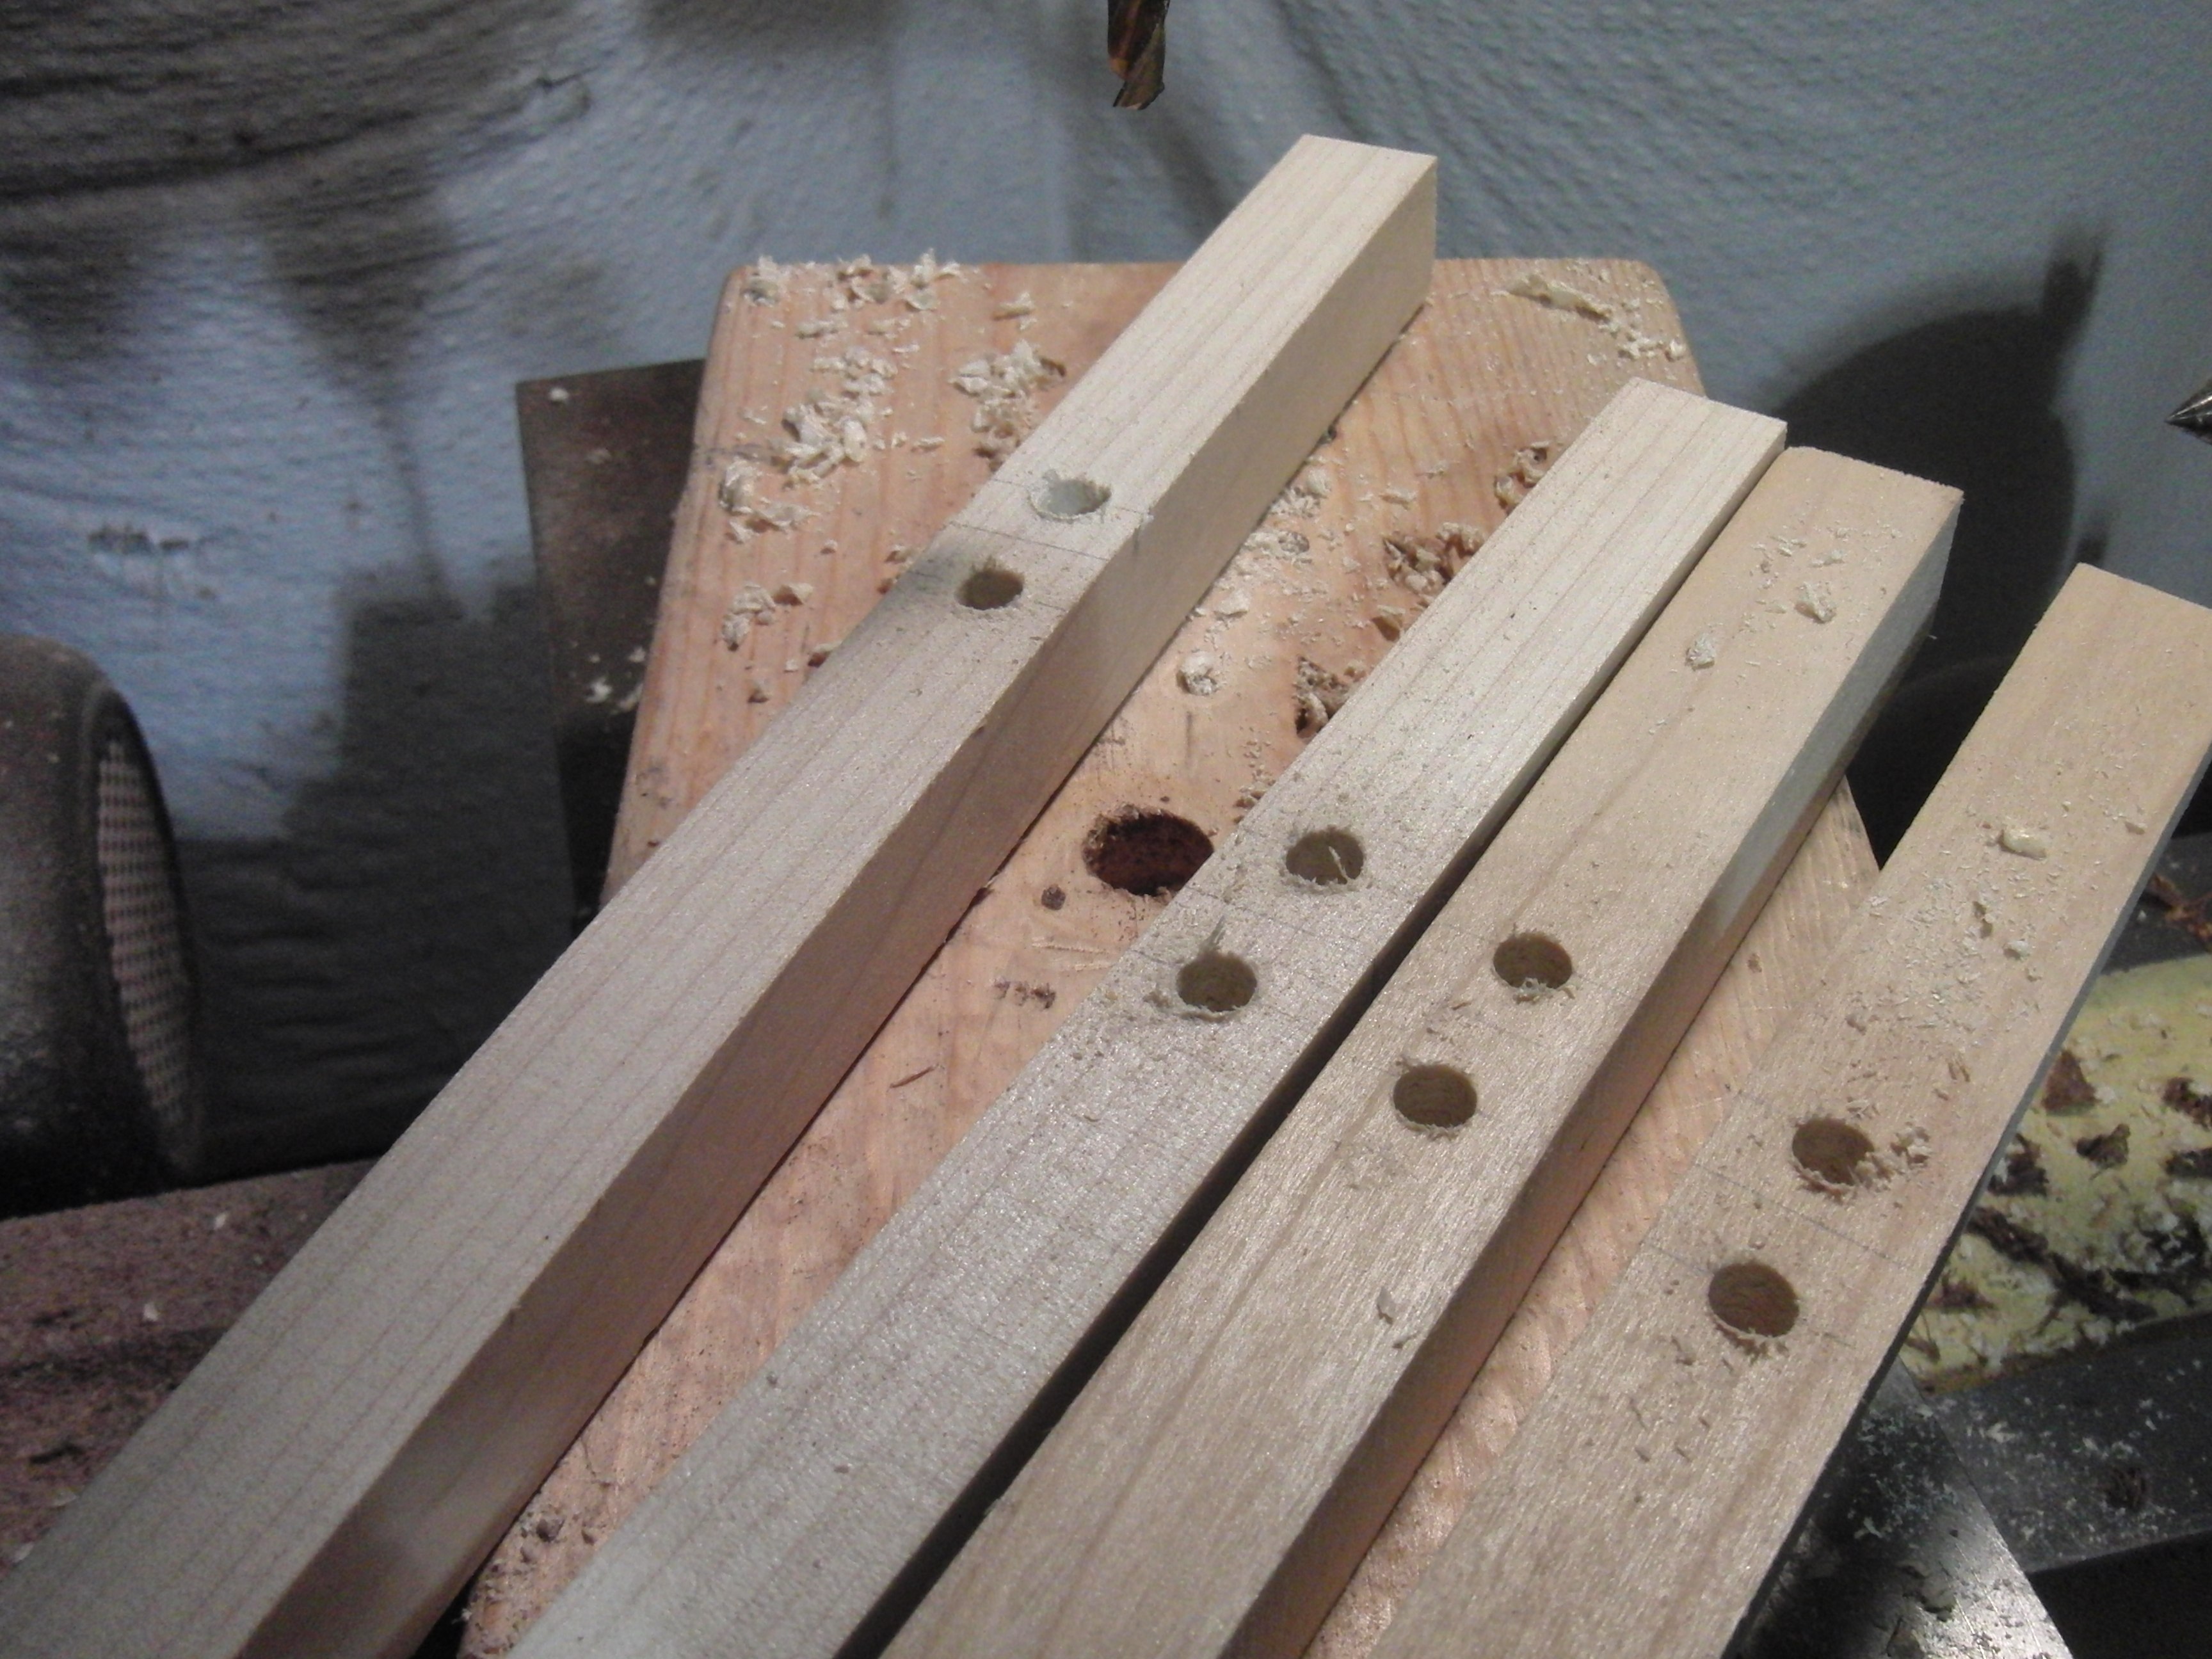
Mark for end holes. By the way, I used the center finder (from a previous tip) a lot.
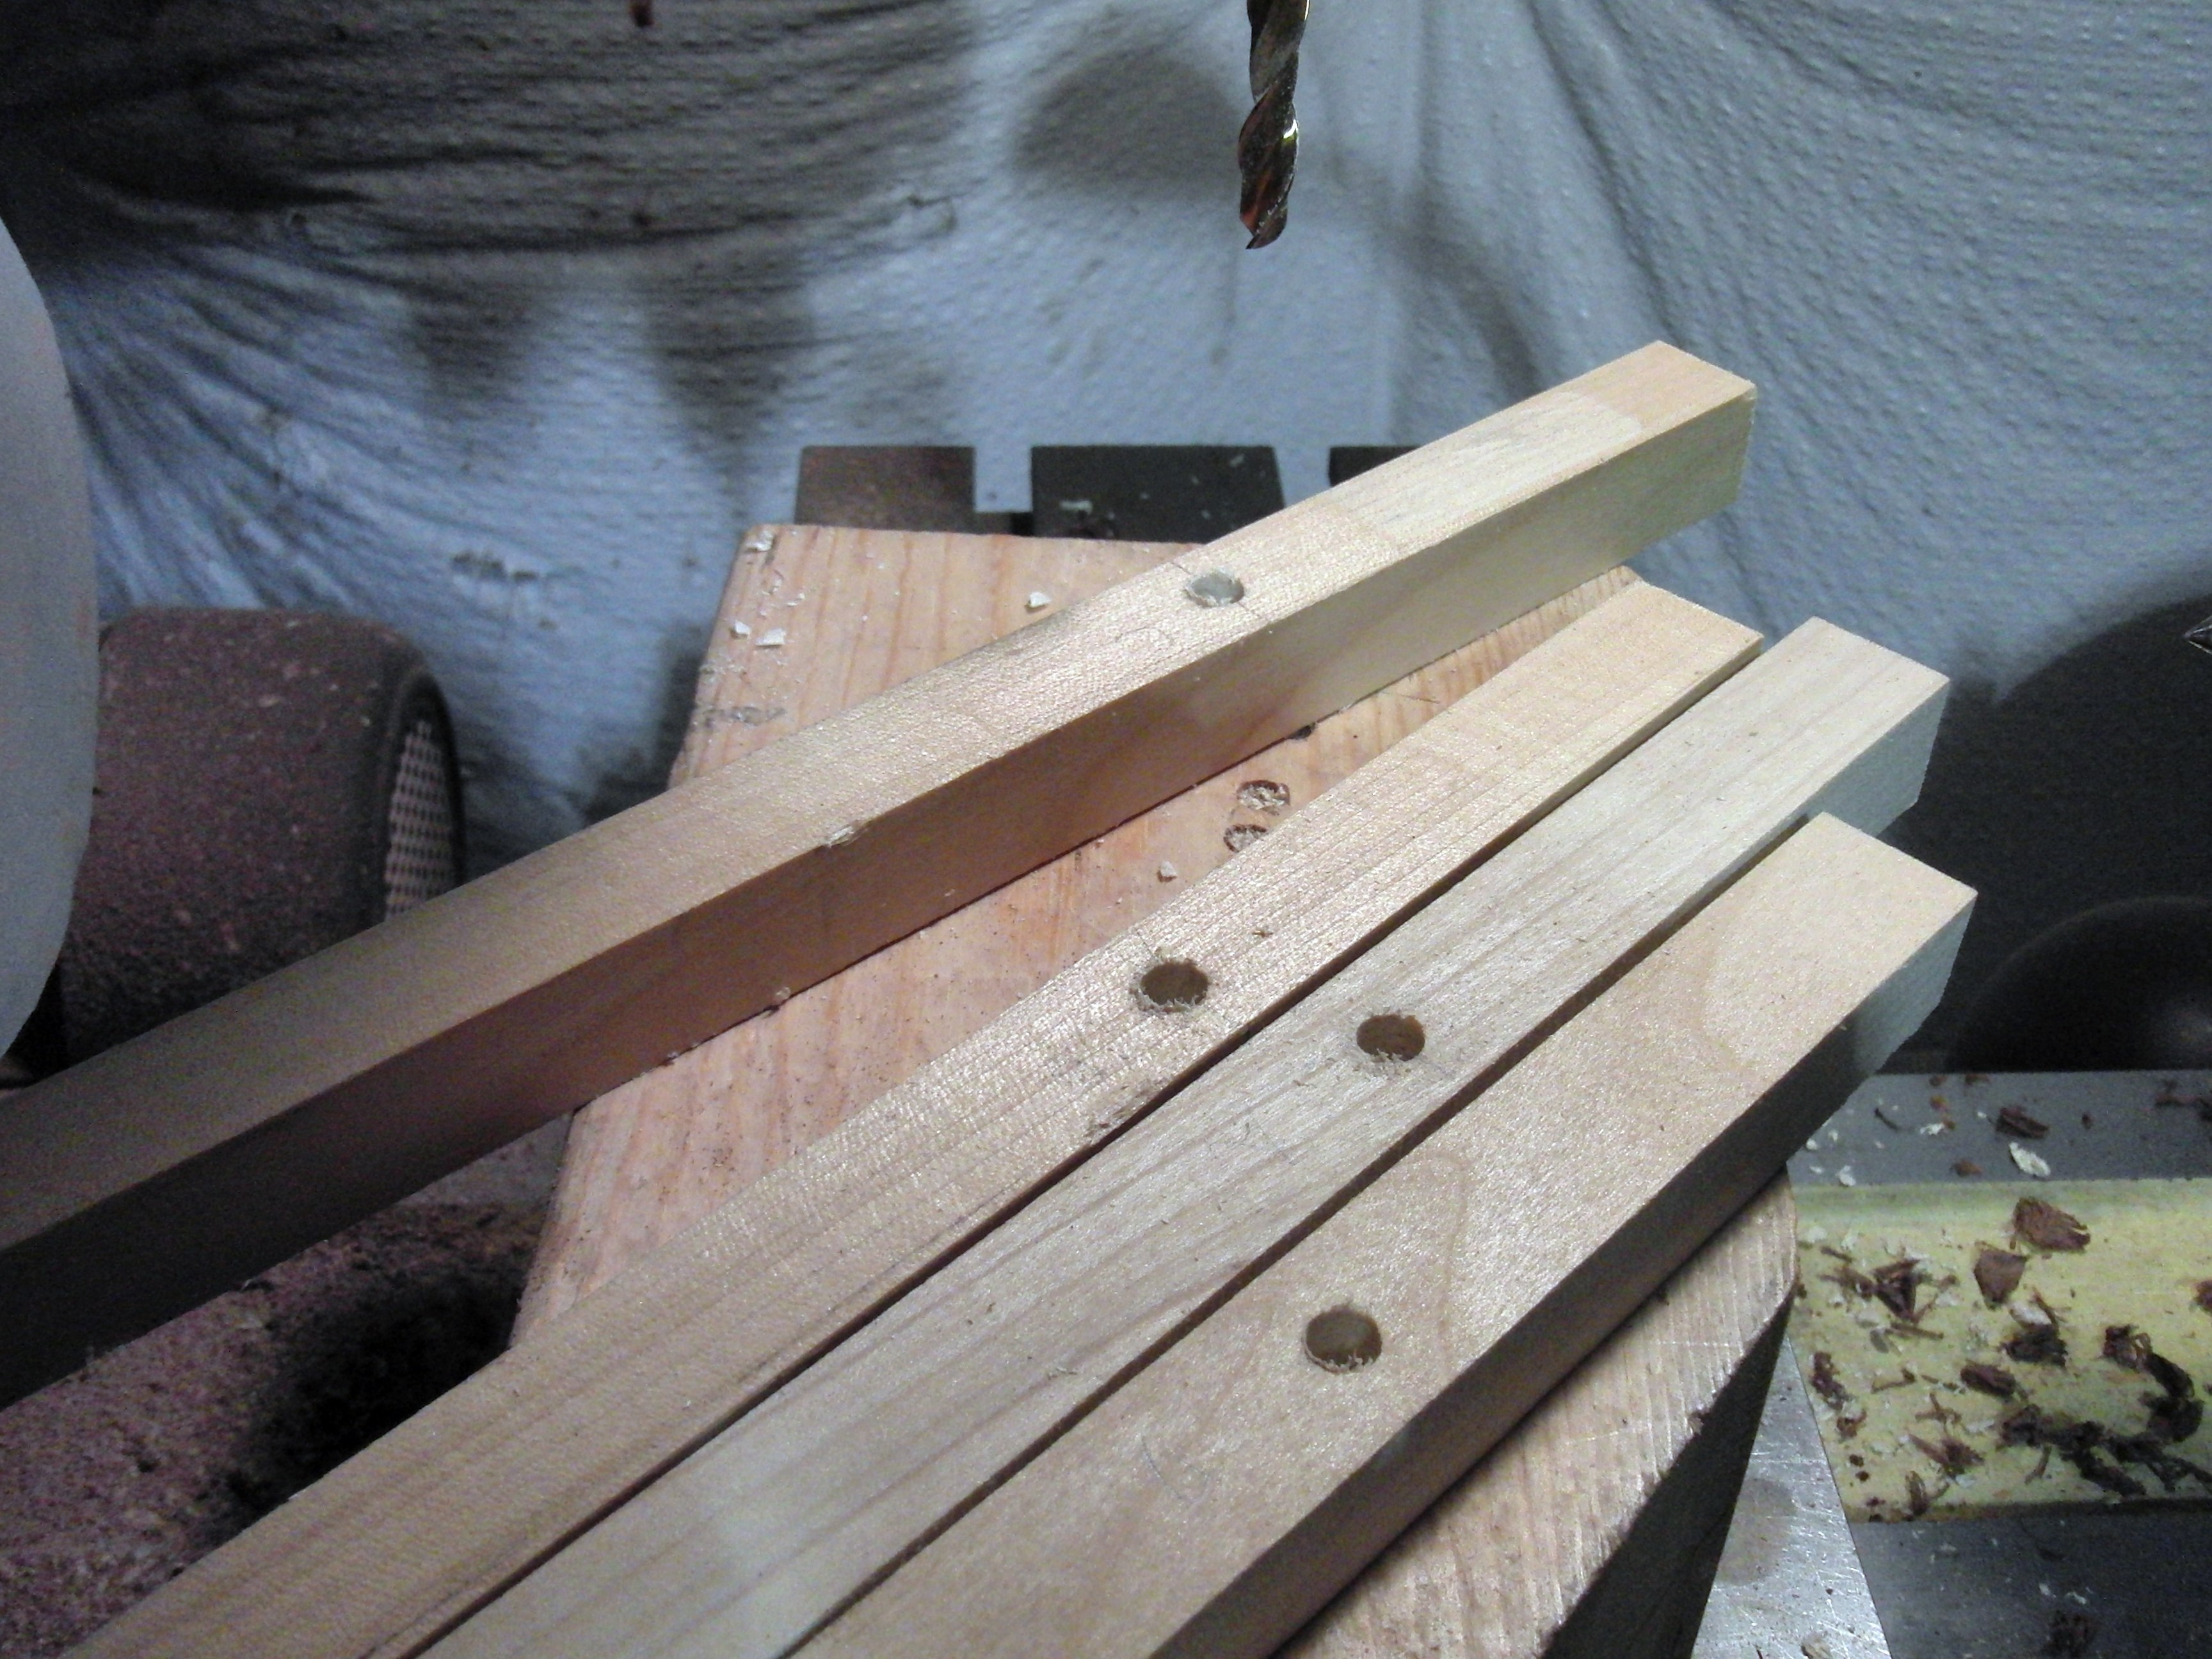
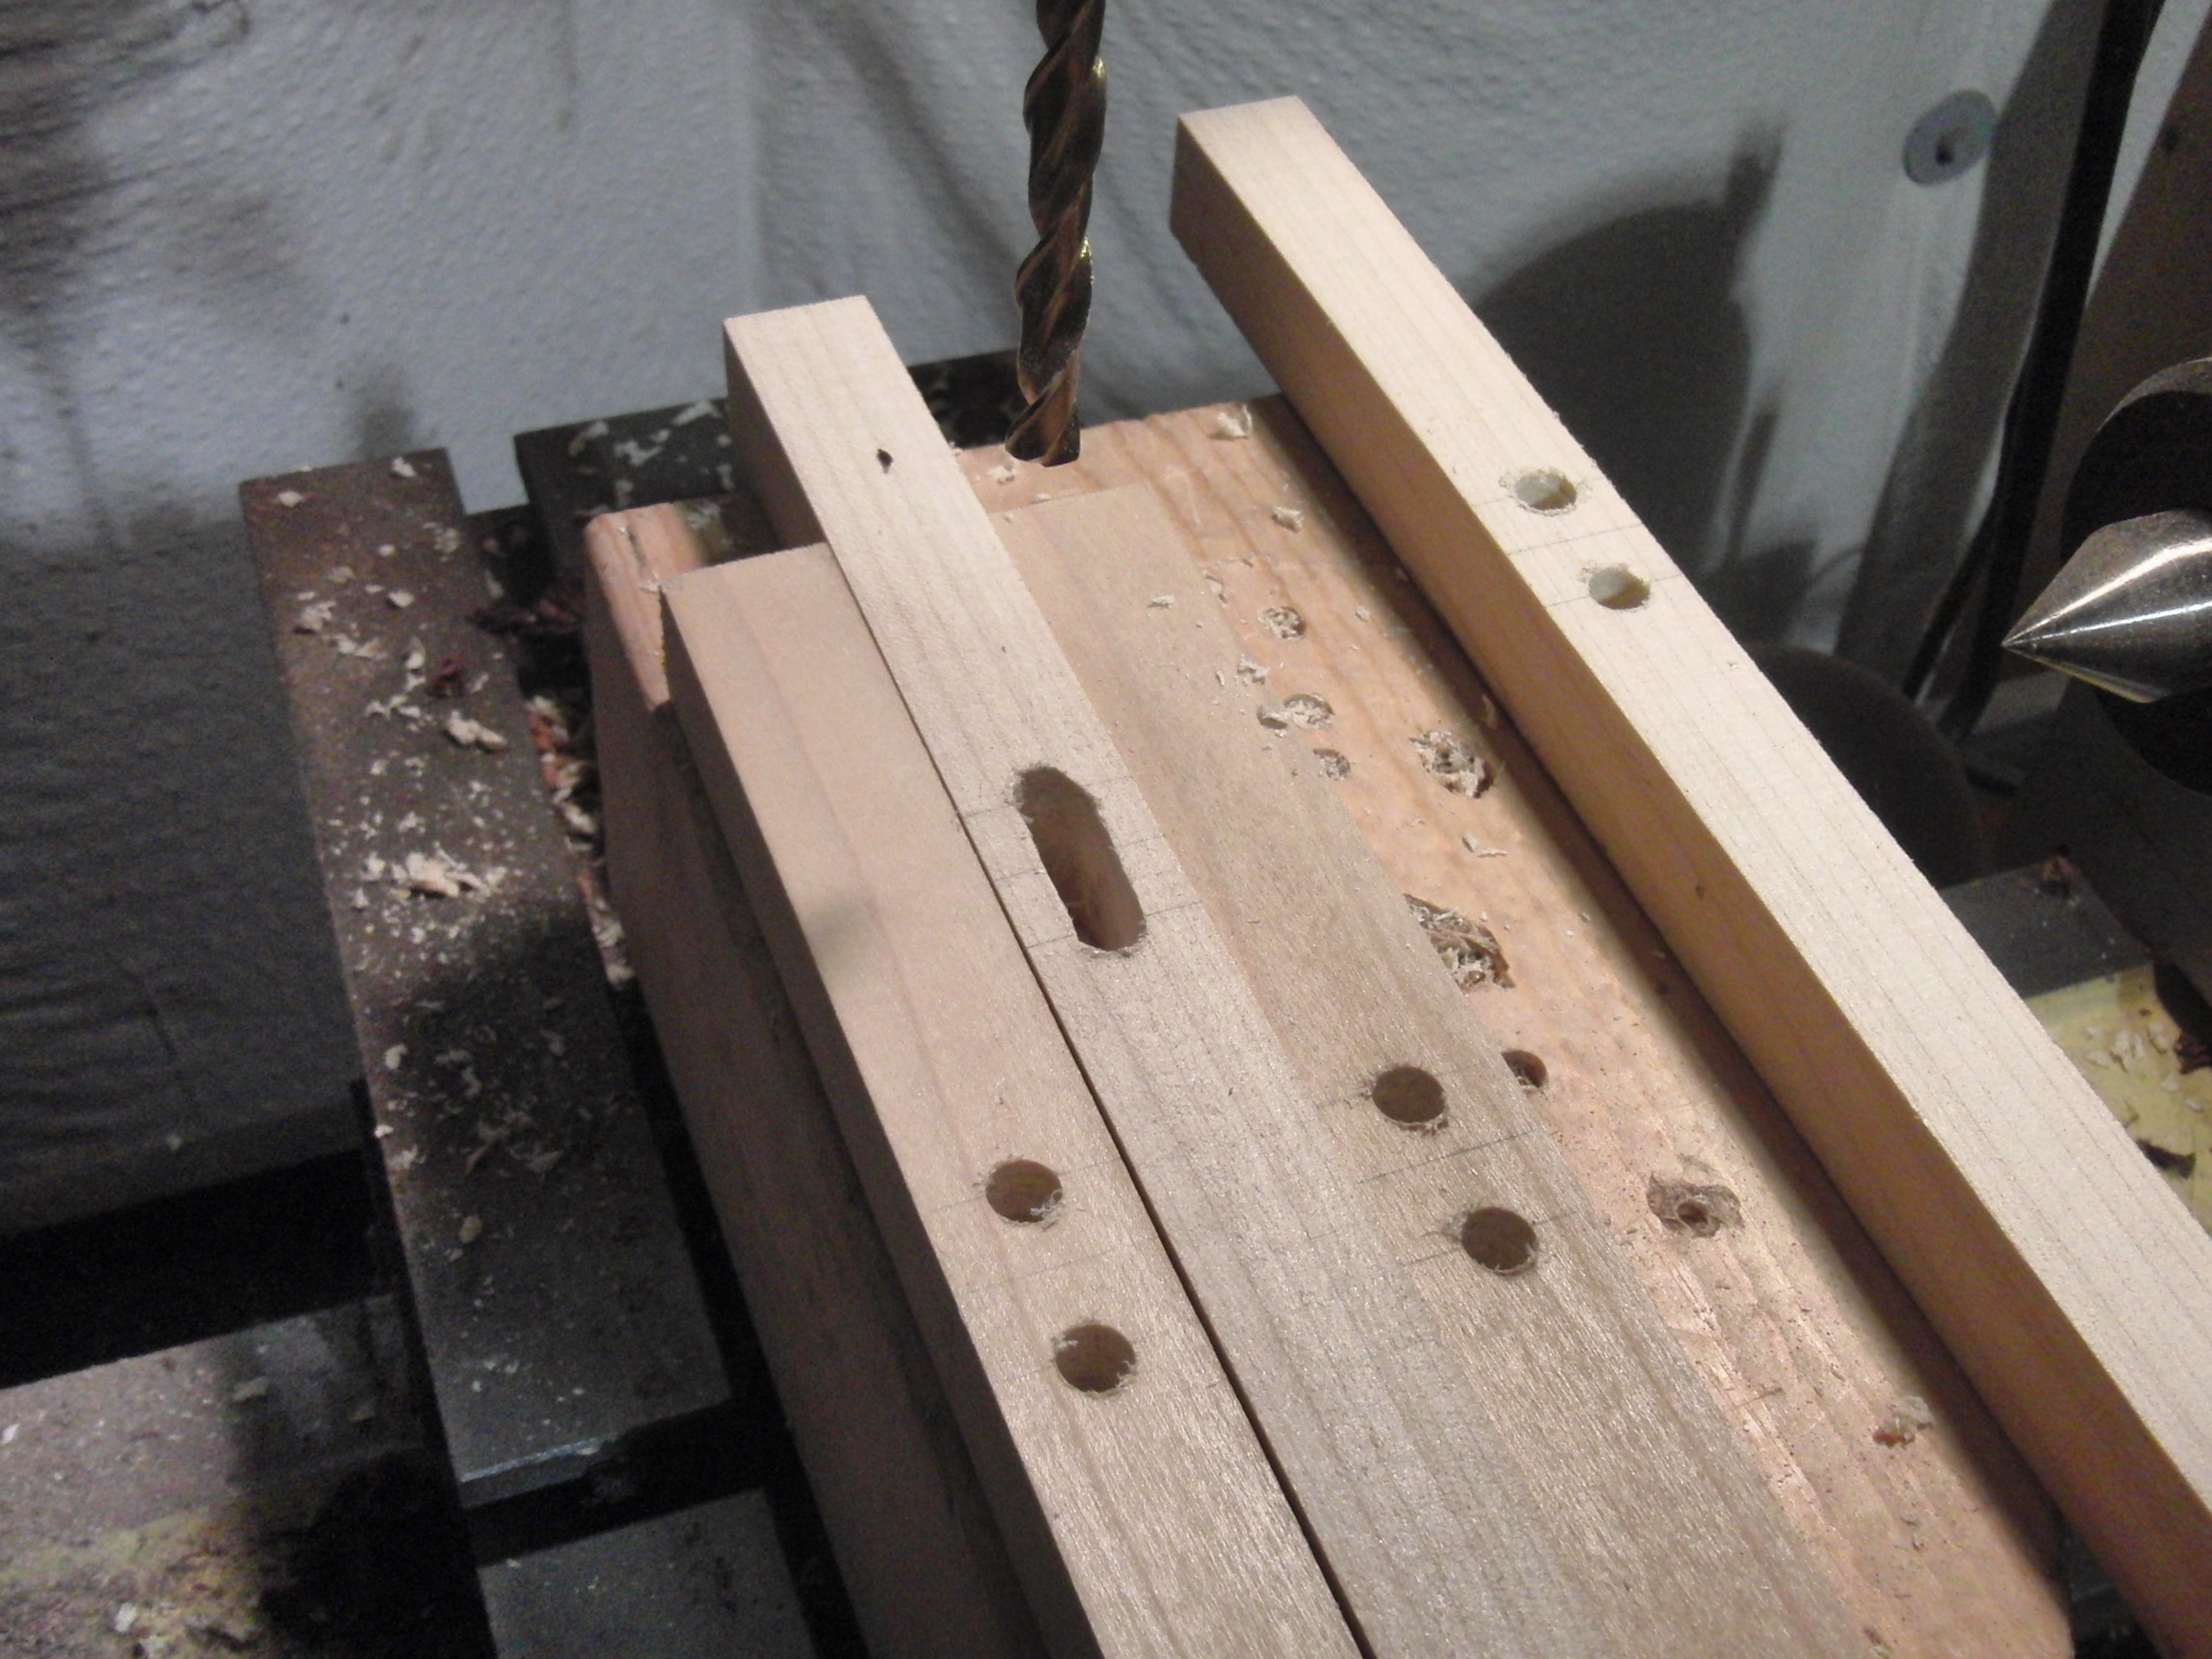
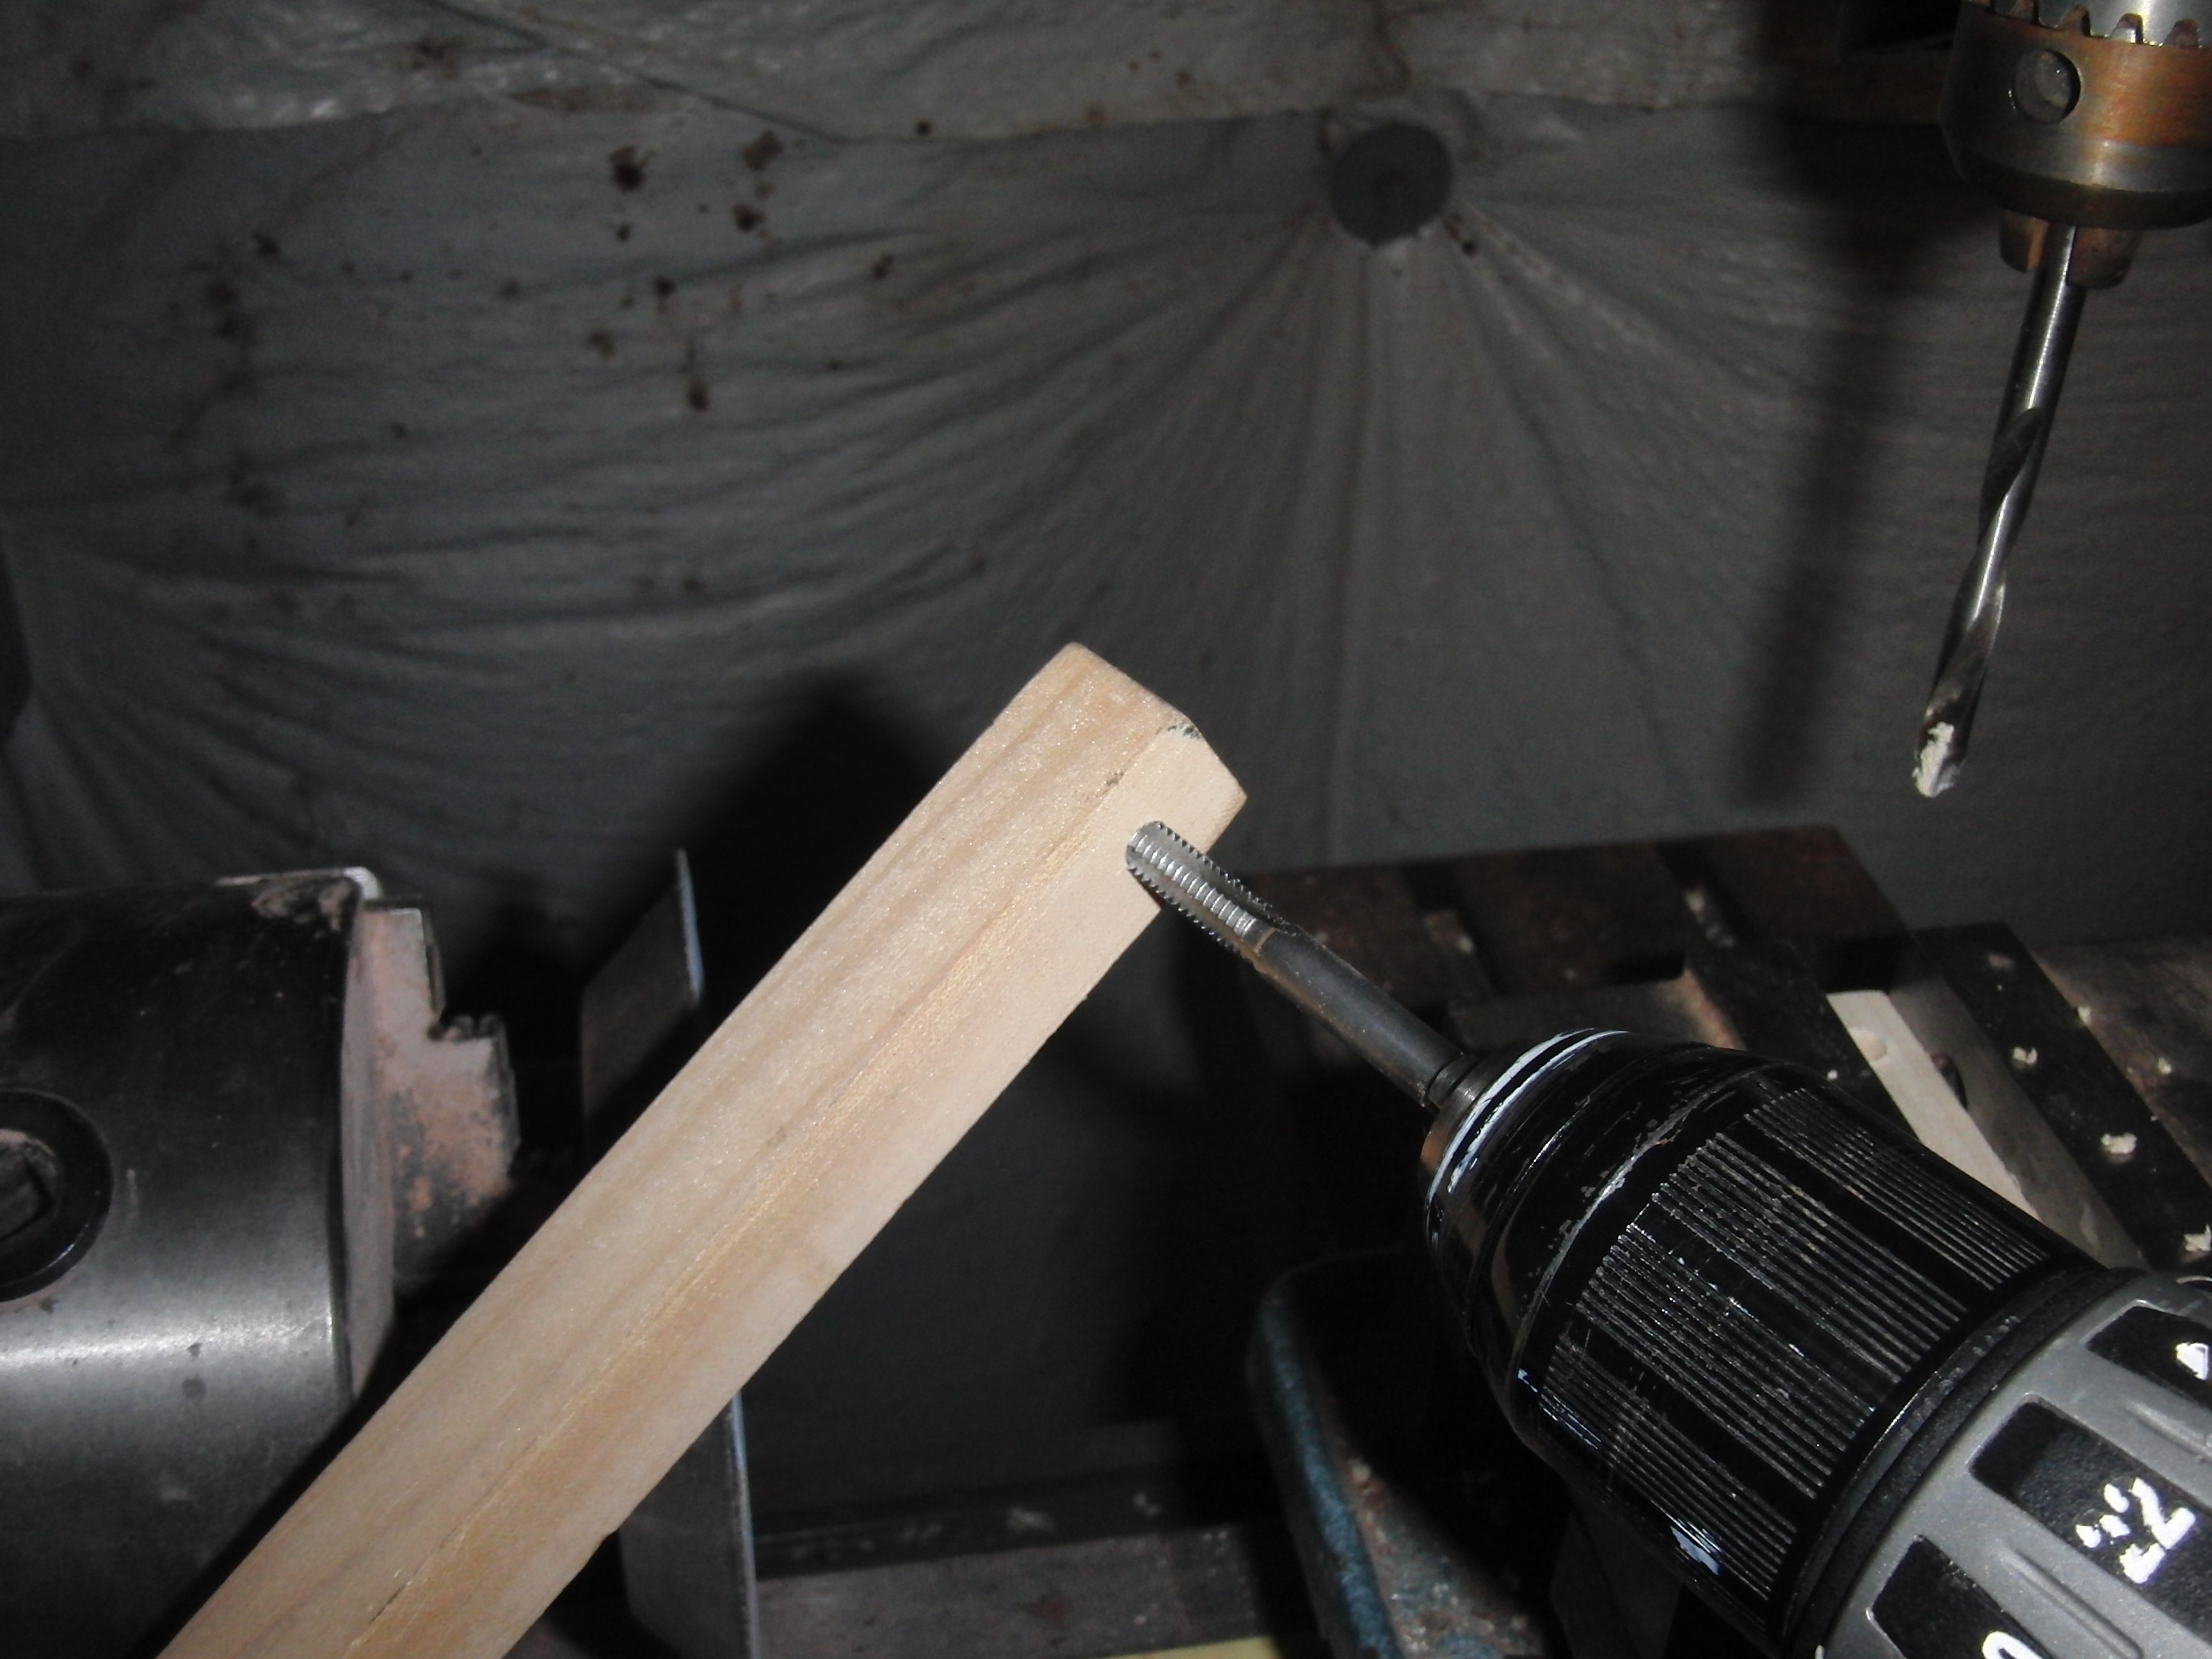
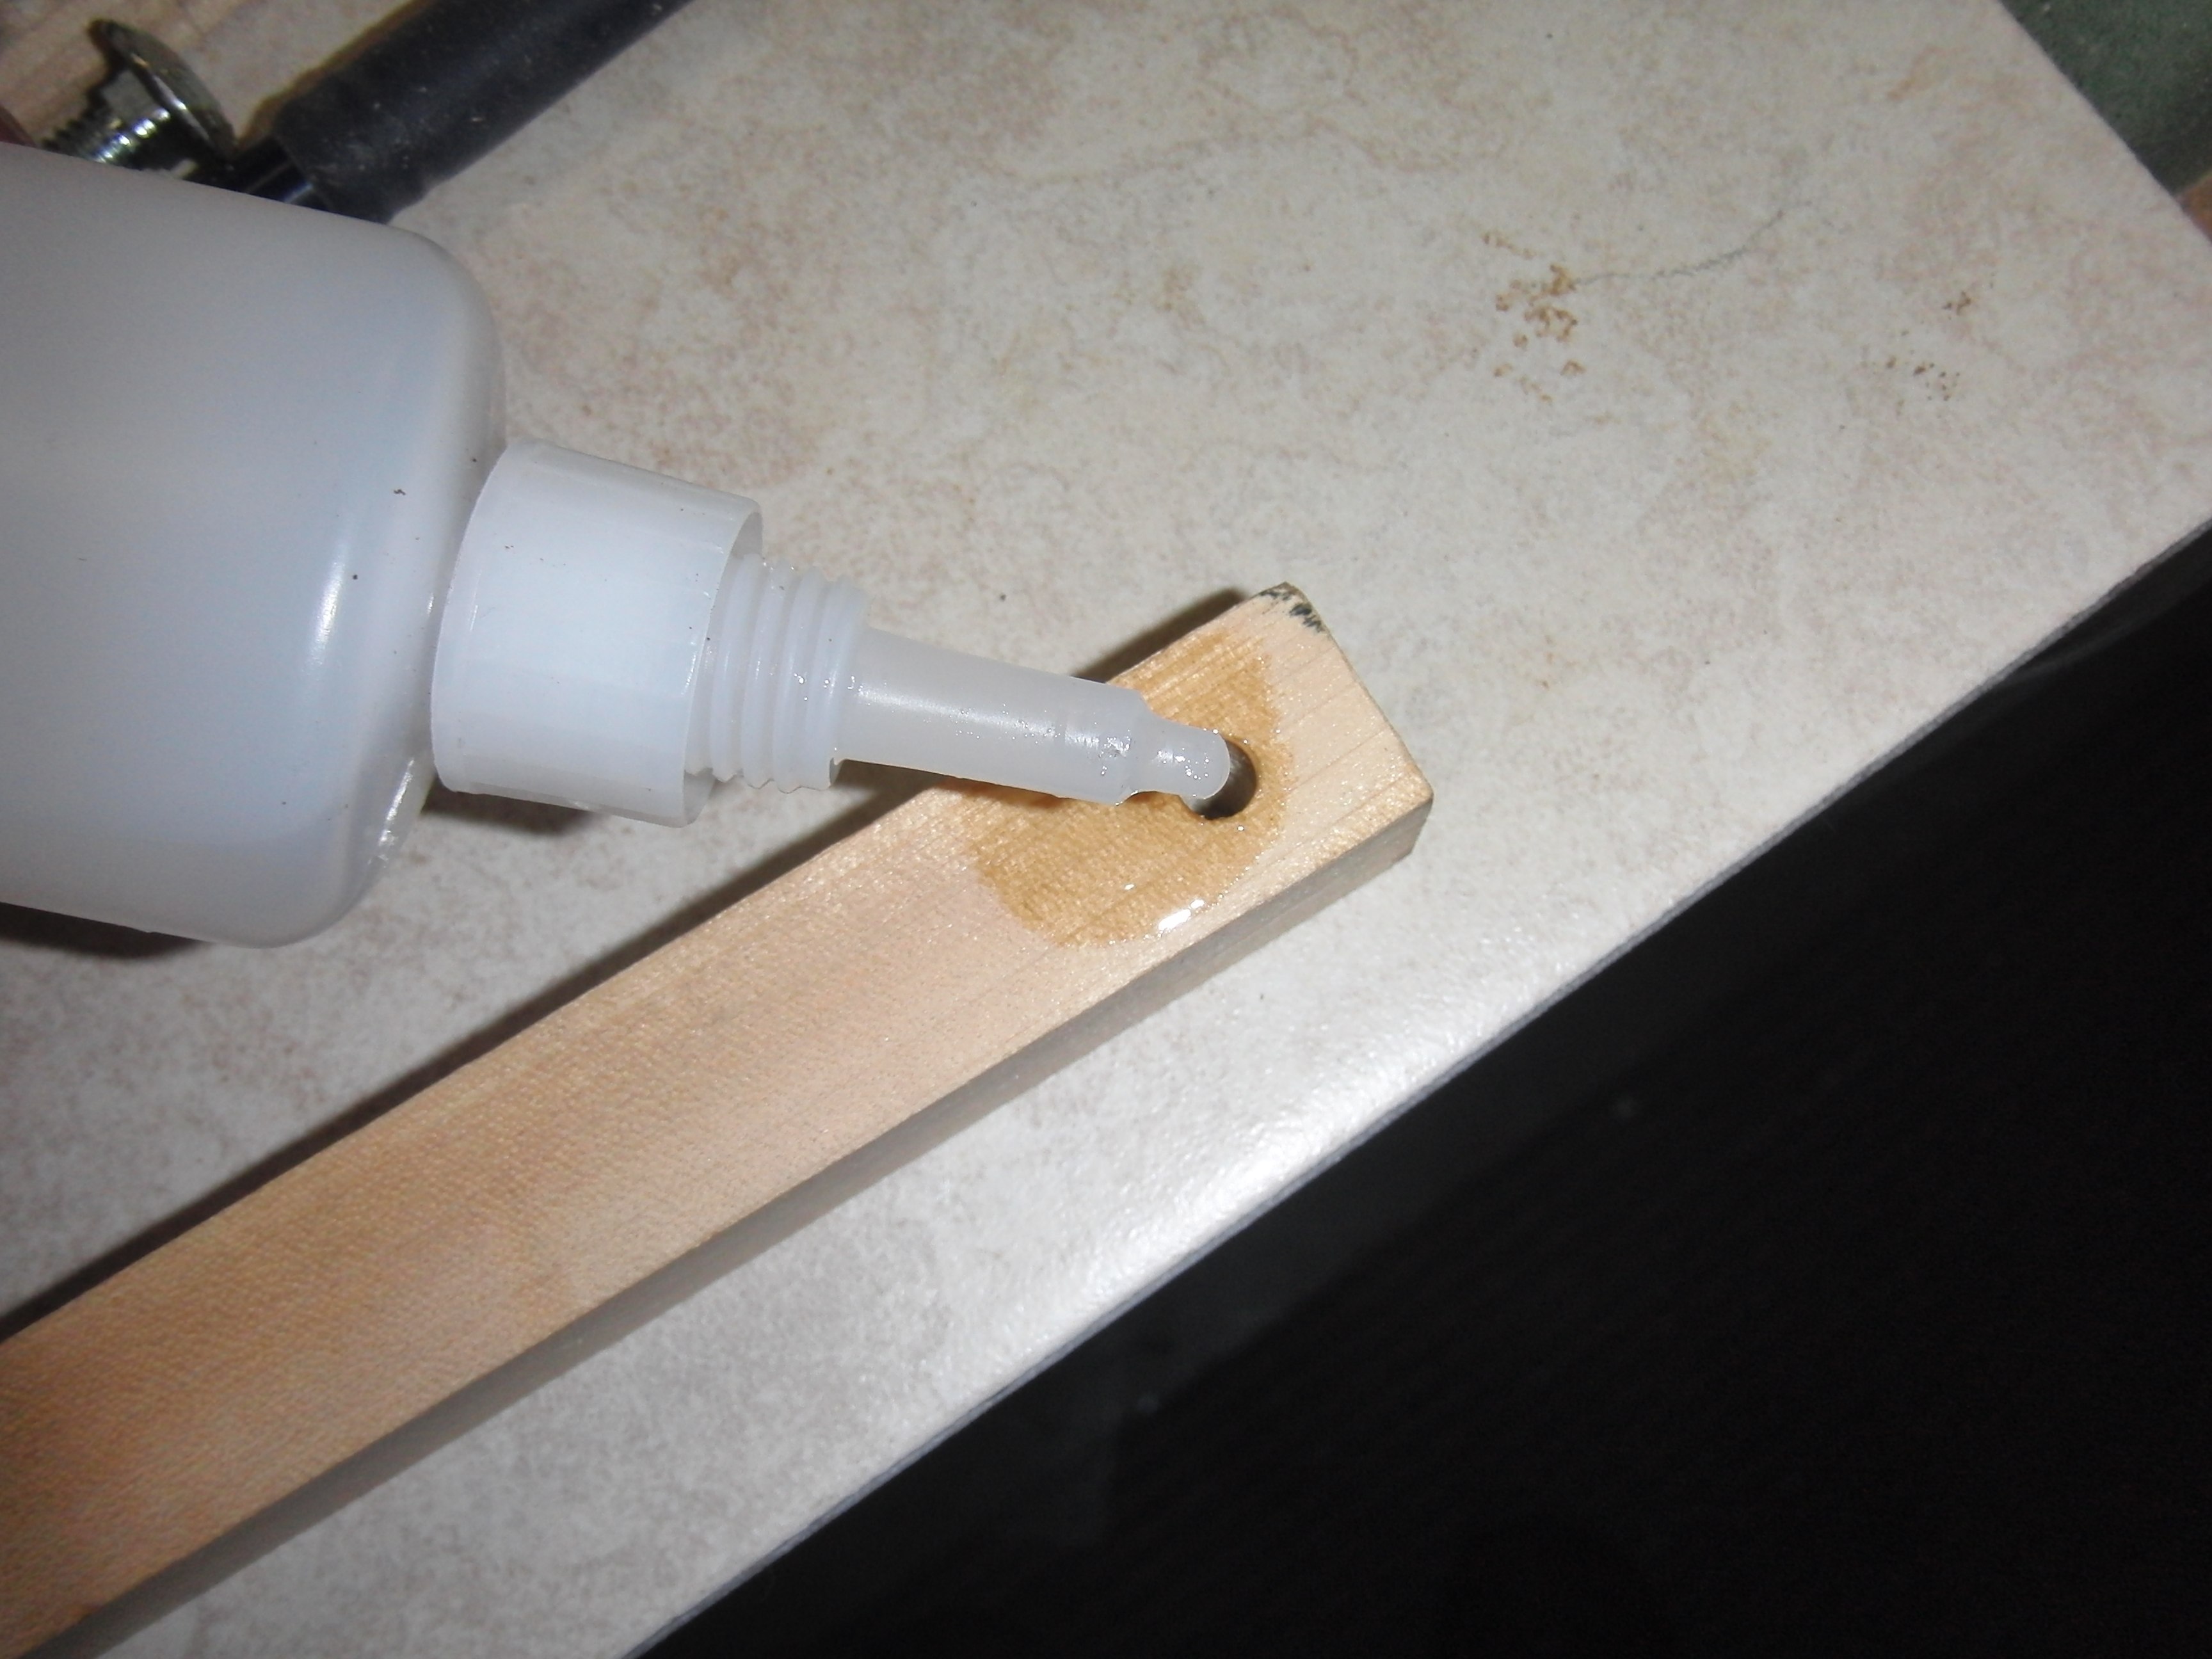
Stack the two pieces and drill a 7/32" hole through top piece and deep enough to mark bottom piece. Remove top piece and drill bottom piece half way through with 9/32" bit. Thread the top piece with 1/4 - 20 tap. You can use the bolts if you don't have a tap. Harden the wood threads with CA. If you only have soft wood, you can use 1/4 -20 threaded inserts, but I did not find it necessary with the wood I had.
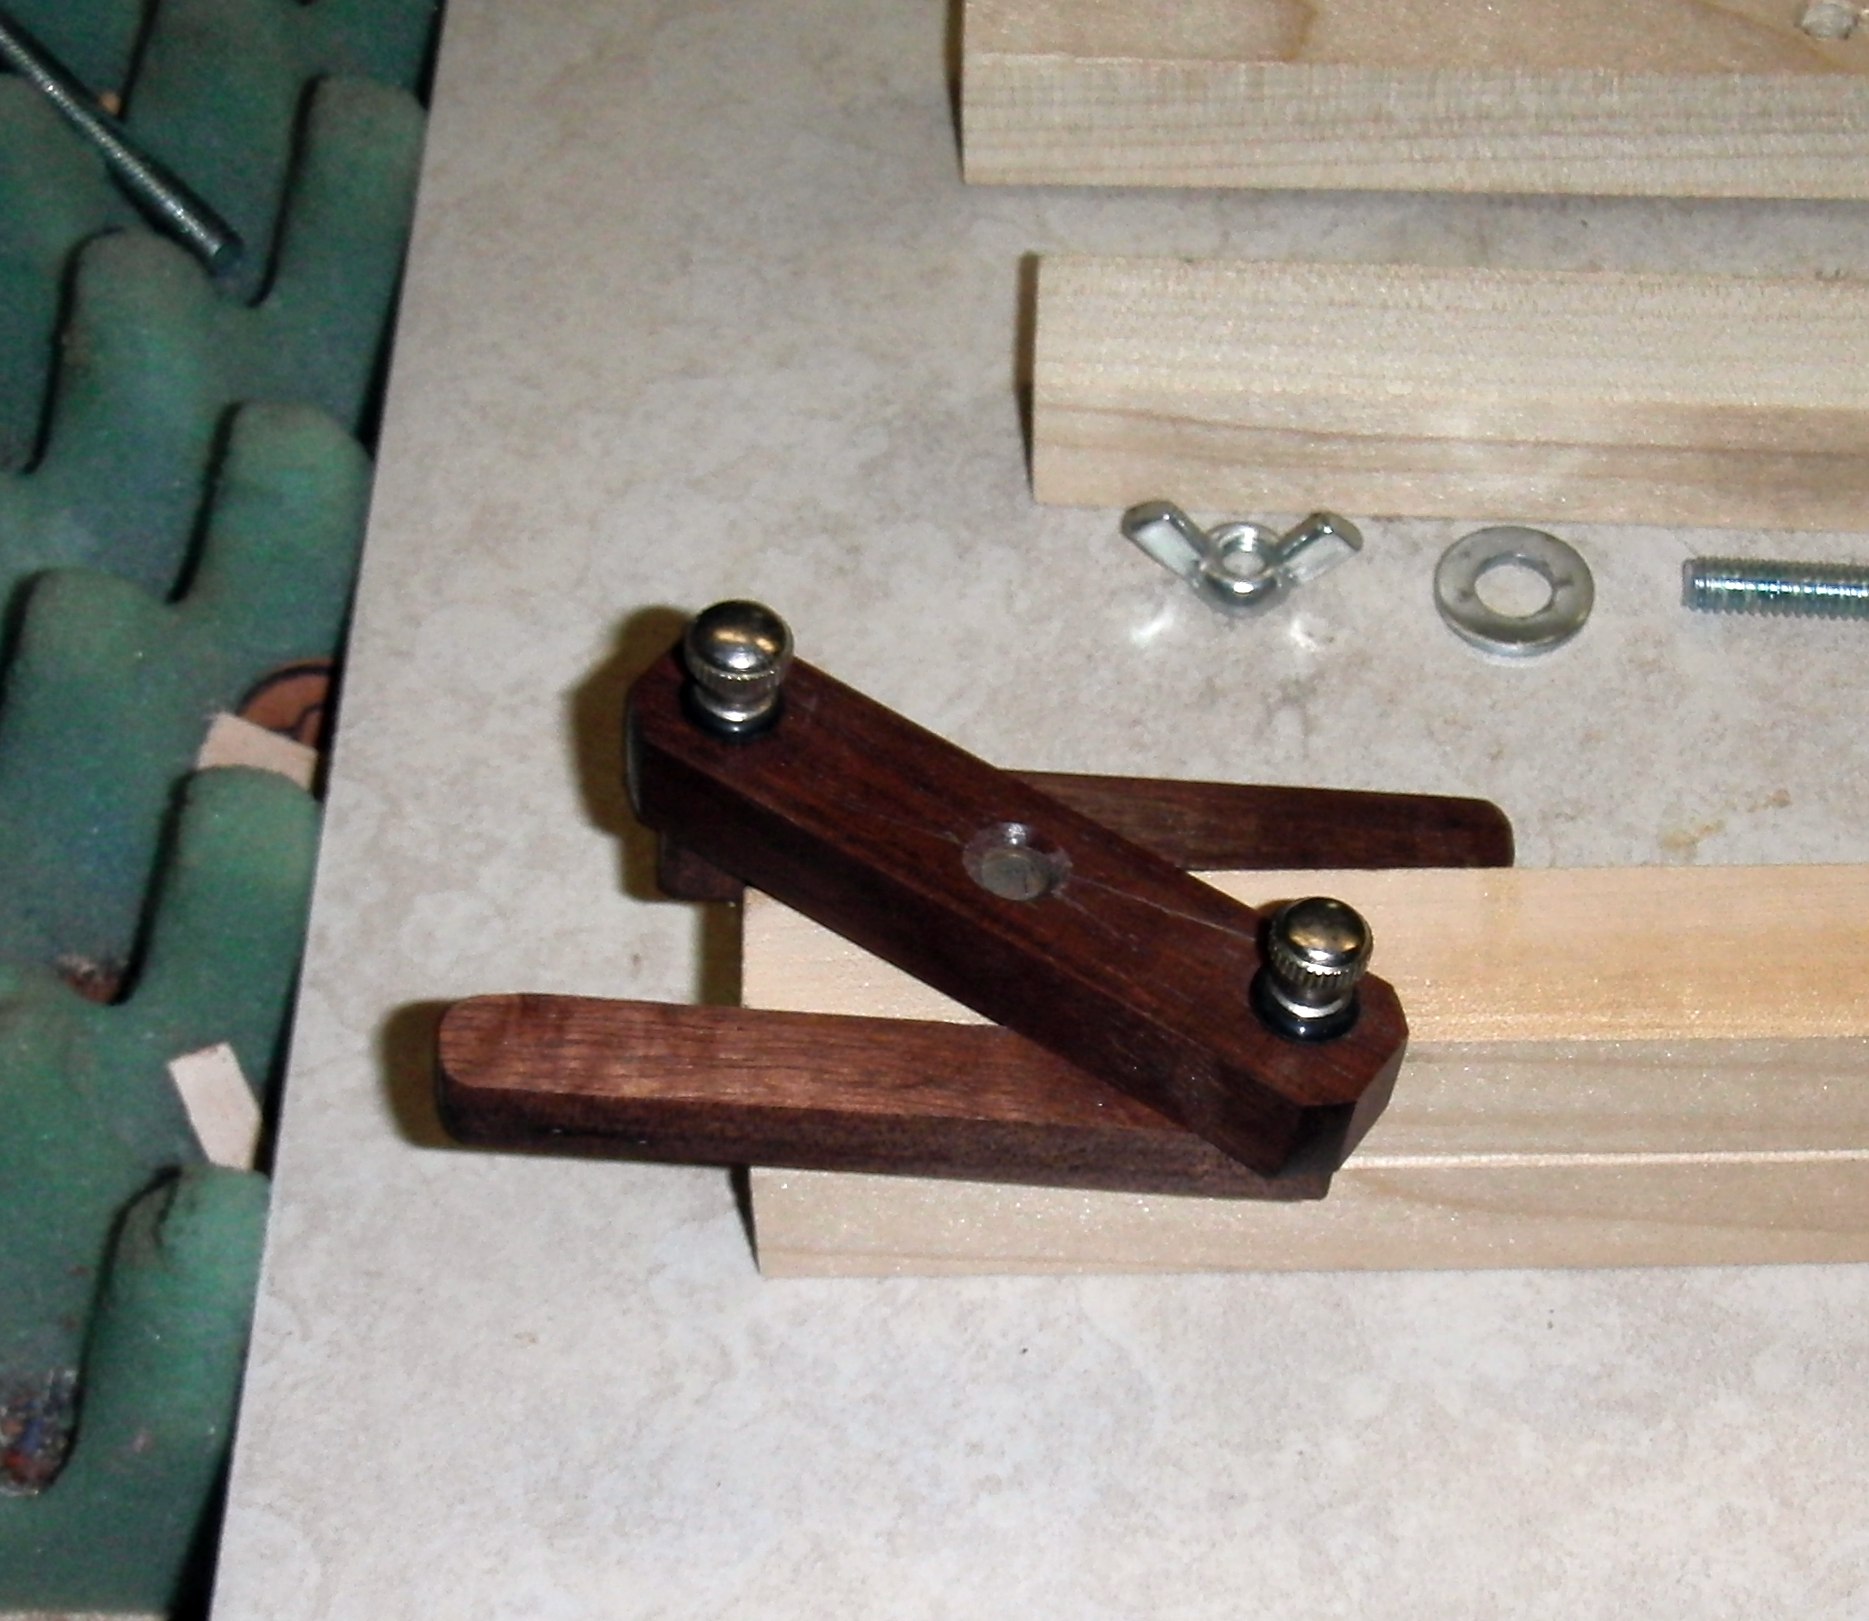
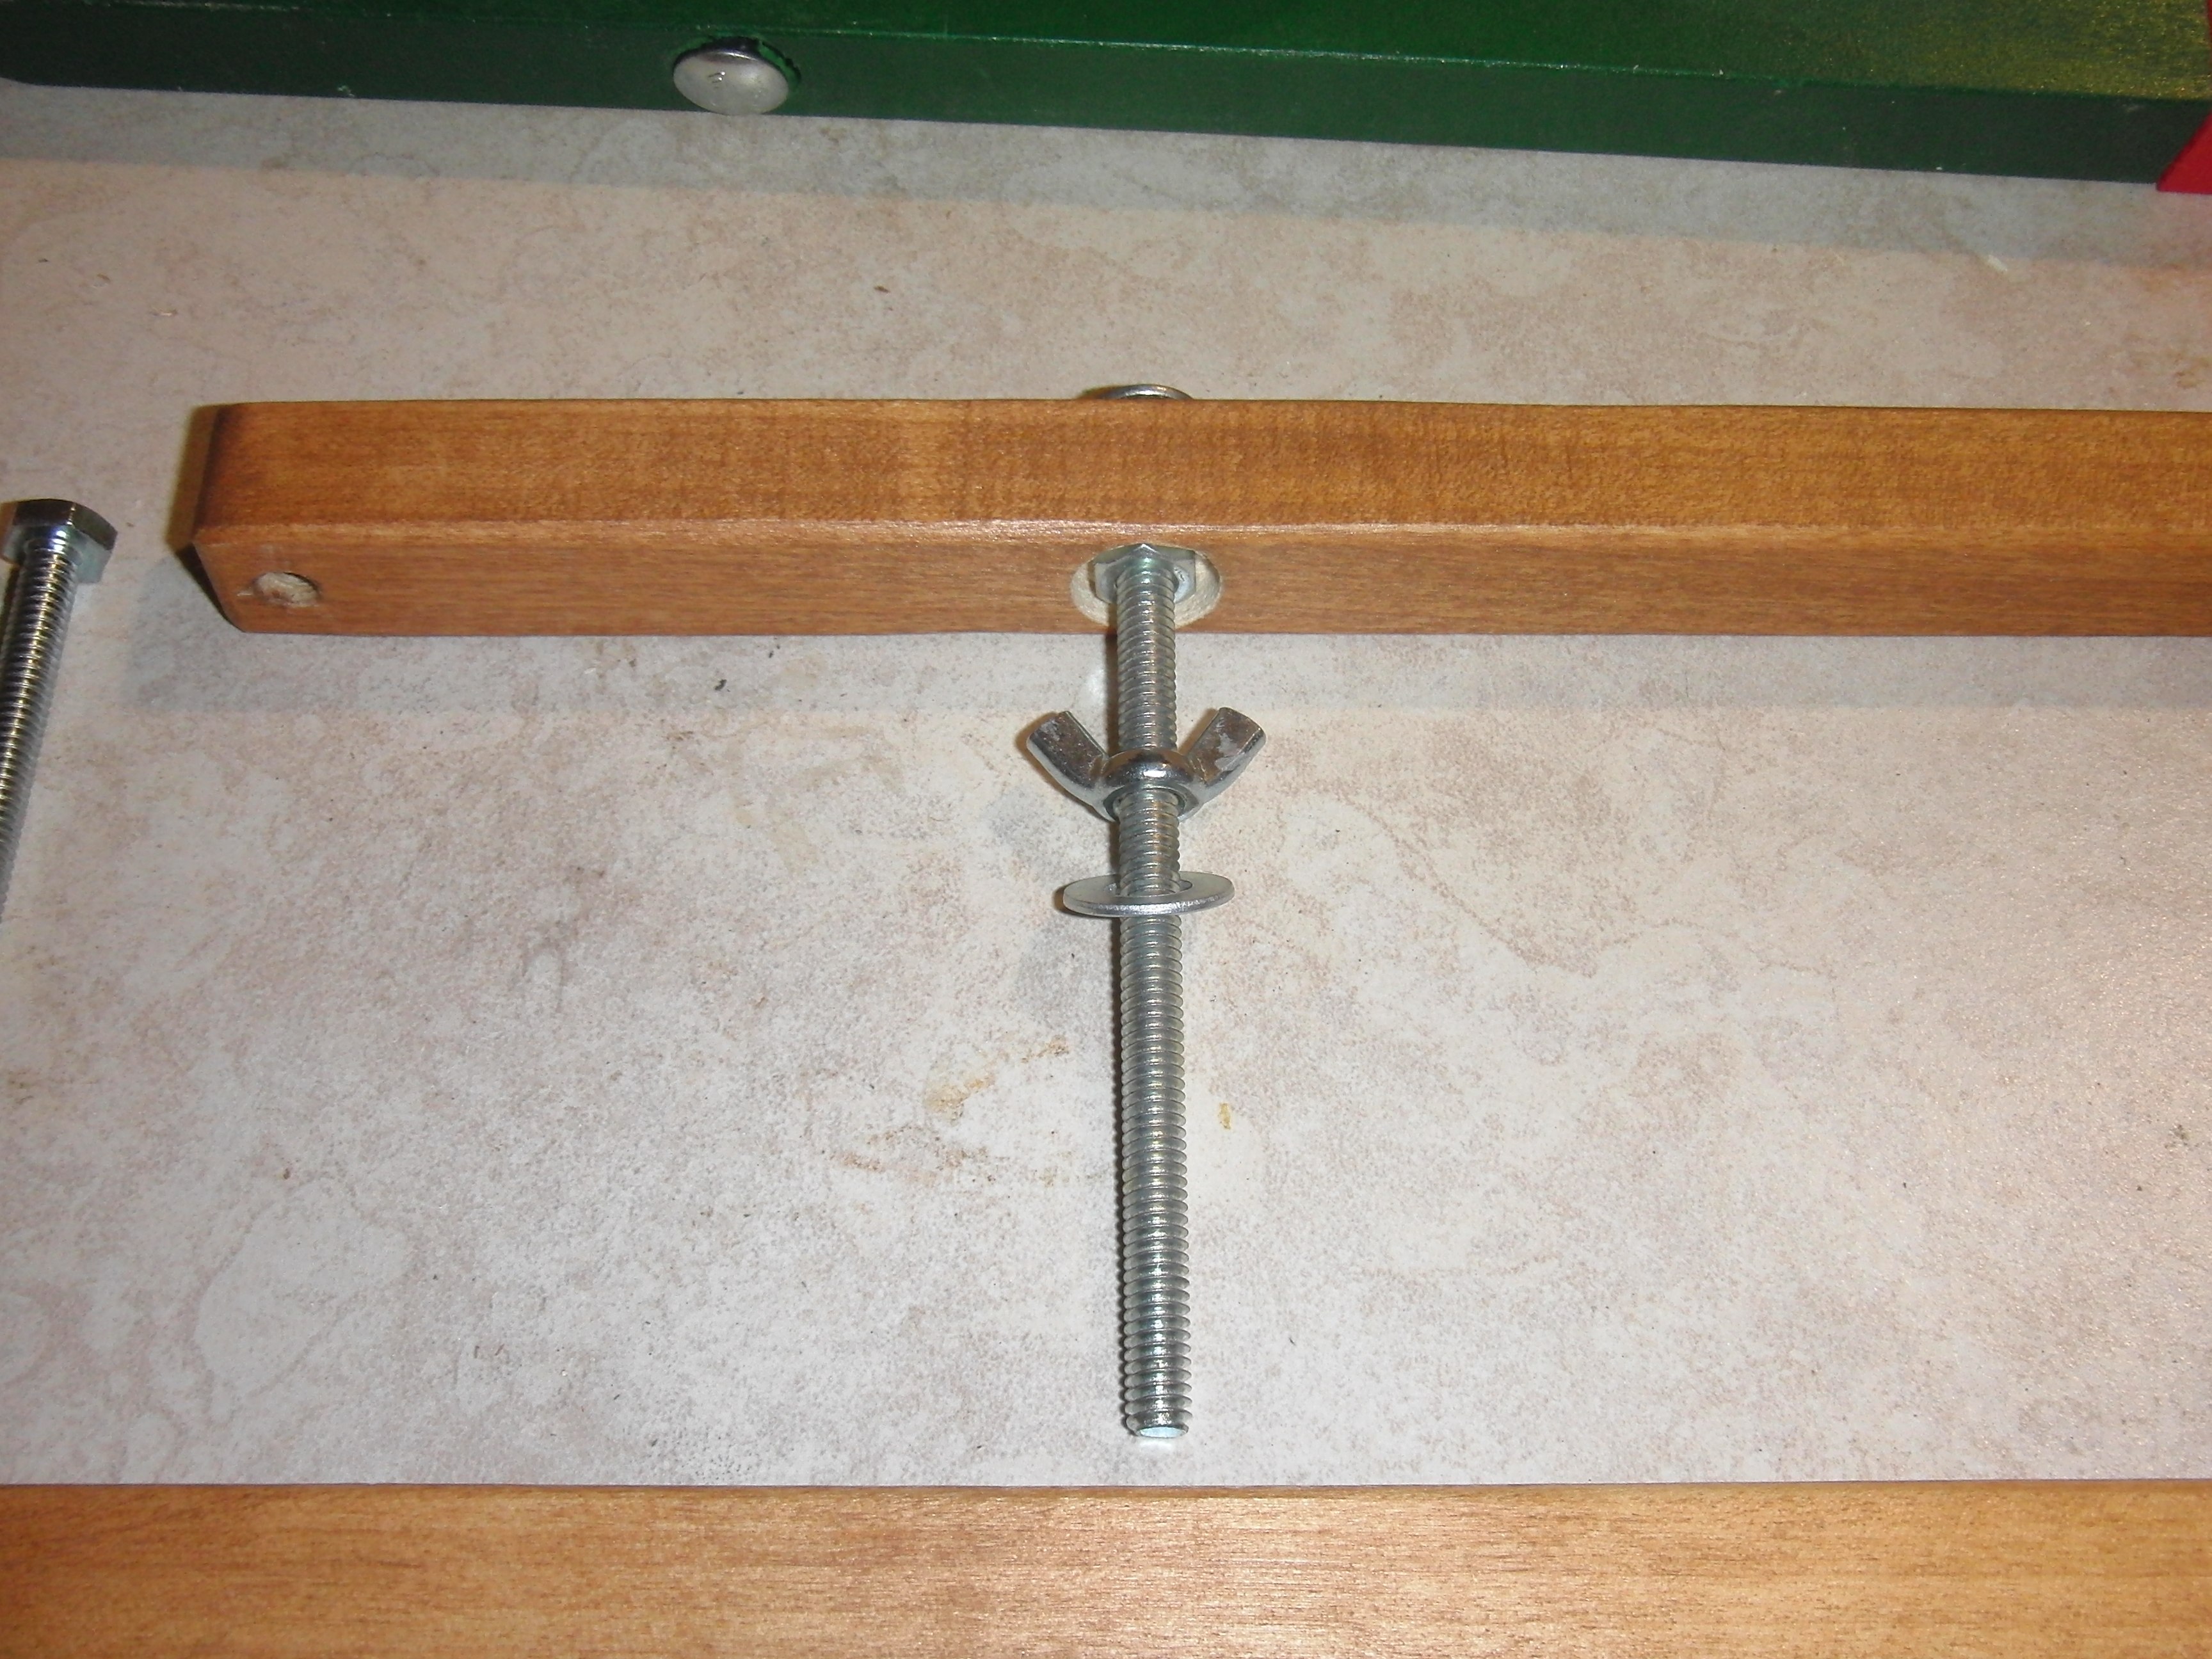
Assemble the clamp. Threading in the hex bolt, sliding in the carriage bolt, adding the washer and wing nut. The total time to make the first clamp was about a half hour. The first one I threaded the base hole putting the knobs on opposite sides. This was similar to a machinist clamp I made 25 or so years ago. All the rest, I put the threads on the slotted bar, so the knobs were on the same side.
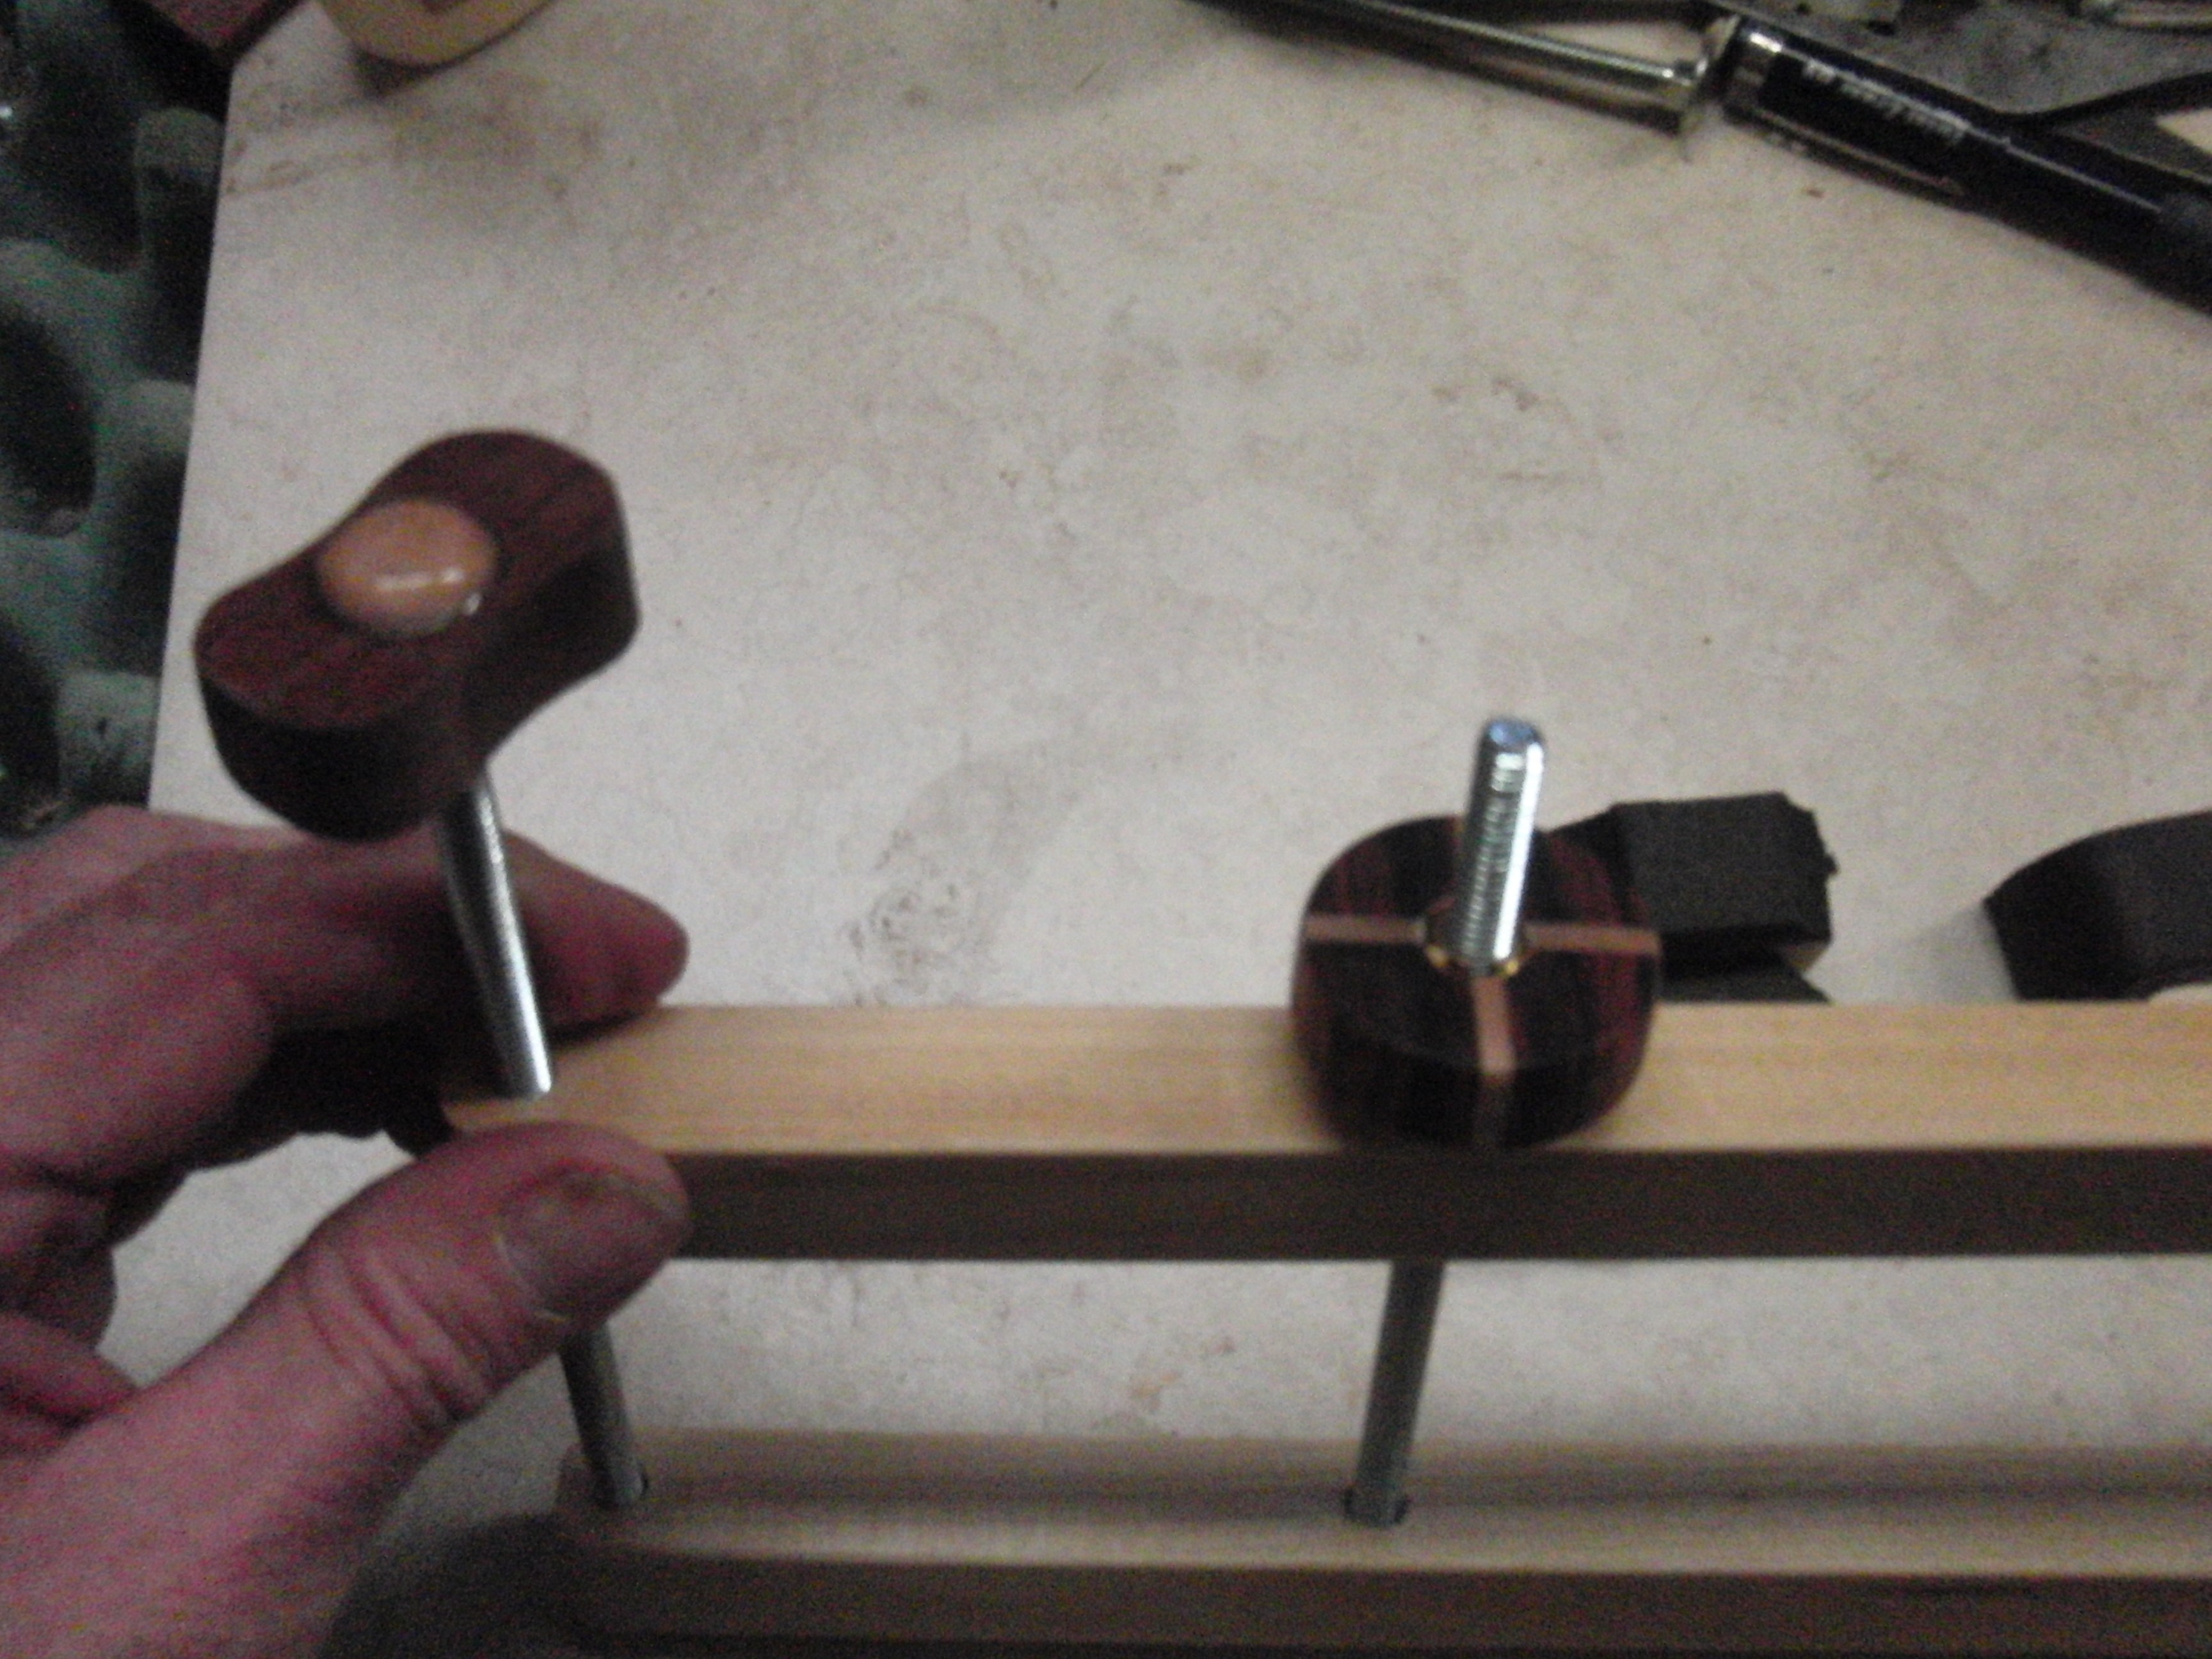
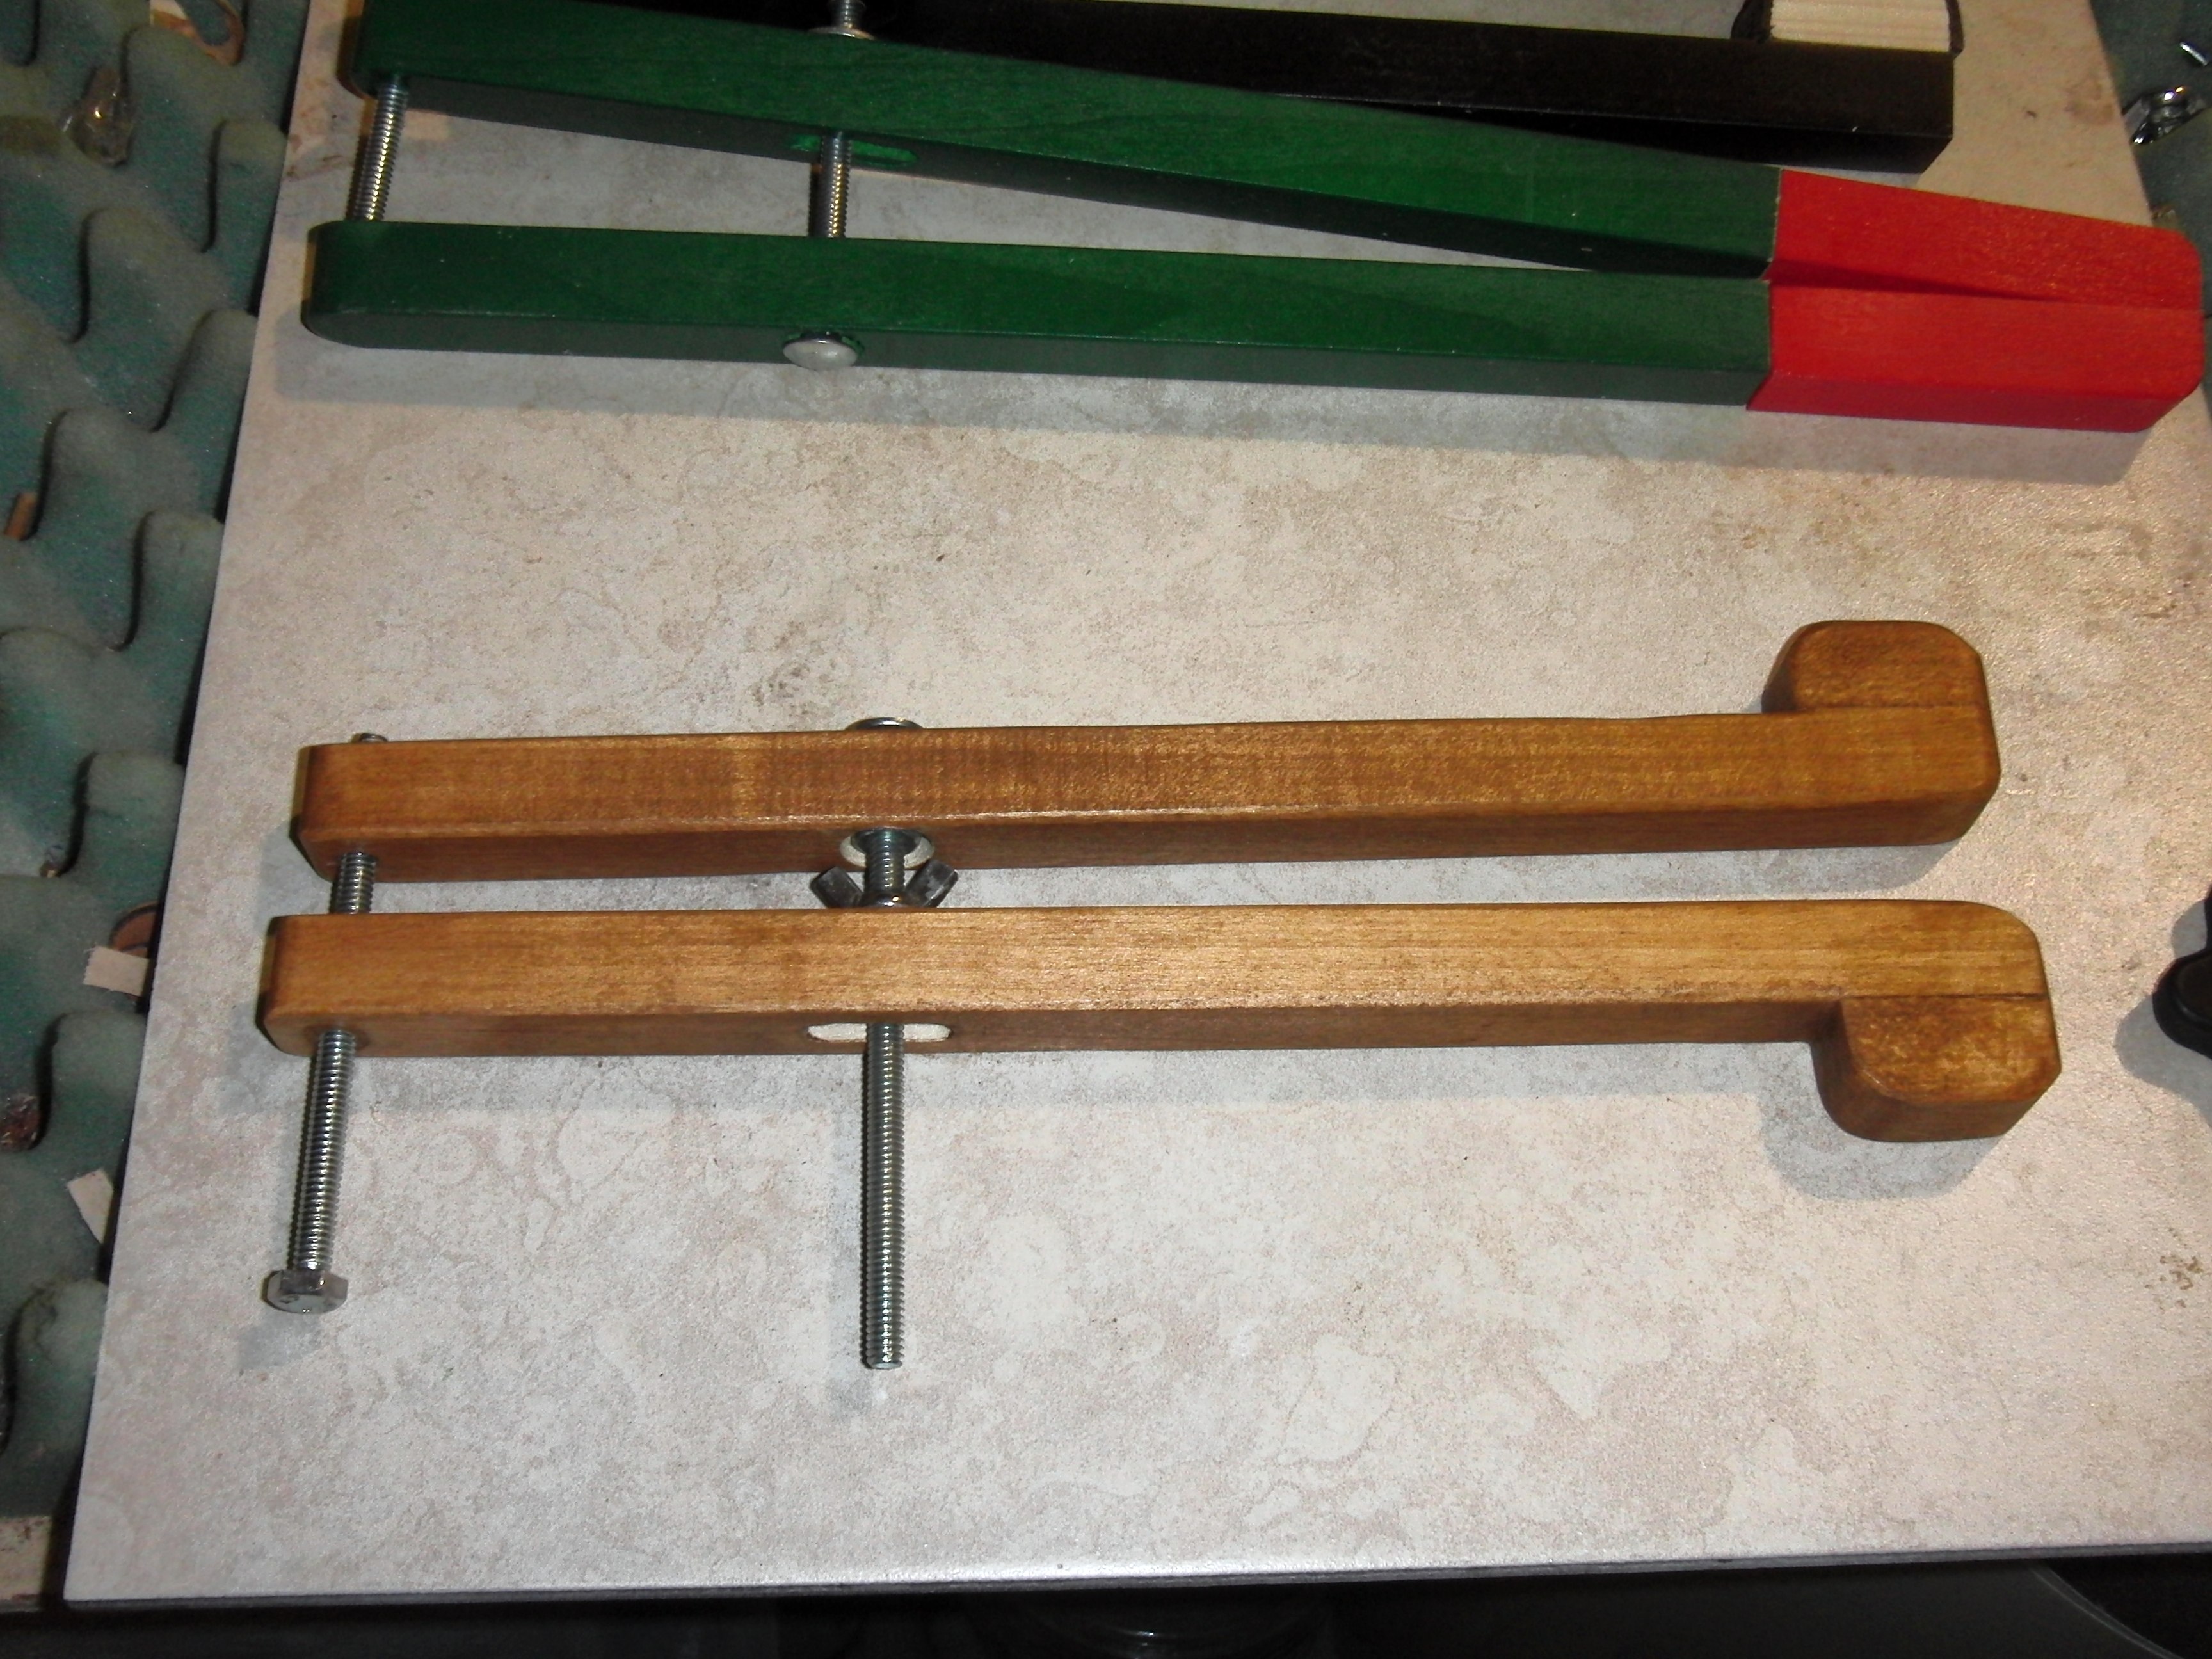
You can go crazy with all the options as far as knobs and jaws go.
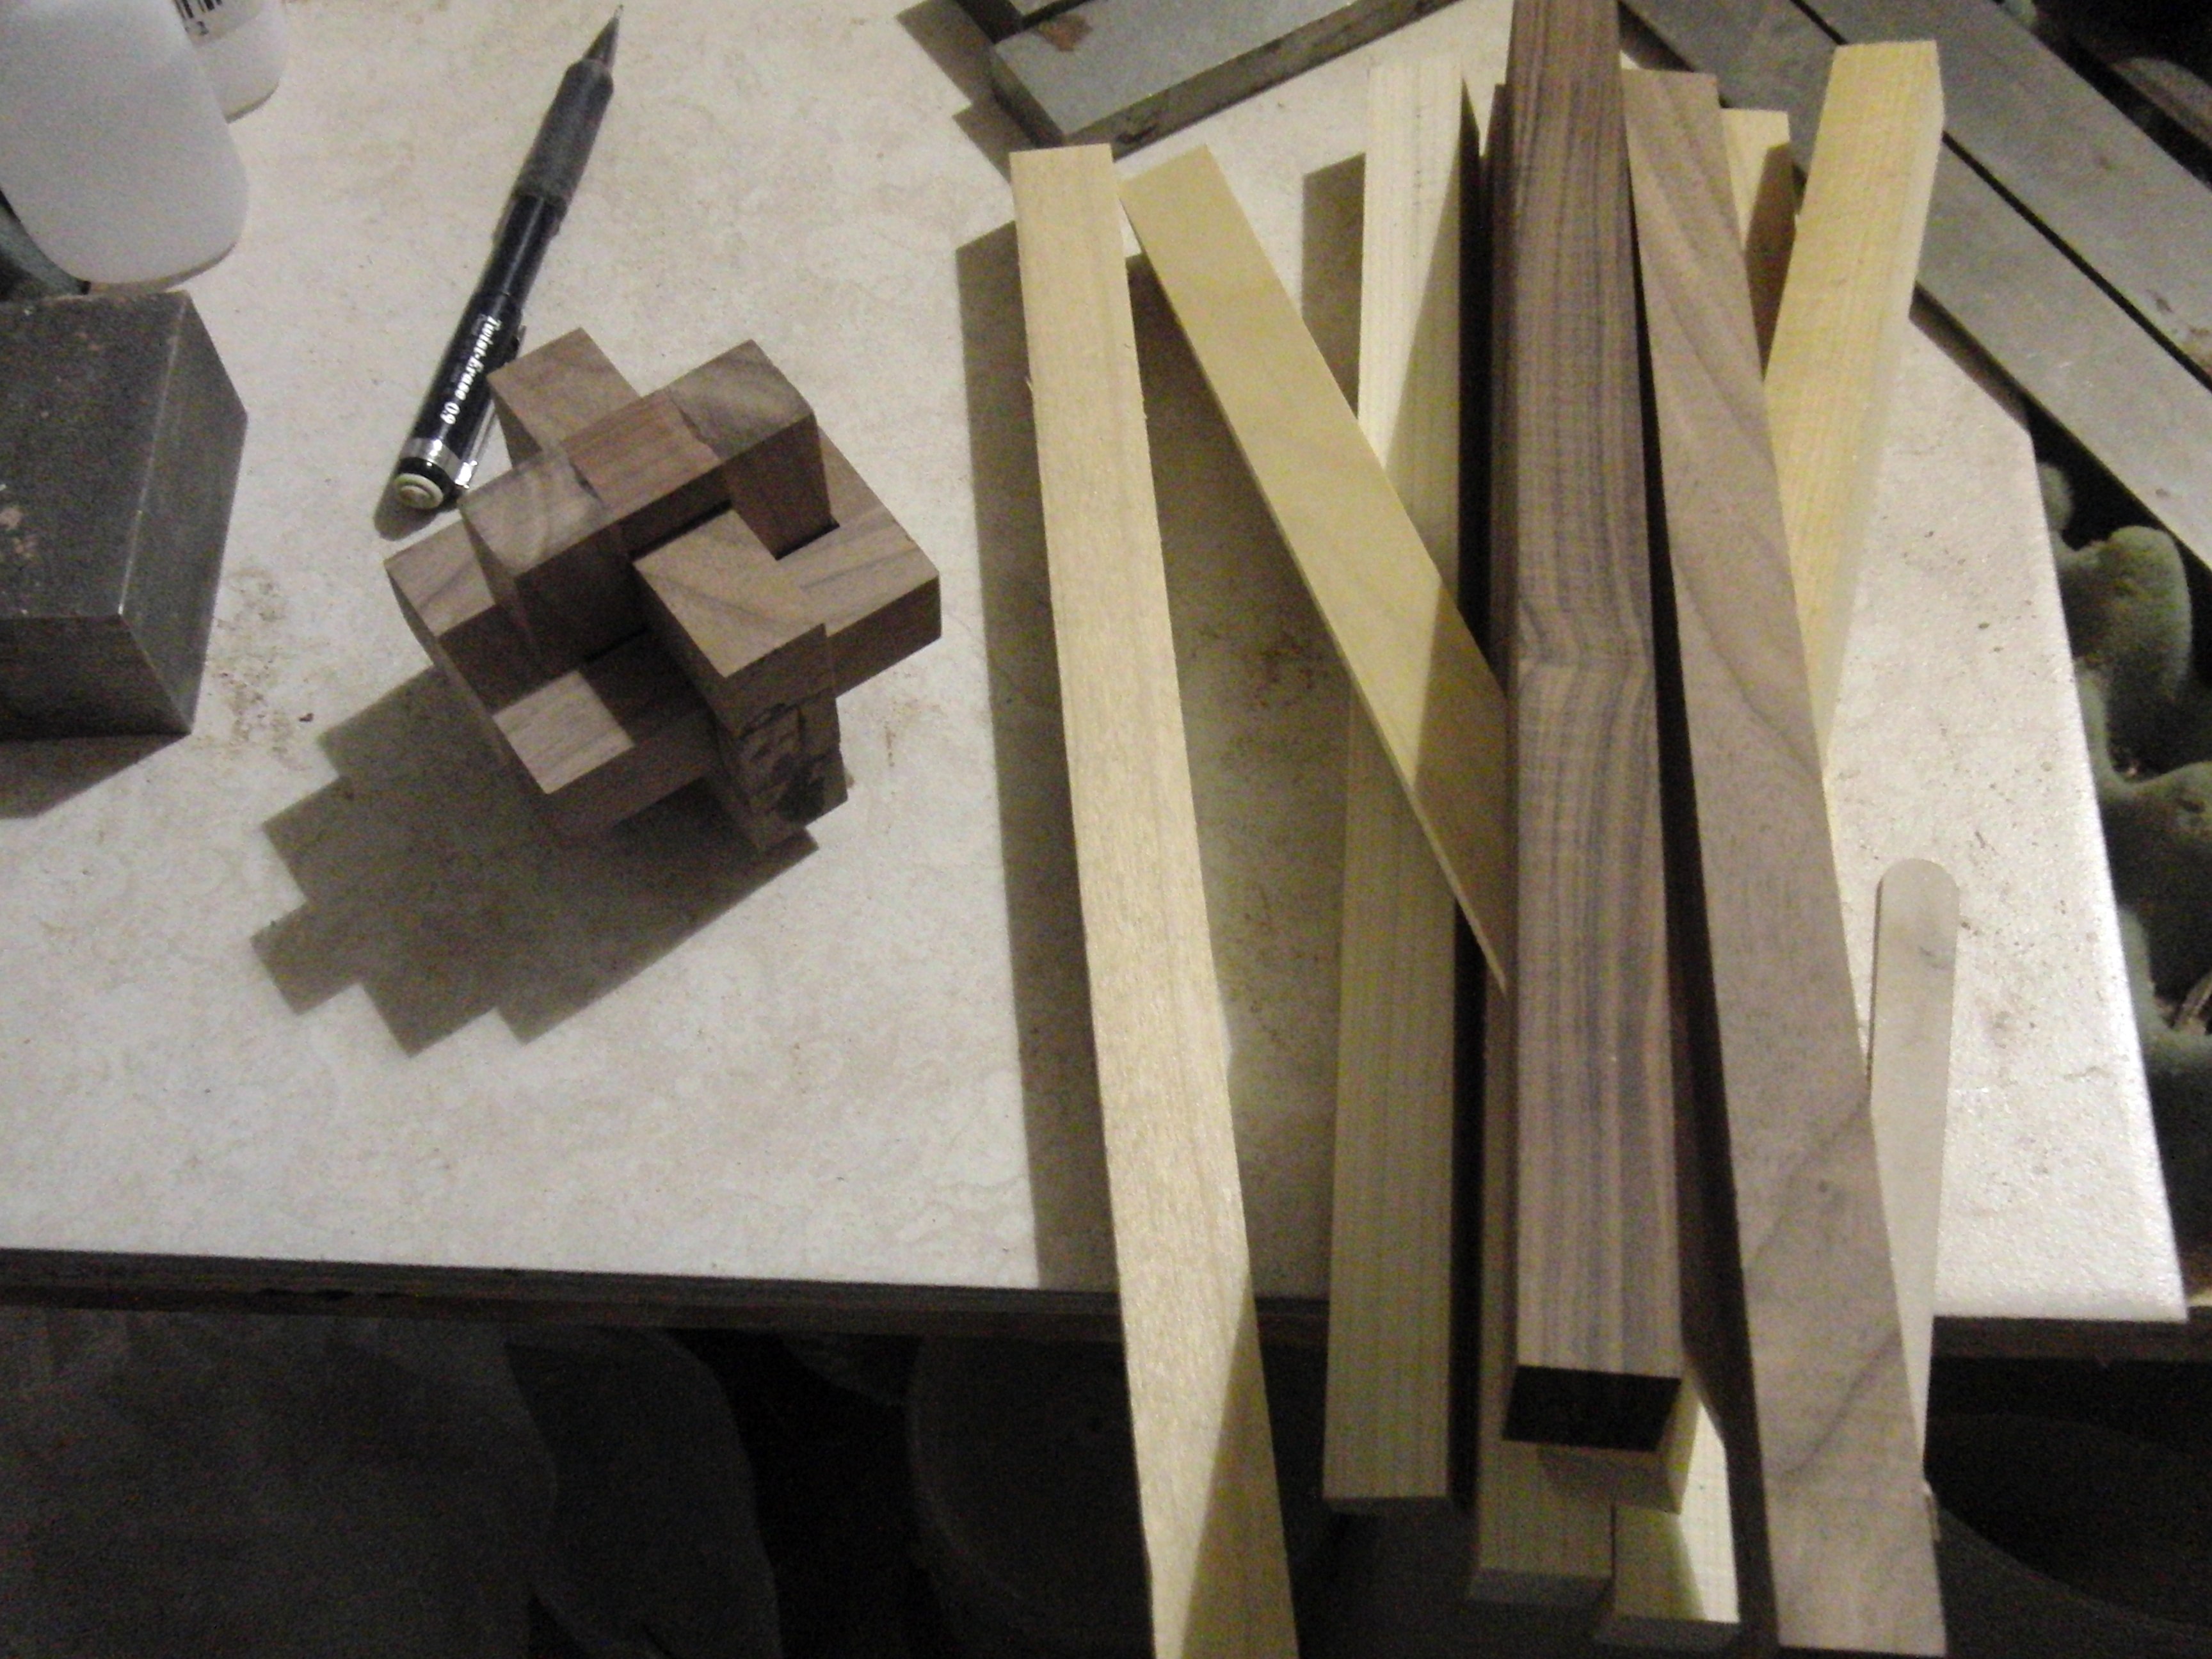
![]() Simple flat clamp came in handy for gluing puzzle blocks and strips together.
Simple flat clamp came in handy for gluing puzzle blocks and strips together.
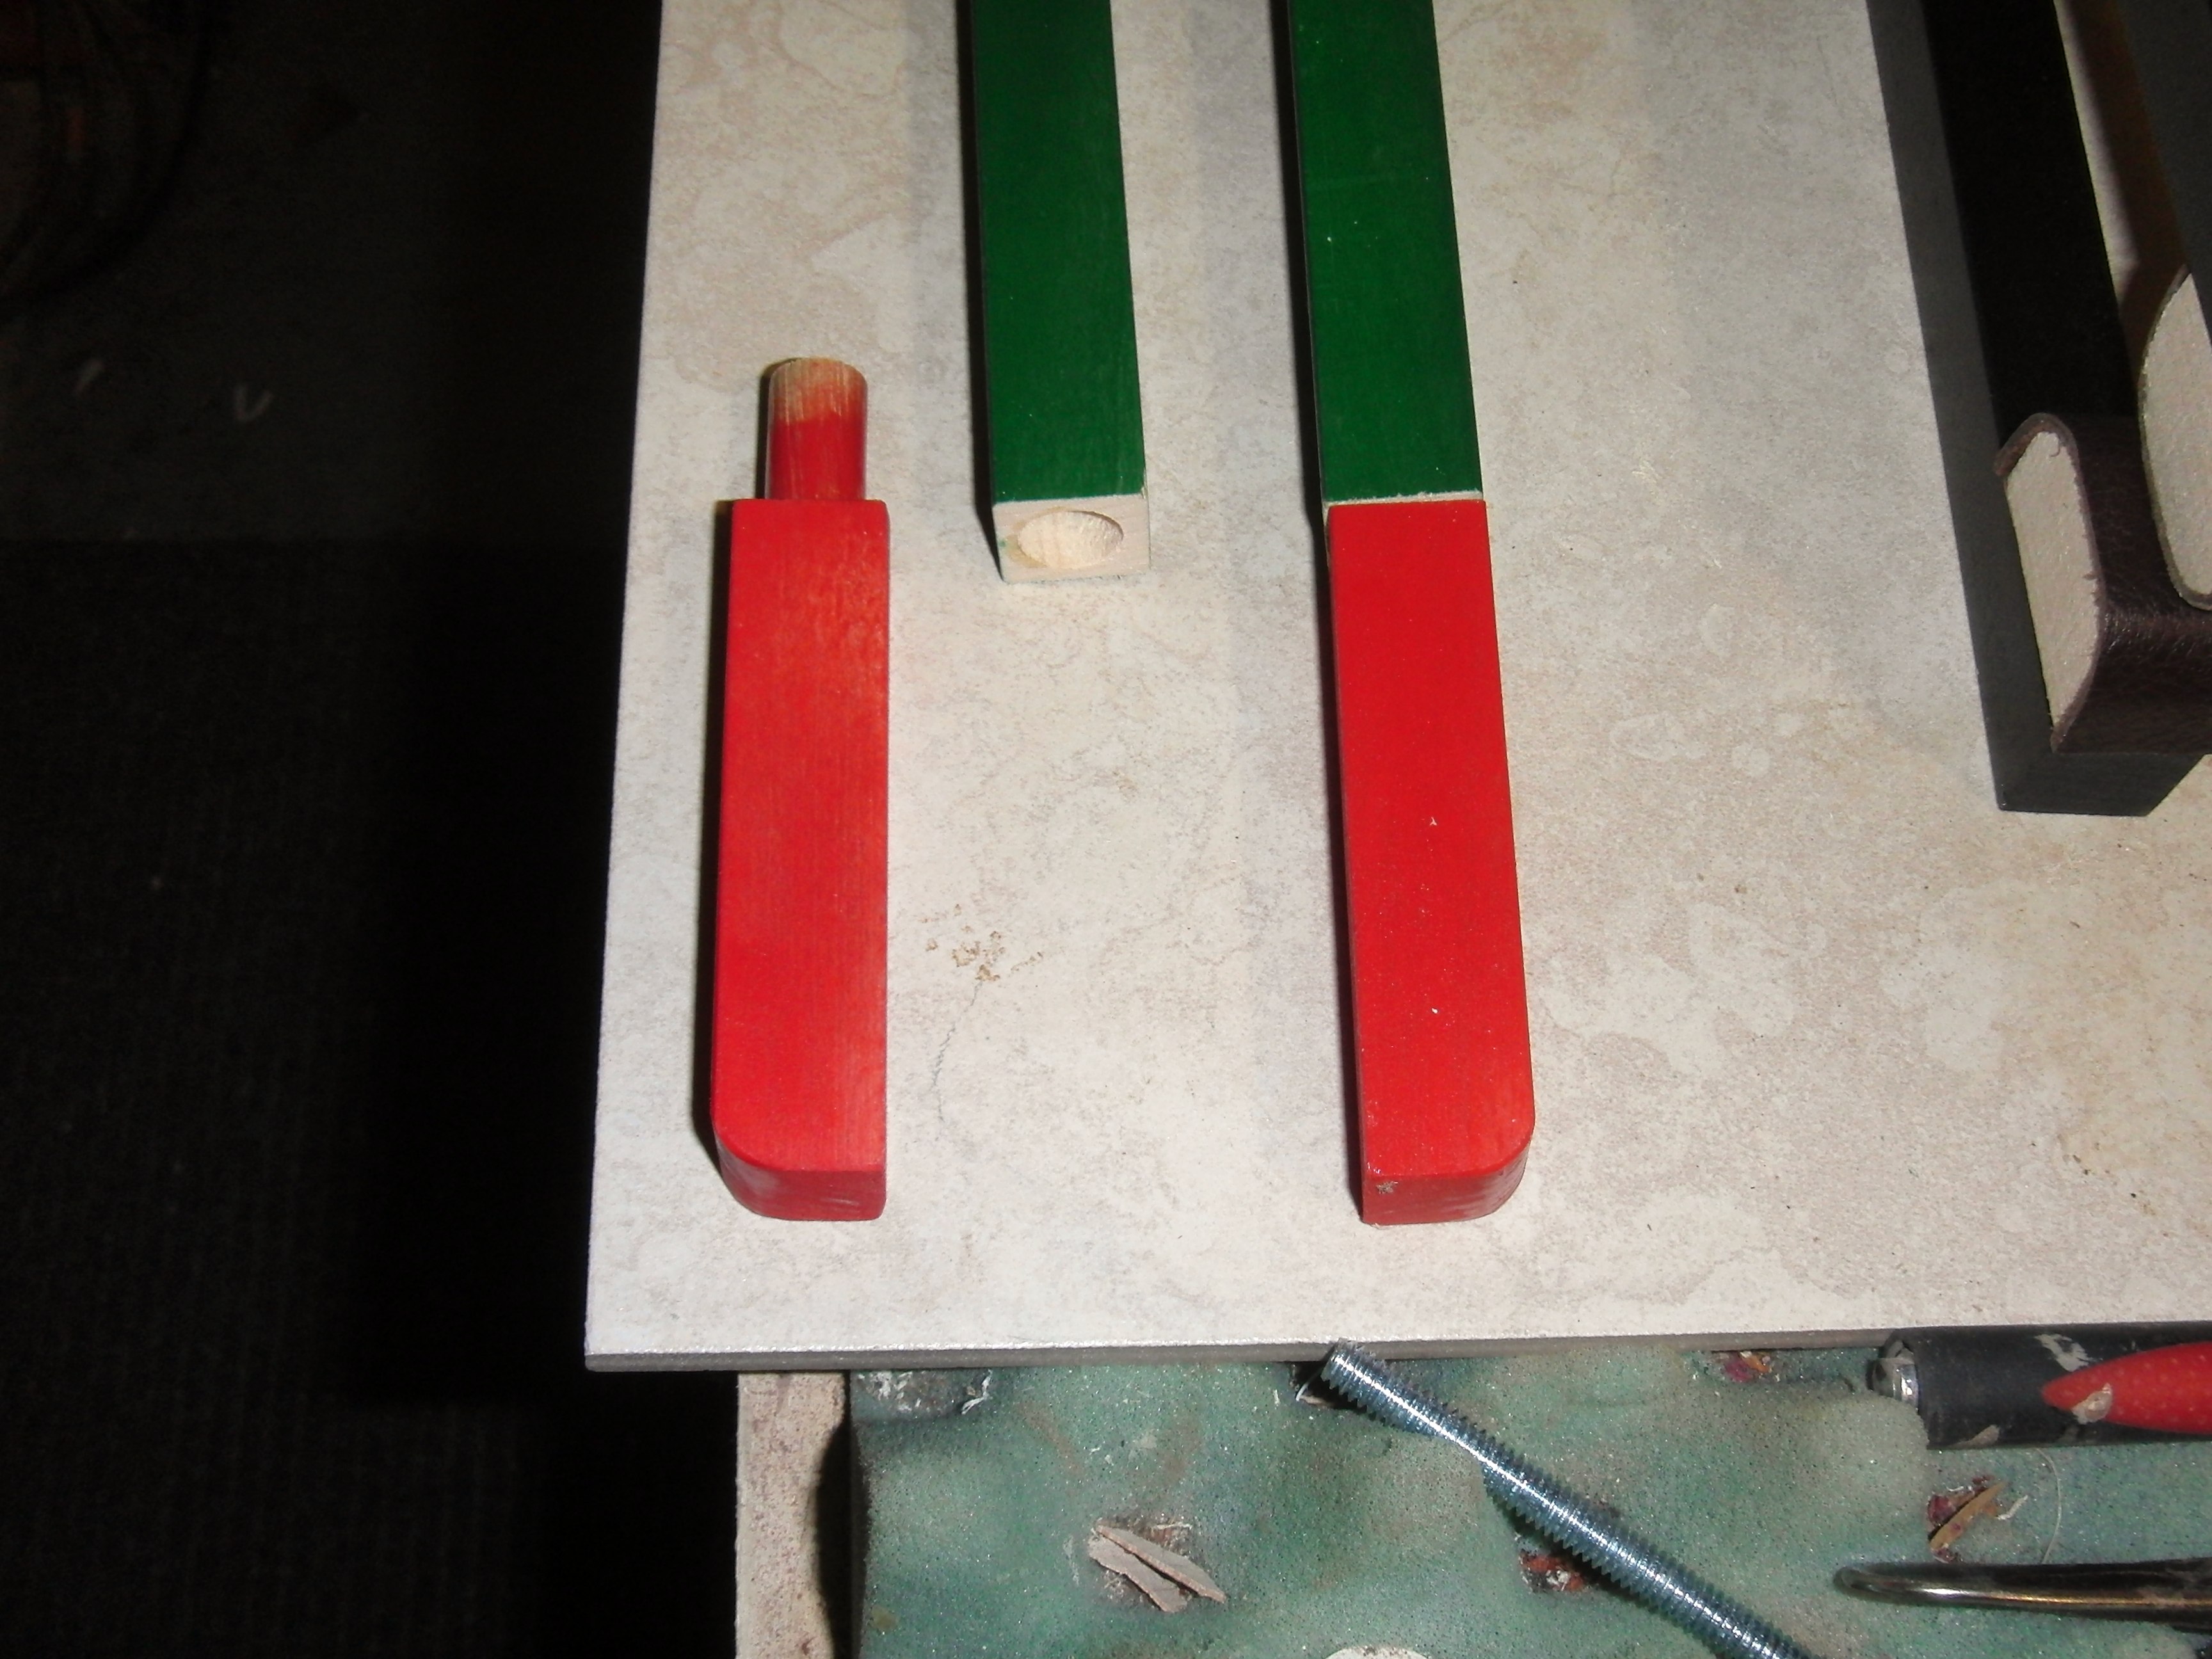
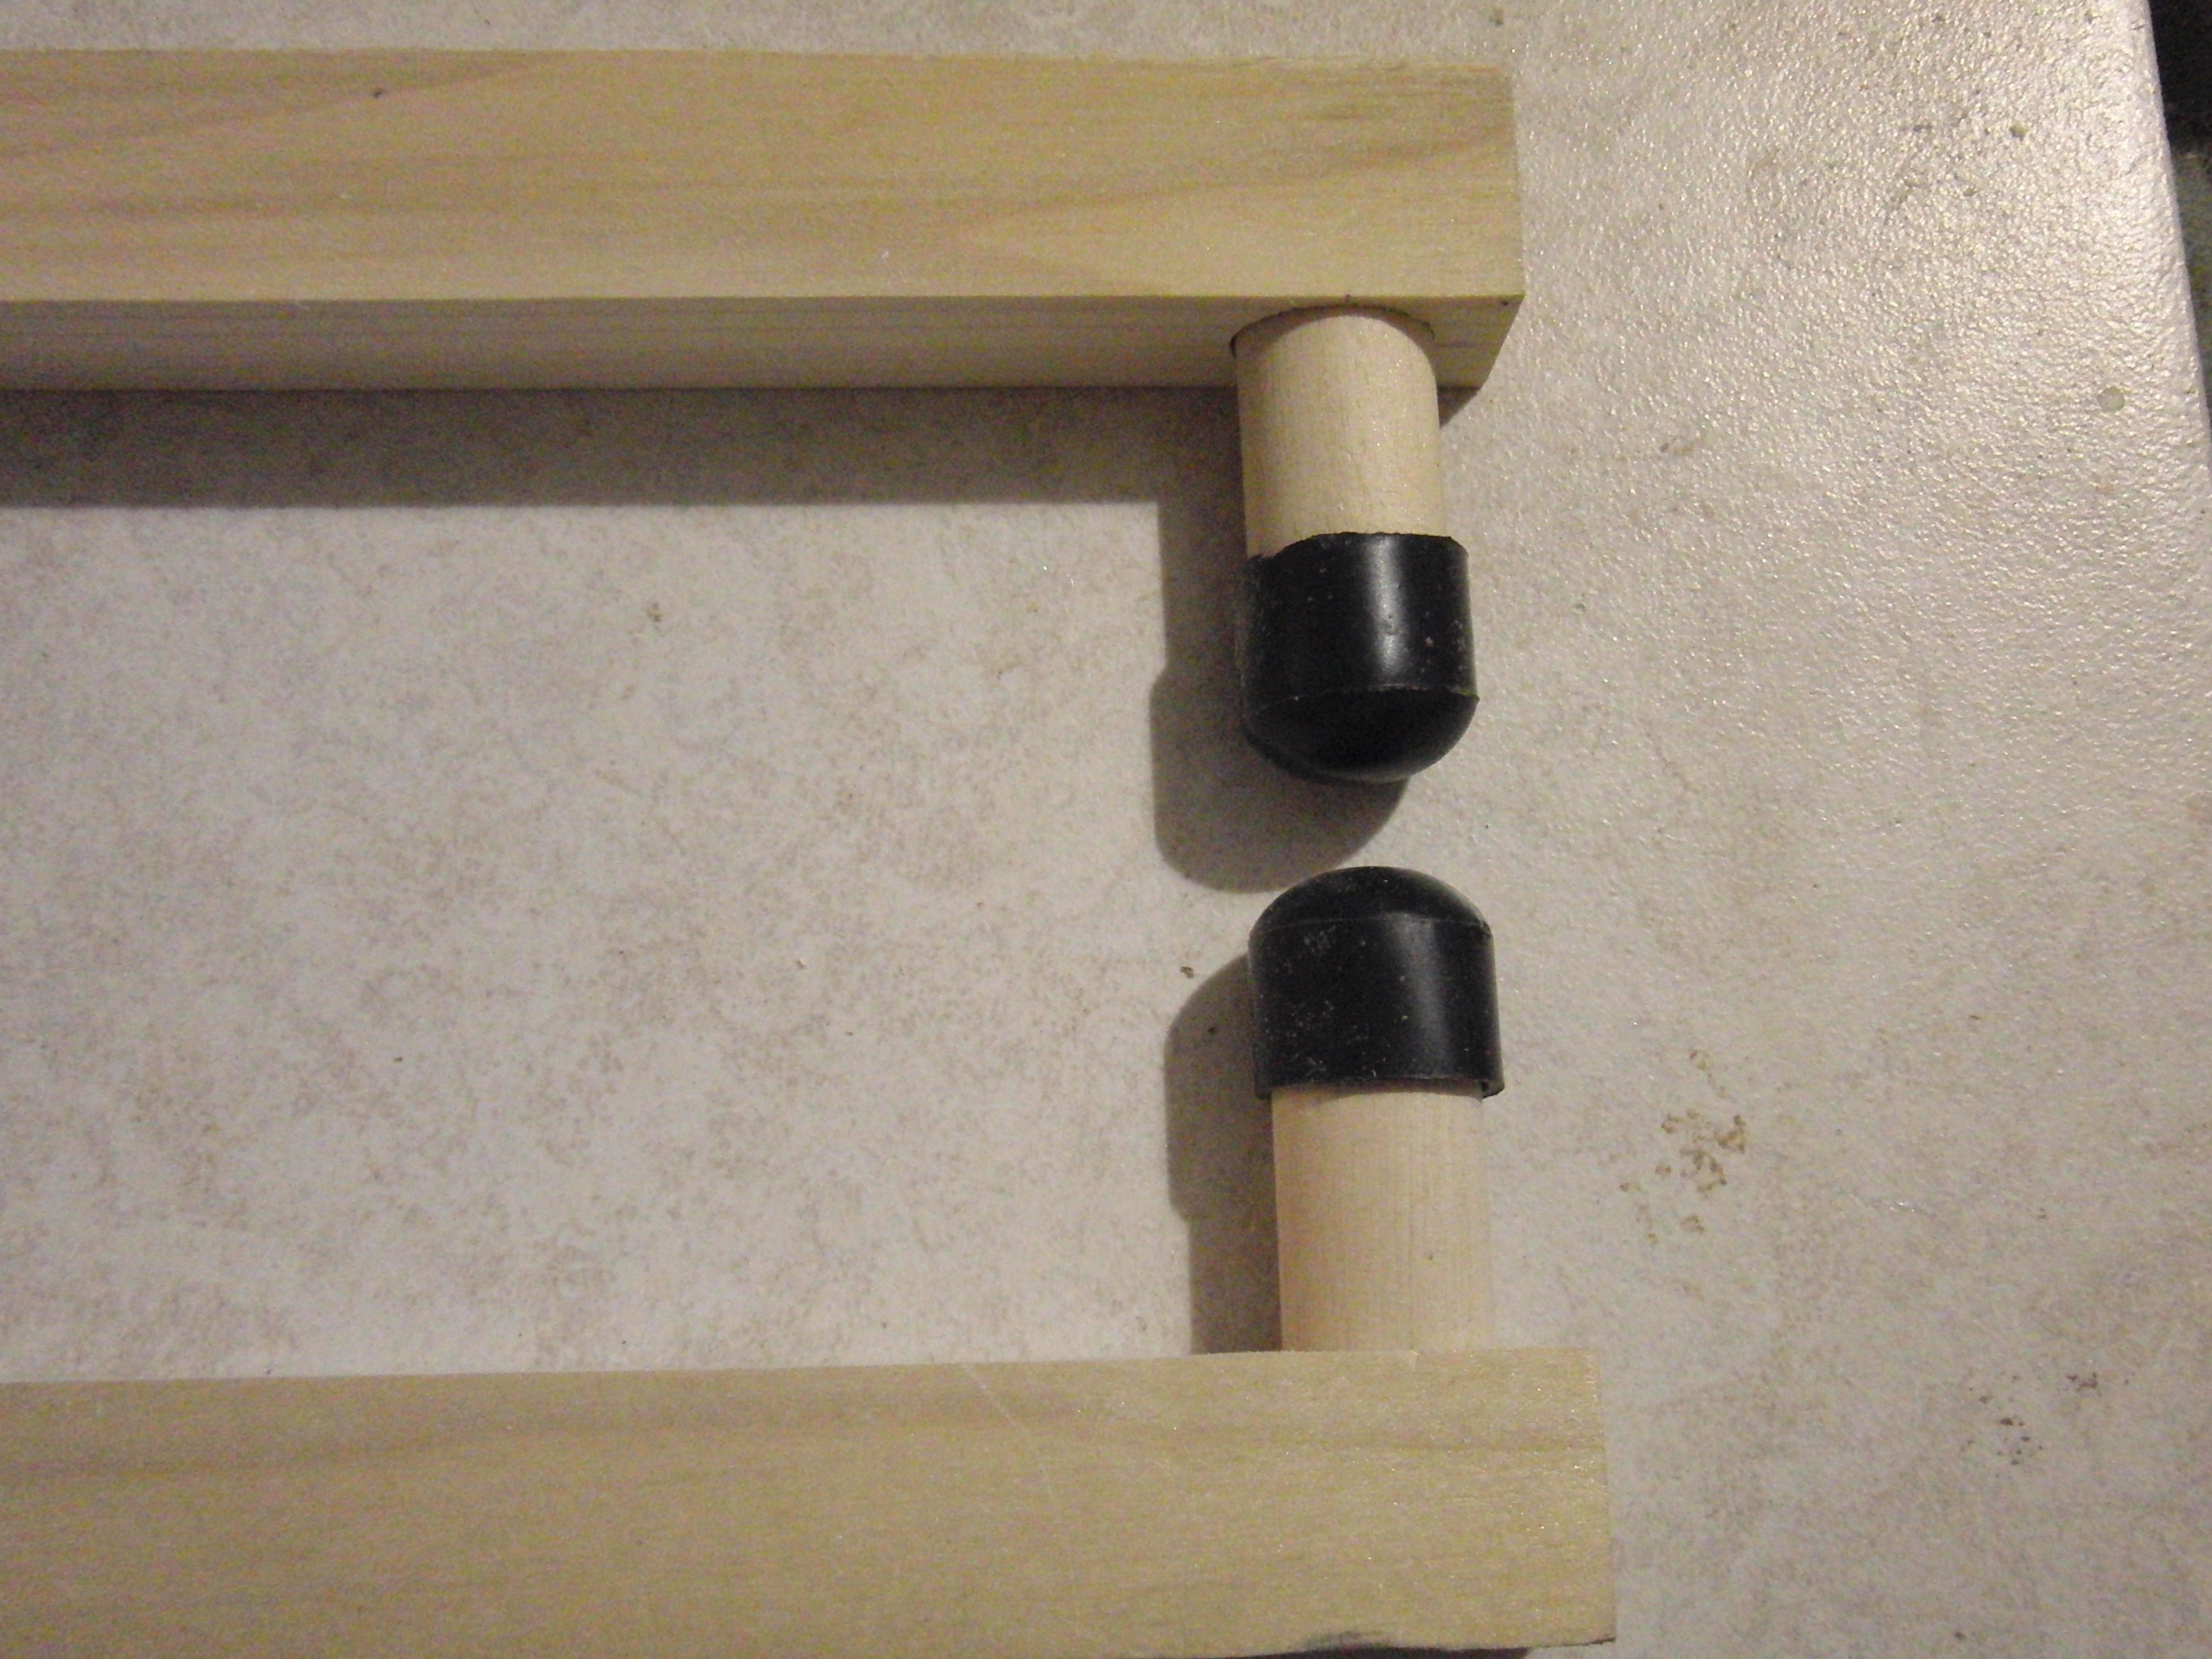 Dowels with rubber caps worked great.
 Foam blocks, Leather blocks, etc.
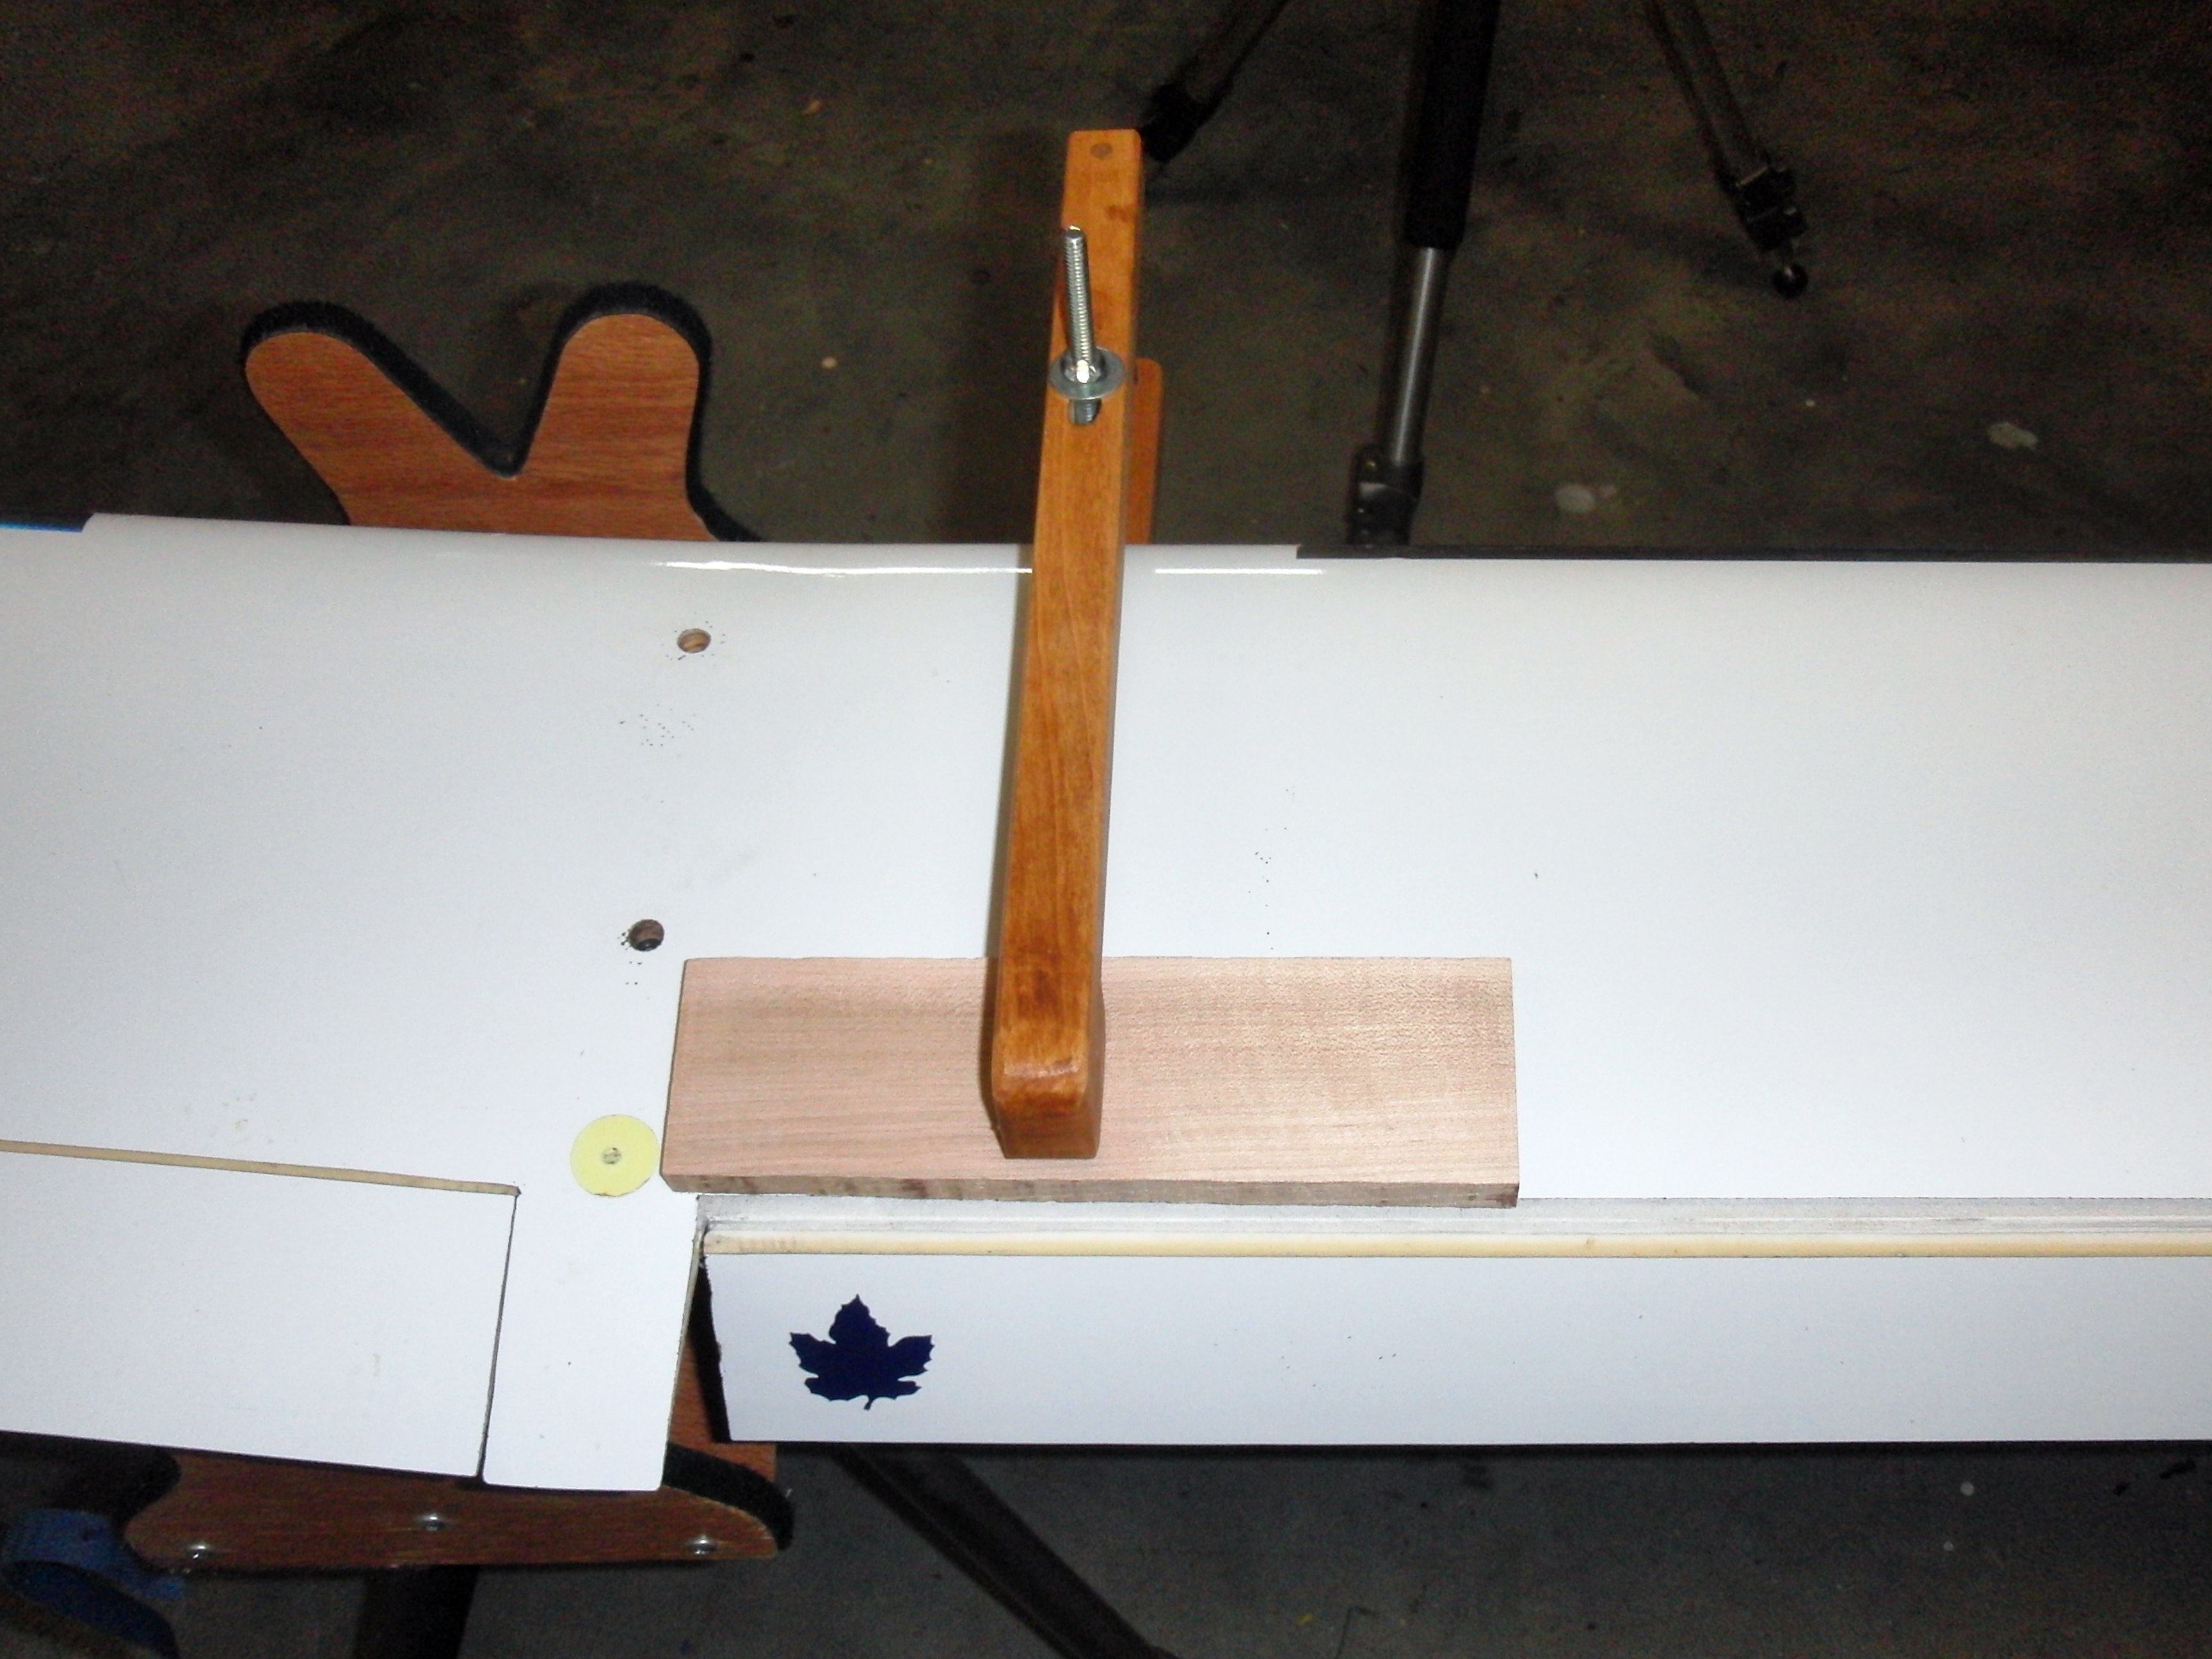
Oh ... and it worked great on the trailing edge spar.
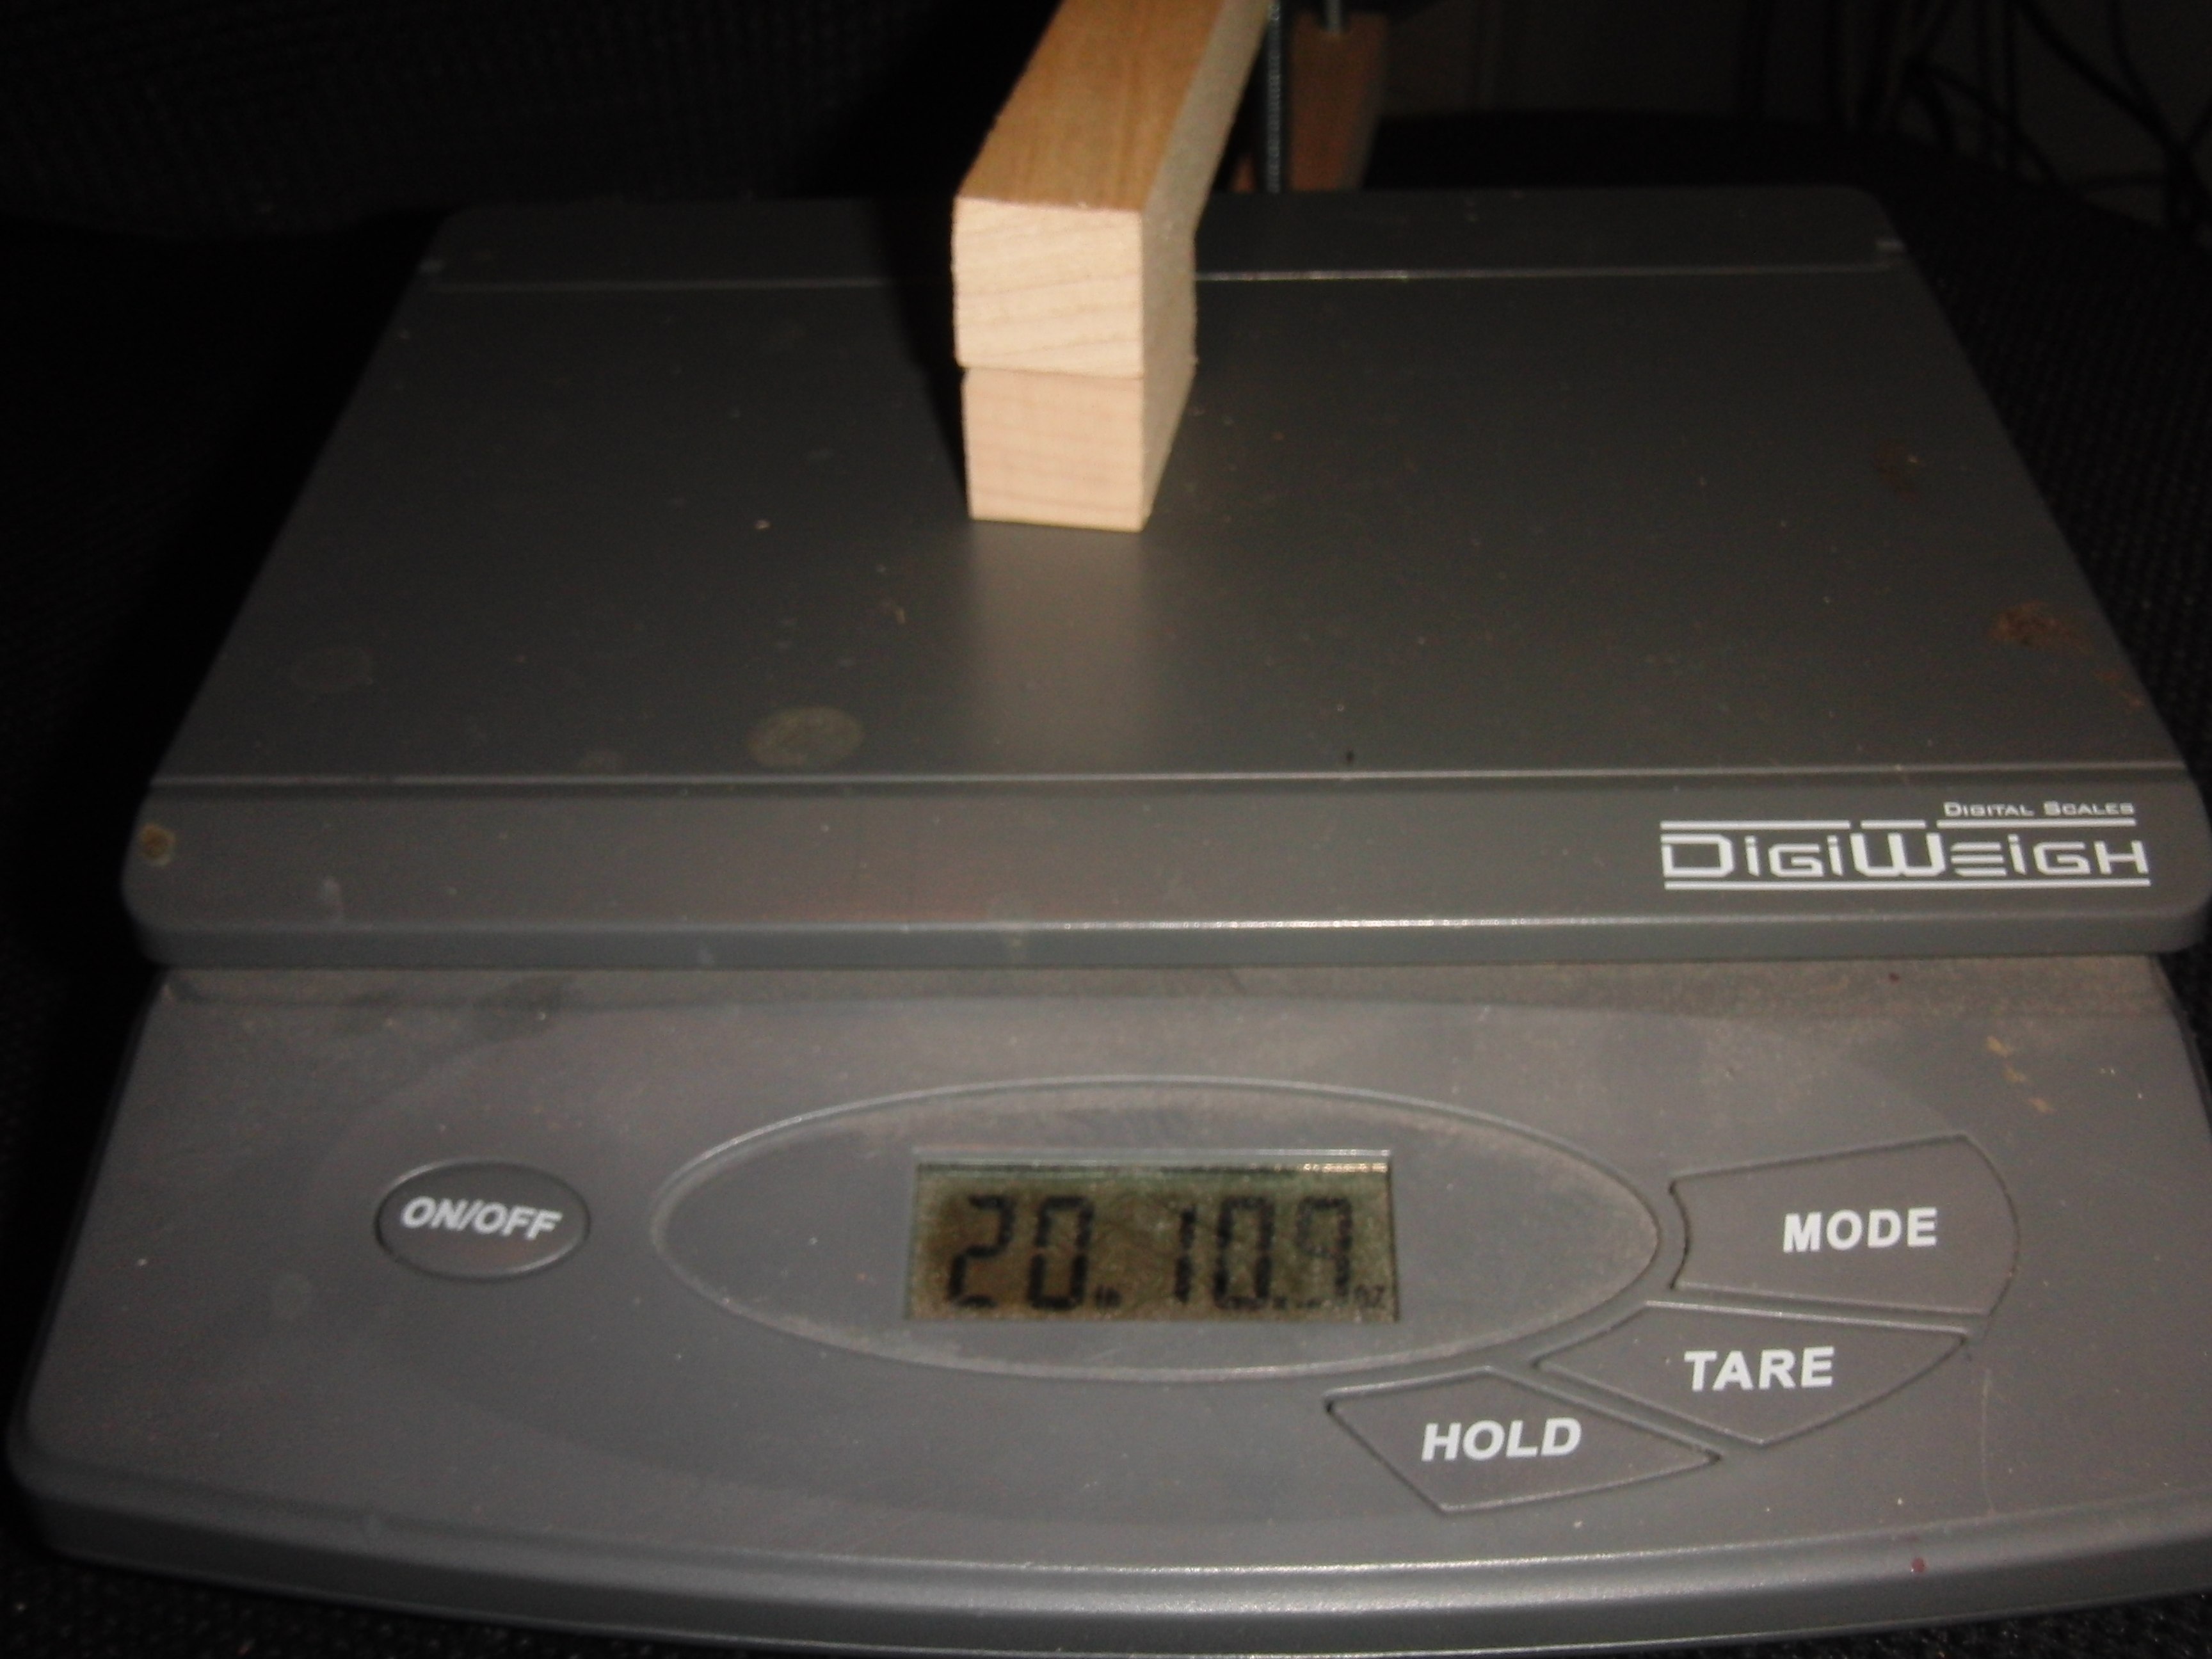
At Christmas I decided to see if I could do some extensions to make a longer clamp for occasional use when needed. I used 1/2" oak dowel and drilled in an inch into each piece. Glued the dowel into the extension. Since the clamp is hardwood, it worked great. Got 20 lbs on the scale. Still CA'd the hole to add that extra bit of strength.

I was working on a badly crashed SBXC and had to push out and hold the cockpit area while glassing. I drilled and through tapped the base end hole. (it needs to be held fixed) and put a nut on the carriage bolt inside. I then added a washer and wing nut (upside down). It was exactly what I needed.
As always, have at it and feel free to share your ideas or improvements. You can email me tom@blueridgesoaring.org .
Tom